

In this Minecraft cottage house tutorial we show you how to make your very own Minecraft cottage design. Follow these Minecraft cottage blueprints and come out with a beautiful little home for you and your chickens.
How would you like to have a cozy little cottage, such as this particular domicile, to call your own? Well, you’re in luck! Today I’ll be showing you how to craft one just like it from scratch. Ready to roll up those…oh, right. Steve wears short sleeves. D-Doesn’t matter! Roll the clip show.
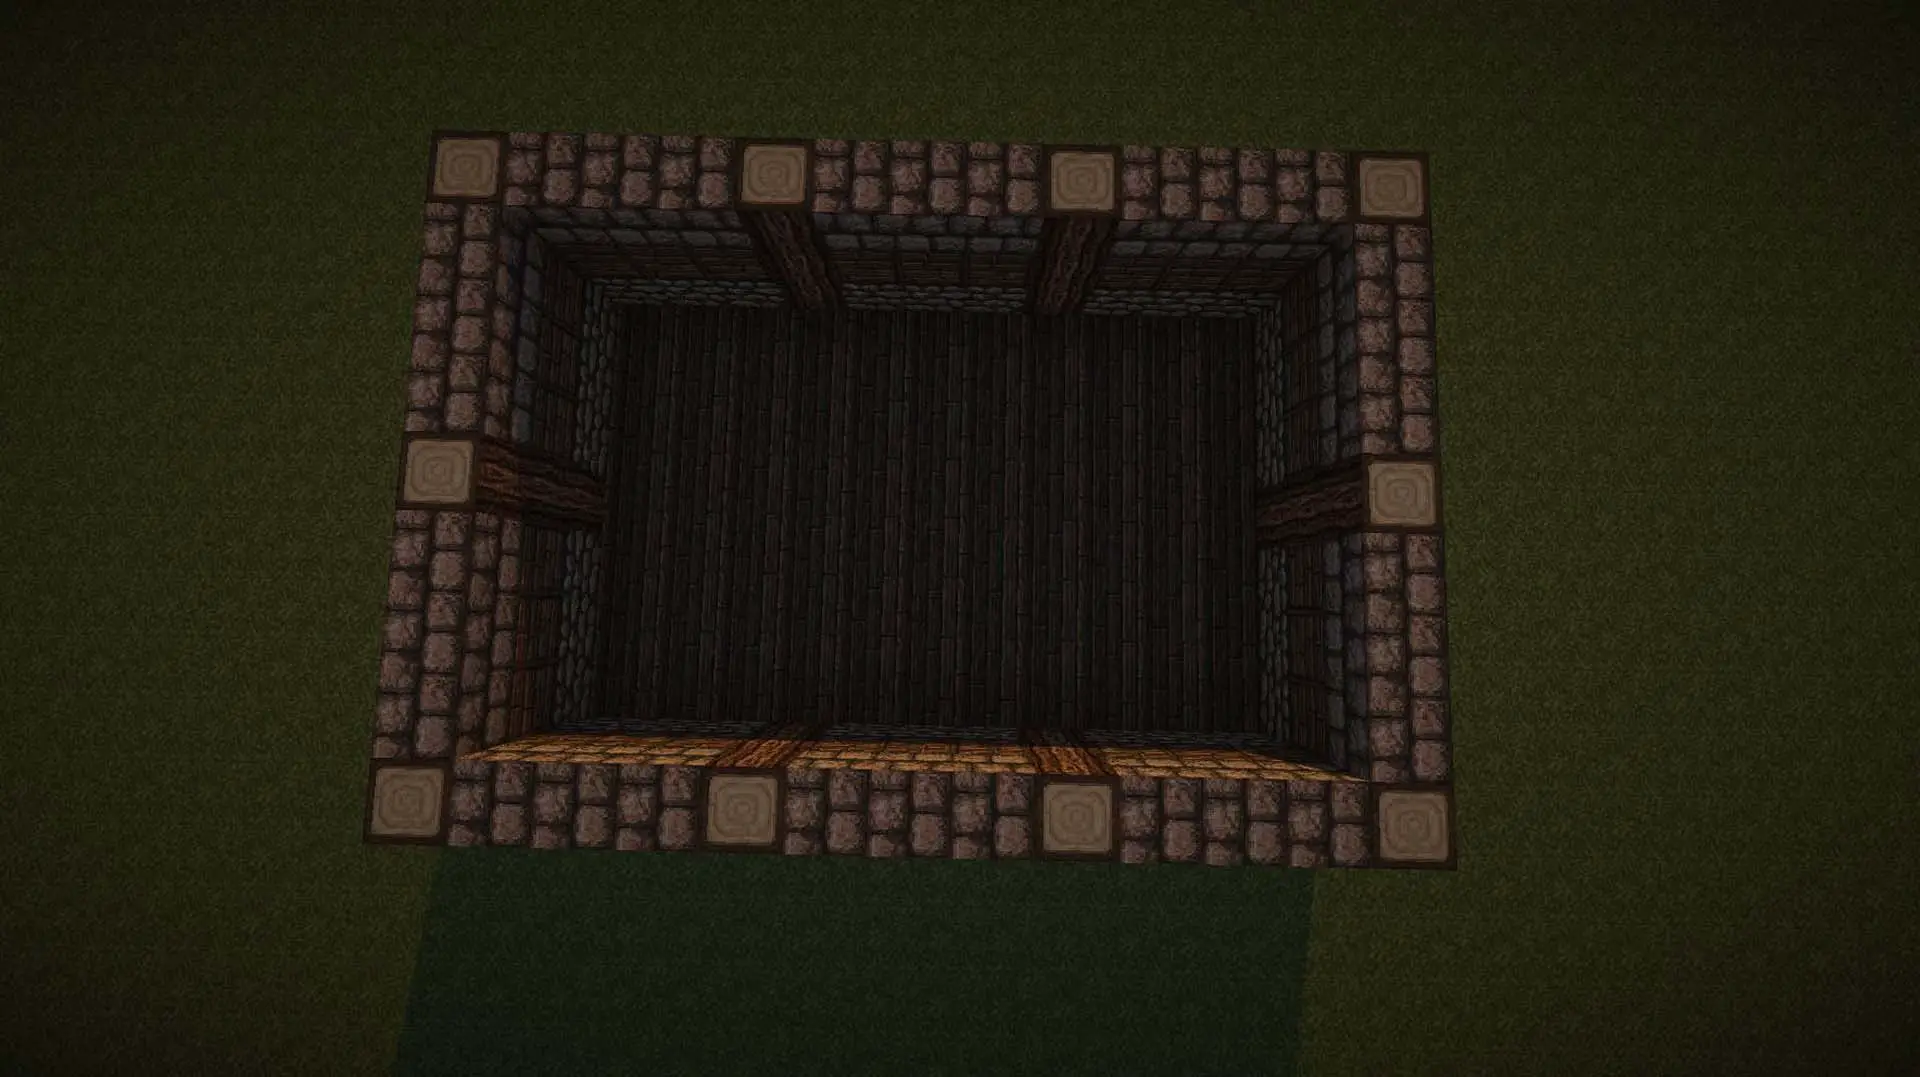
Blank Canvas
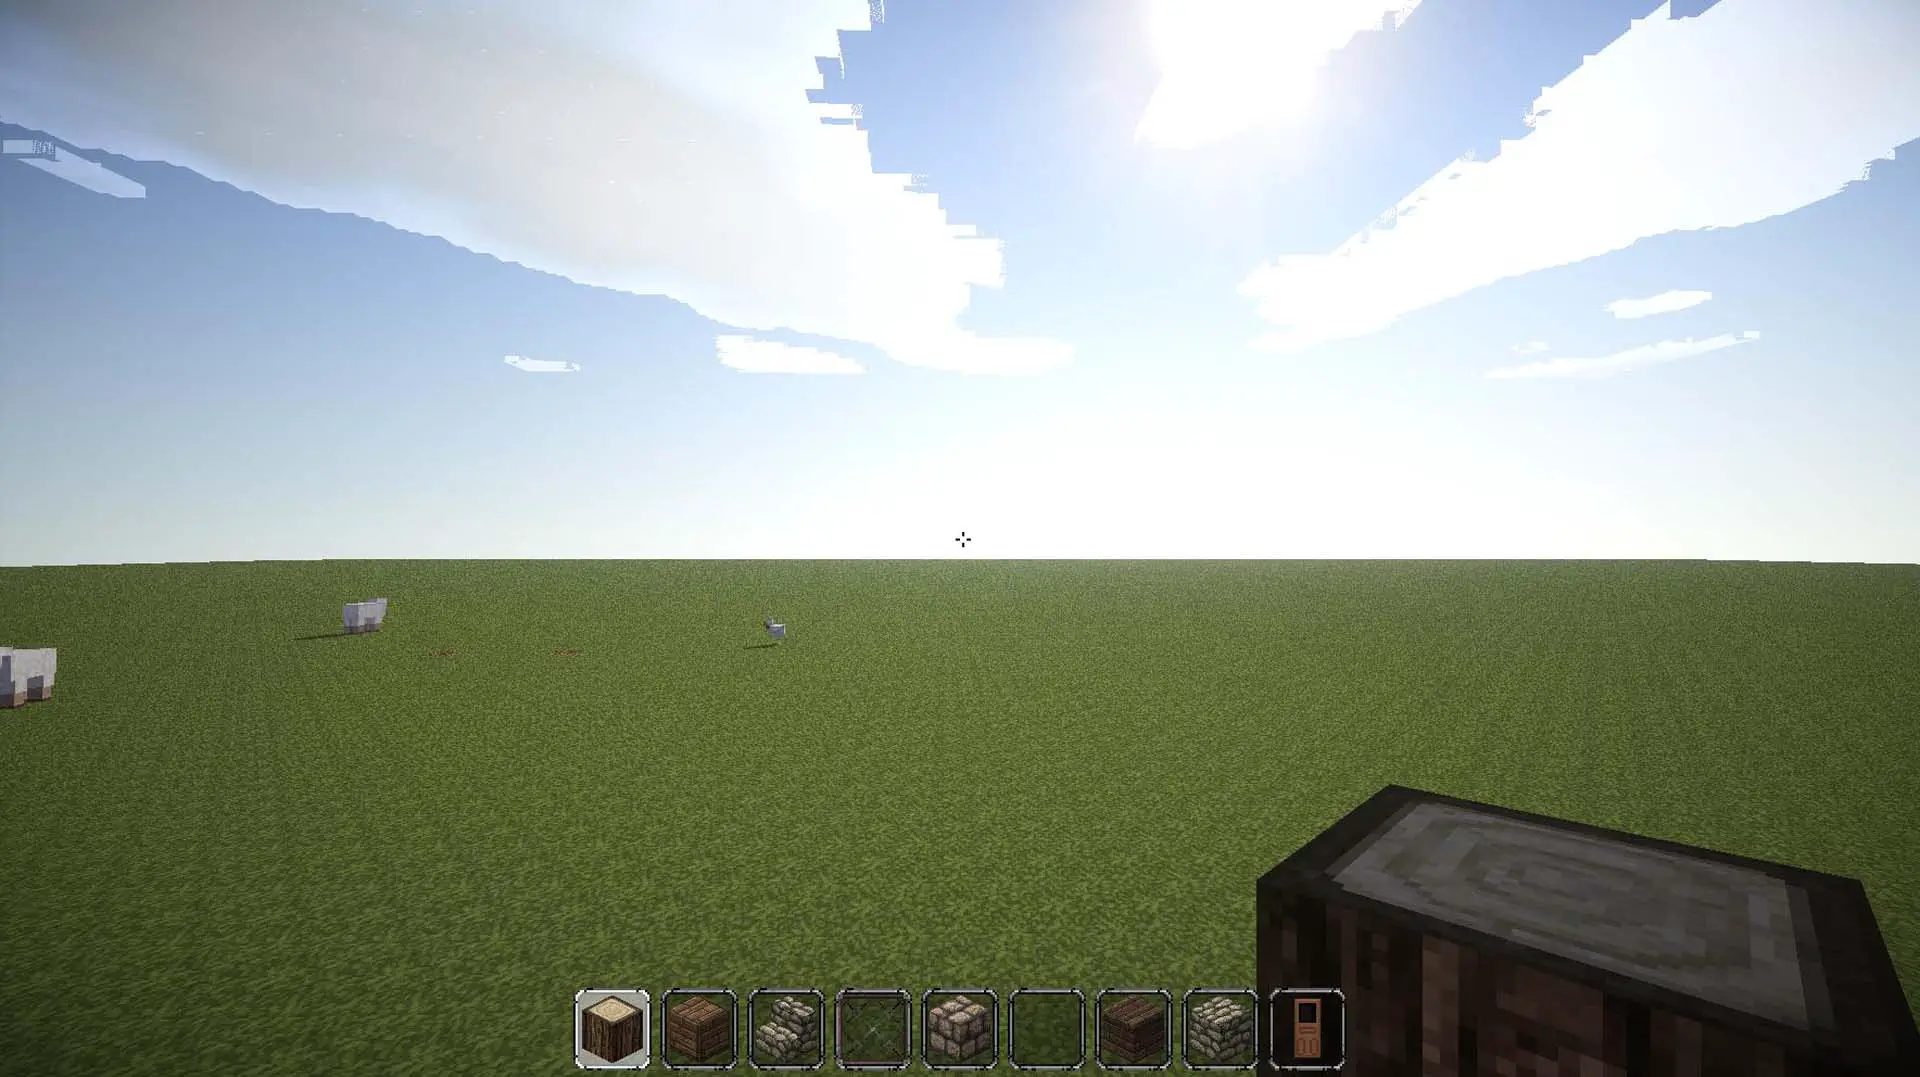
Morning, everyone! So, this is where we’ll be building today. This first shot shows your suggested starting inventory, as it’ll get you through all of Stage 1, which is walls and floor. Oak Log, Oak Planks, Stone Stairs, Glass Pane, Stone Bricks, Spruce Planks, Cobblestone, and Wooden Door.

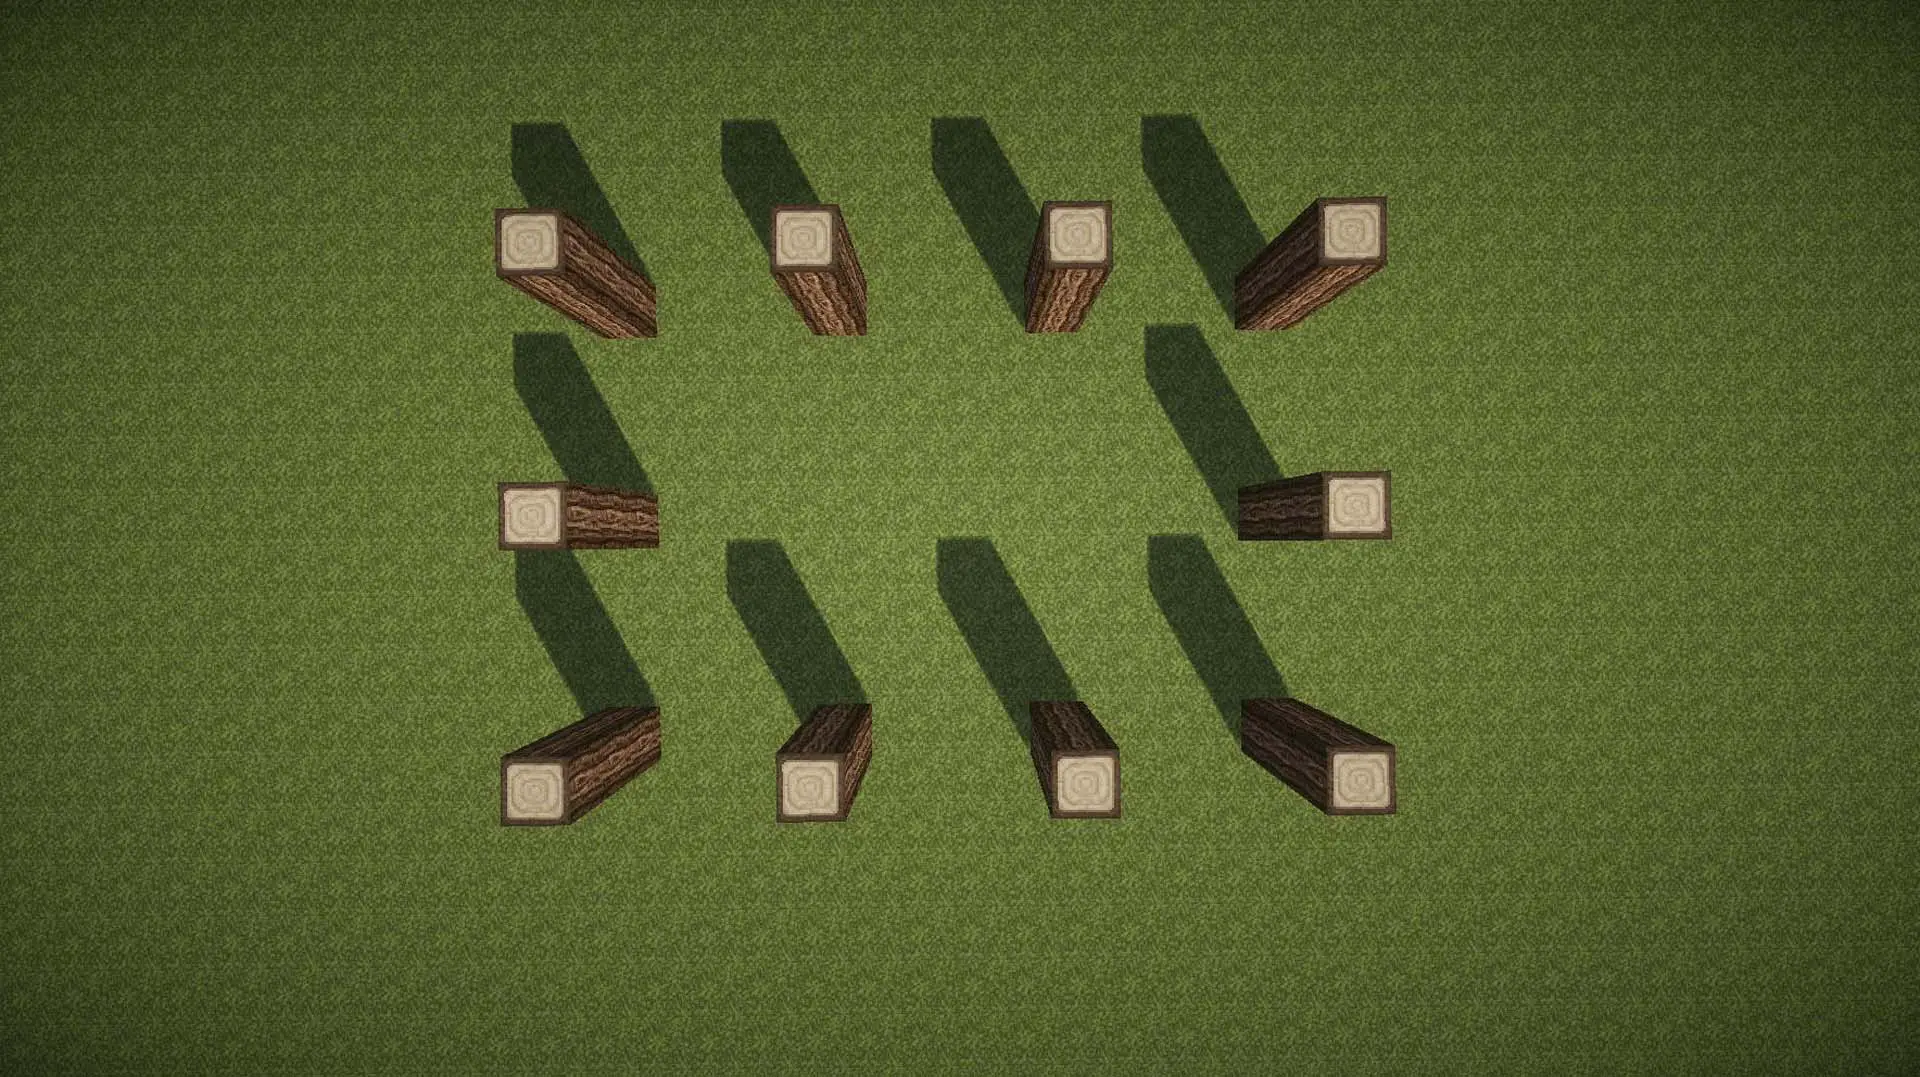
Basic Pillar Arrangement
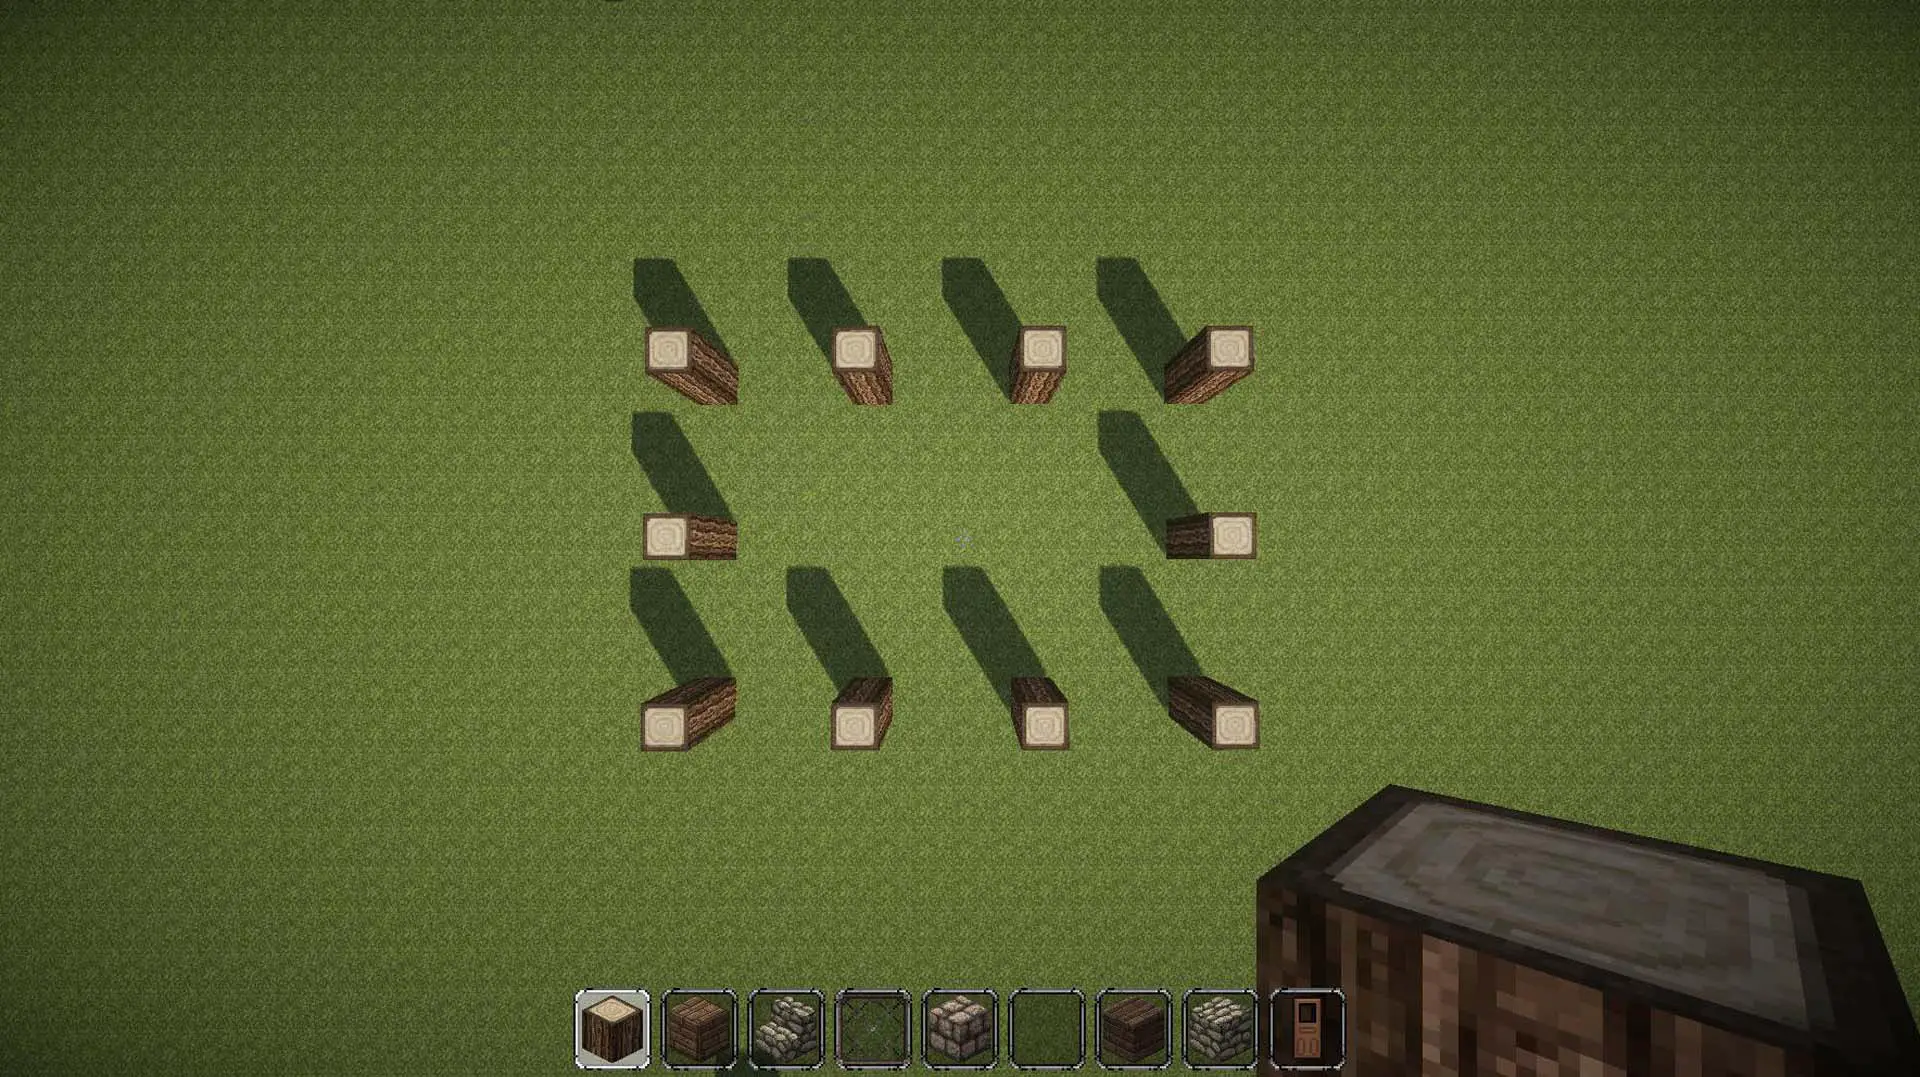
Each pillar of Oak Wood has 3 spaces in between them. The sides are almost twice as long as the building is wide. This keeps the roof from looking too massive or squat on its frame. Any wider than 3 pillars on the short side, and your roof is going to be massively tall, so plan your long side accordingly.
About Modular Design
As you’ll see in a moment, the wall makeup is basically the same between any two pillars, making this layout customizable, even supporting L-corner homes, T-shaped homes, and the like. (Although the latter two will require advanced roofing techniques not covered juuuuuuust yet)
Cobble and Planks

The bottom layer between the beams is Cobblestone. The beams are strong vertically, and Cobblestone looks solid when placed low. Planks come next, as this will be your “filler” layer. It’s at eye-level, and window level, too, so a medium-strength material that compliments the beams goes well here: Planks.
Stone Bricks
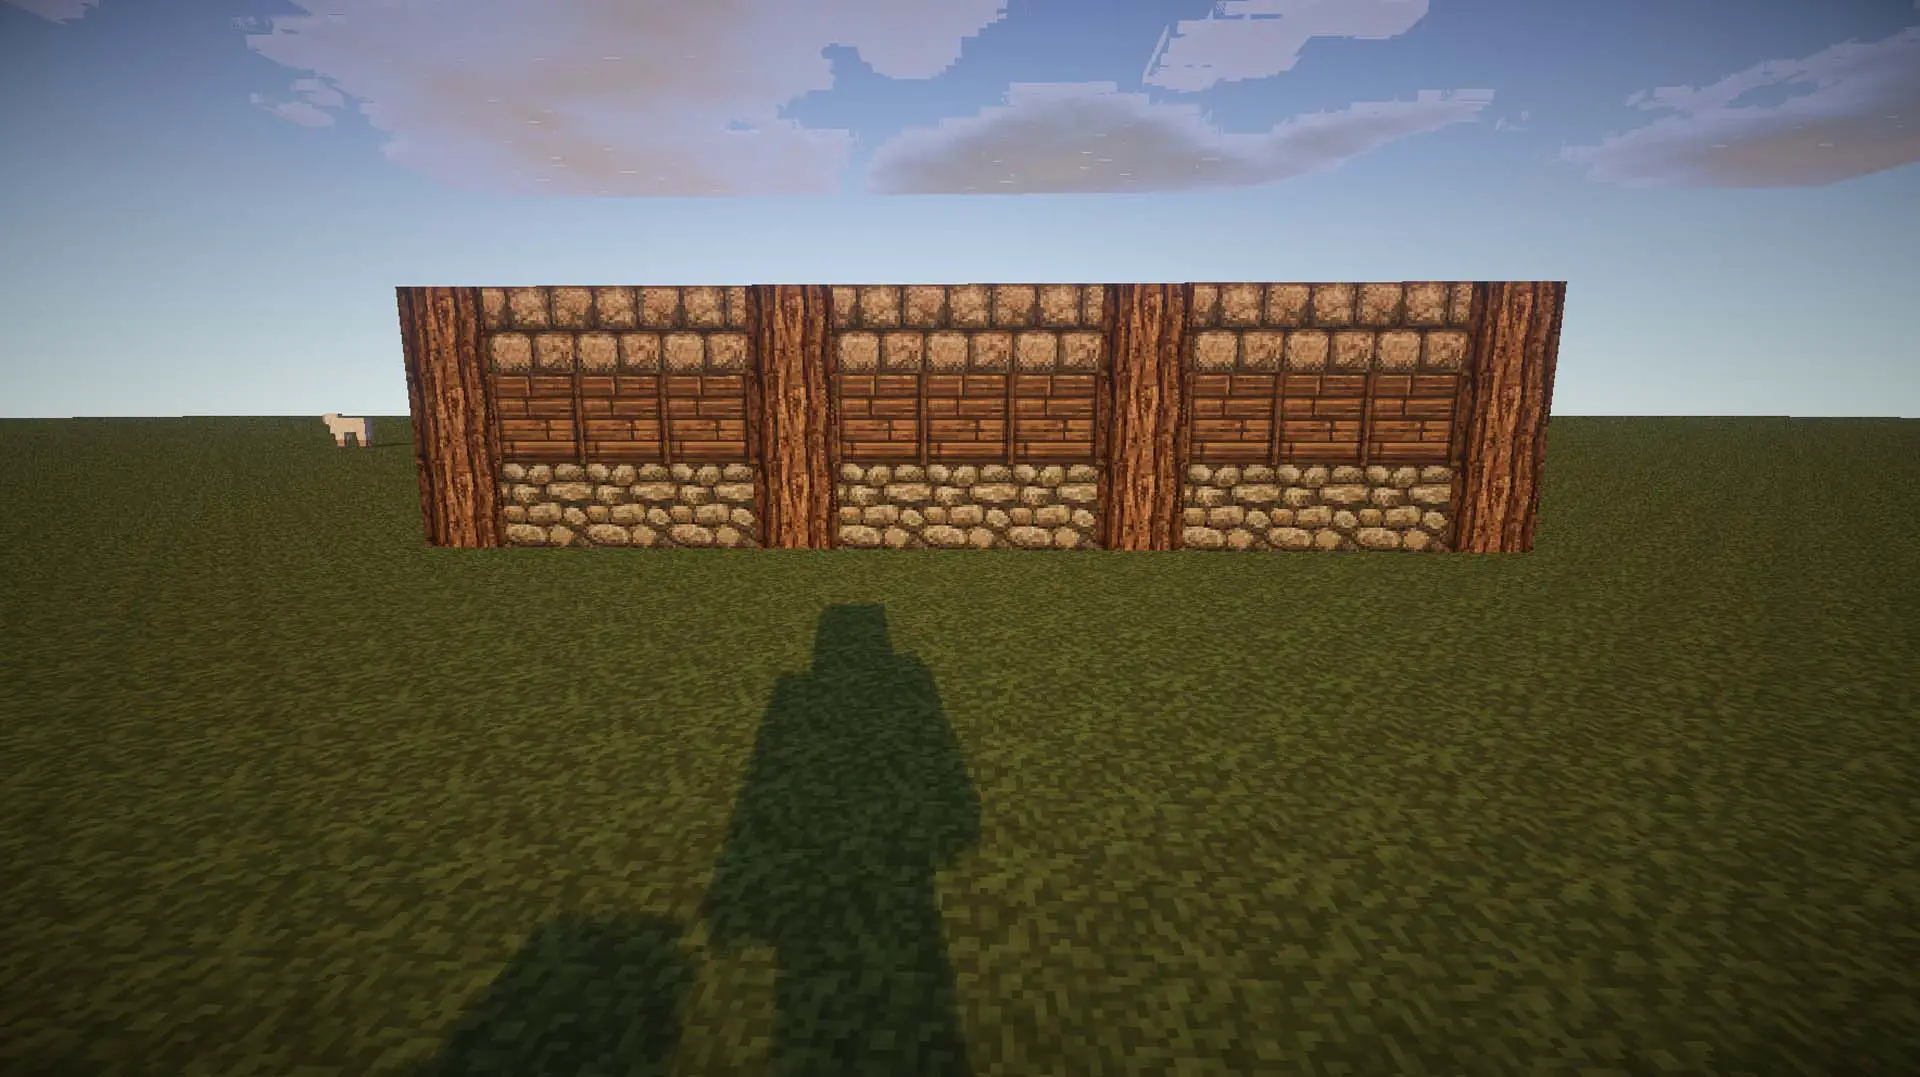
This was something I toyed around with for a while. While Stone Bricks are heavy-looking, their warm color makes for a smooth transition to the roofing layer, which we’ll cover in a little bit. Use your own discretion, and if it doesn’t feel right for your context, I’d suggest more planks as a good alternative.
Flooring
Cozy means only one thing. No, not Cashmere; Hardwood Flooring. Lay down some wood that’s a shade darker than your wall planks. (here, I’ve chosen spruce)
Windows and Door Prep

Were those walls looking a little flat? Time to break it up. In every section of 3 (between the beams) that you want either a door or a window, delete the middle column’s lower two blocks. Make sure the one that’ll hold the door has the Flooring planks under it.
Are you in PANE? EnDOOR it for now.
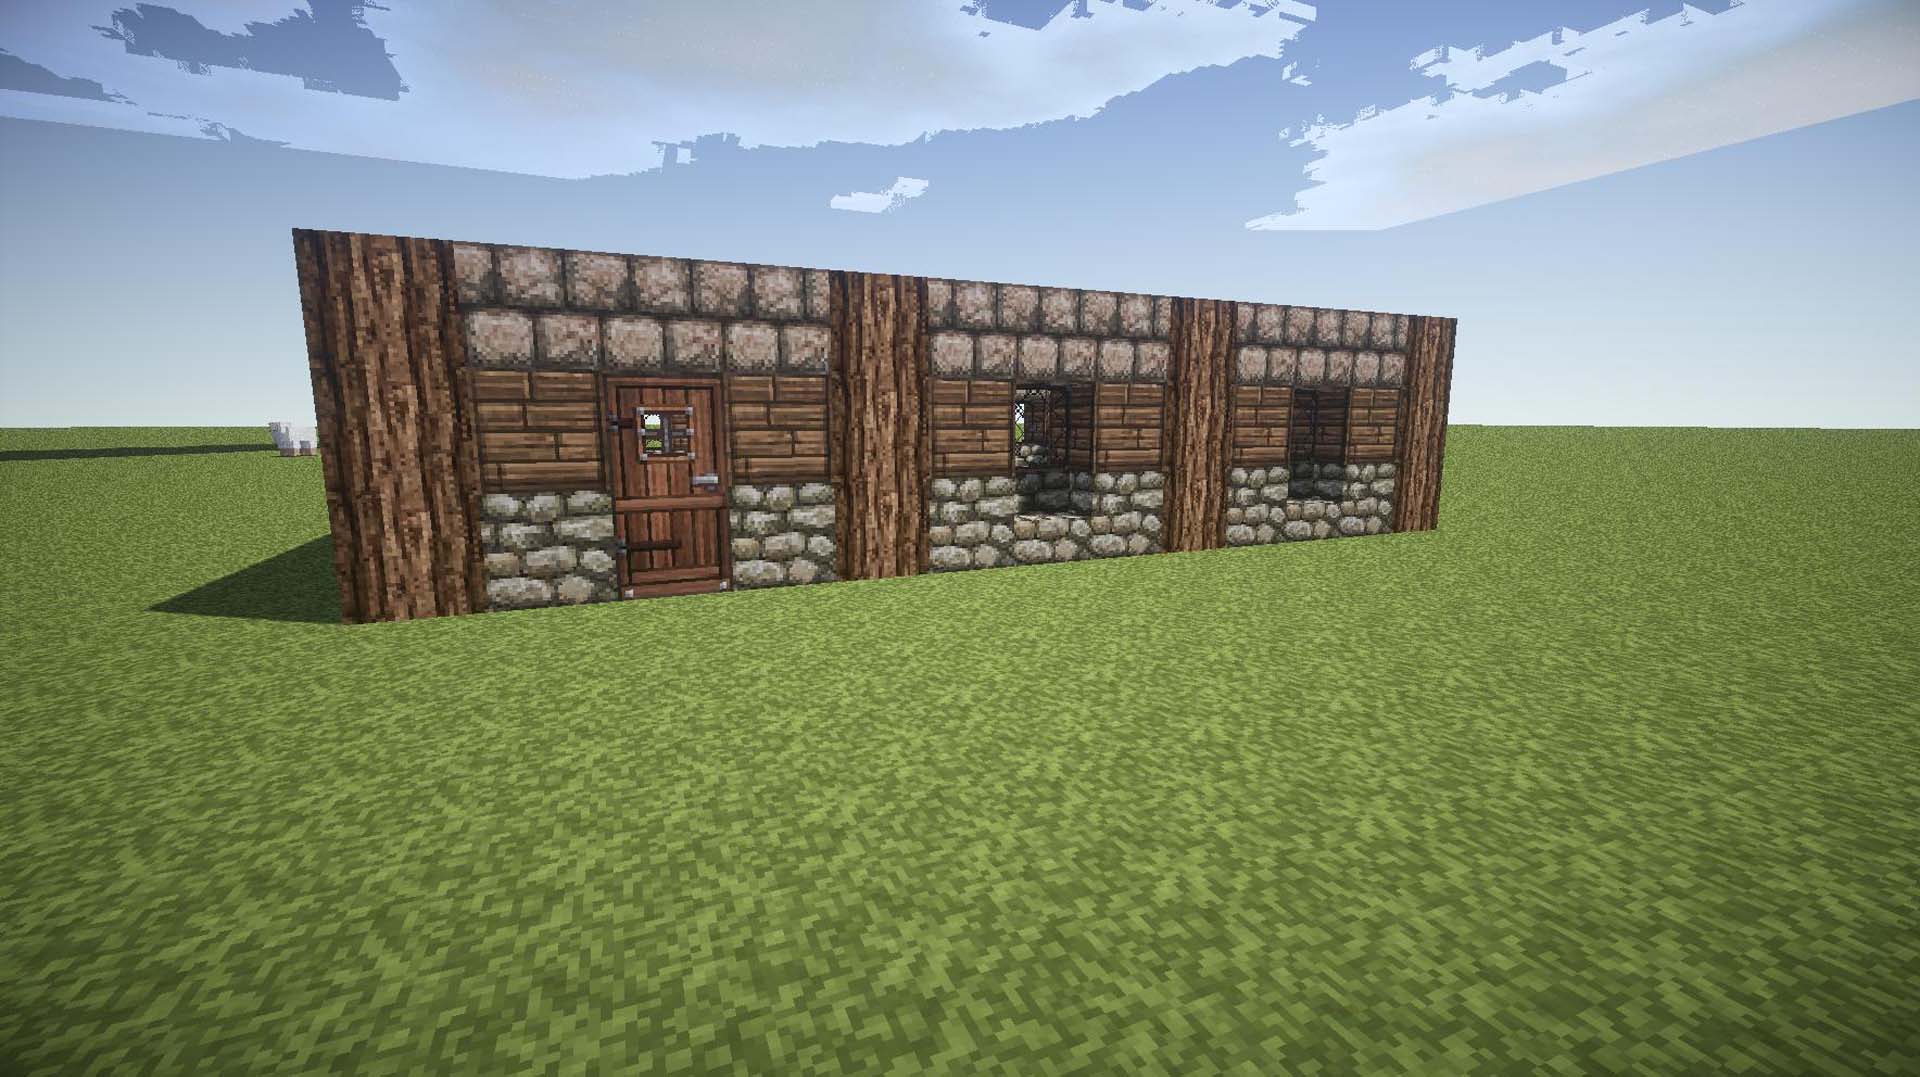
Bad puns aside, time to fill those holes. Put in your door; that’s easy enough. Now in the holes you want windows in, lay down a Cobblestone Stair piece facing towards the outside, with a Glass Pane on top of it. The Glass Pane is just far back enough to match up with the top of the Cobblestone Stair, and the combination of these two blocks against your walls and beams creates DEPTH. I cannot over-stress how important depth is to an aesthetically-pleasing design. I’ll be pointing out where else we gain depth in this design.
Stage 1 Complete
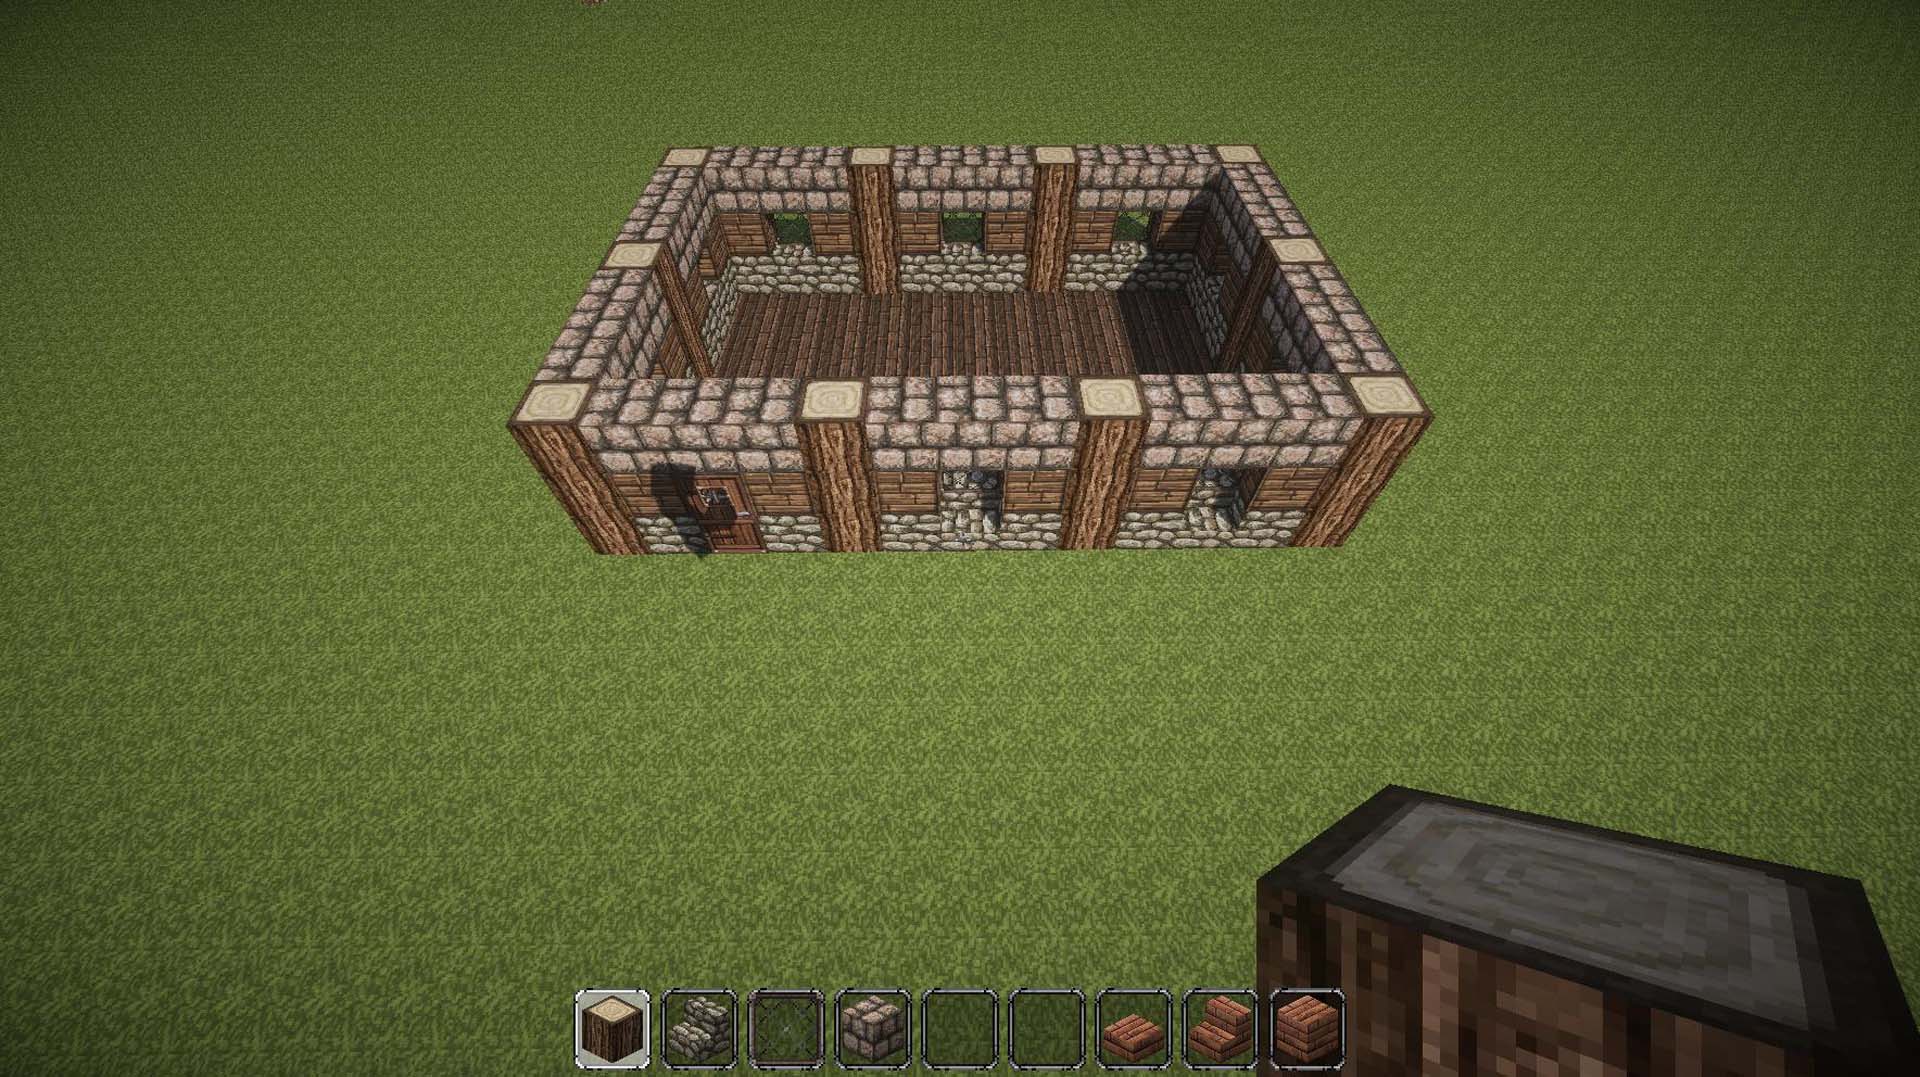
Good work so far, boss. You’ve got yourself the makings of a pleasant cottage. Let’s continue on to Stage 2, where you’ll need the following: Oak Log, Cobblestone Stairs, Glass Pane, Stone Brick, Brick Slab, Brick Stairs, and Bricks.
Attic Windows
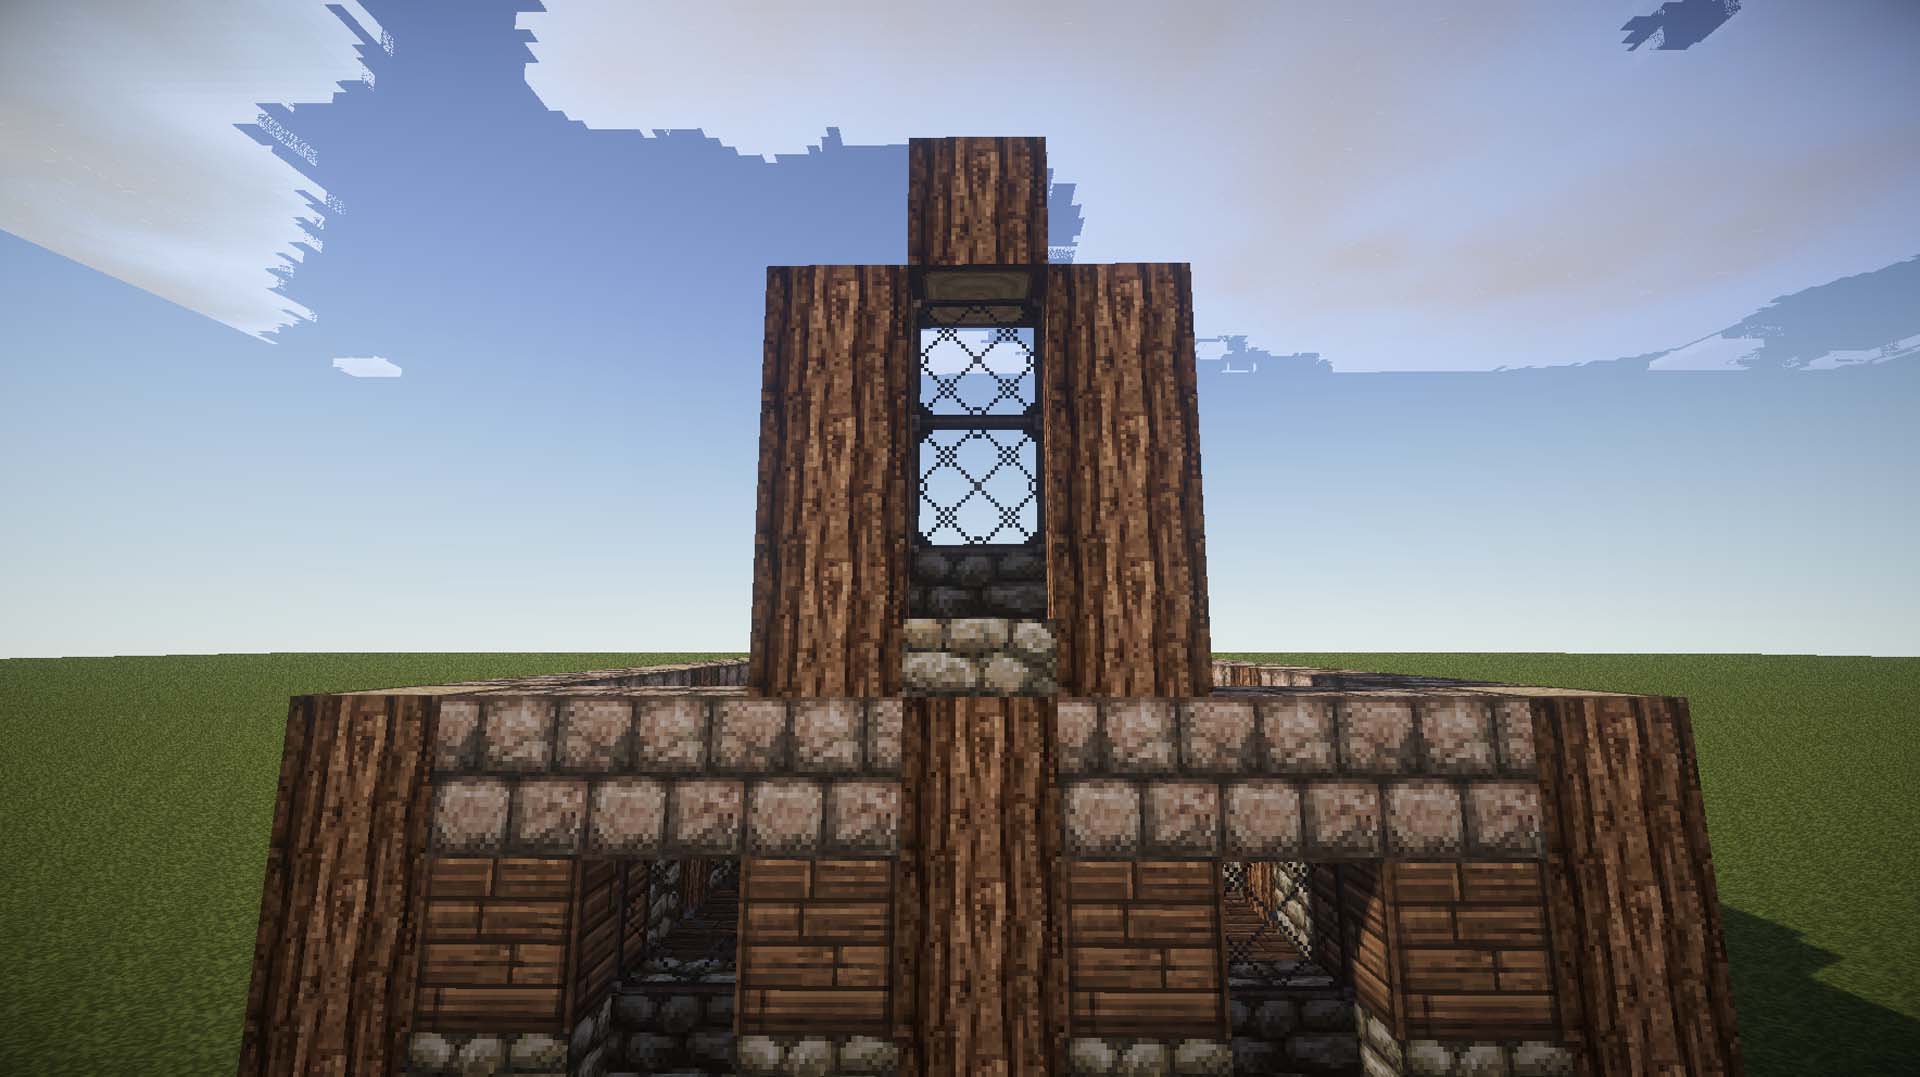
Remember how we used Glass Panes and Cobblestone Stairs to create depth in our ground floor windows? Lay down one Stair, and Two glass panes up, inside a Log frame directly over the support beam from the ground floor. Do this on both SHORT sides, but not the long sides. They’ll get there turn to be interesting, never fear.
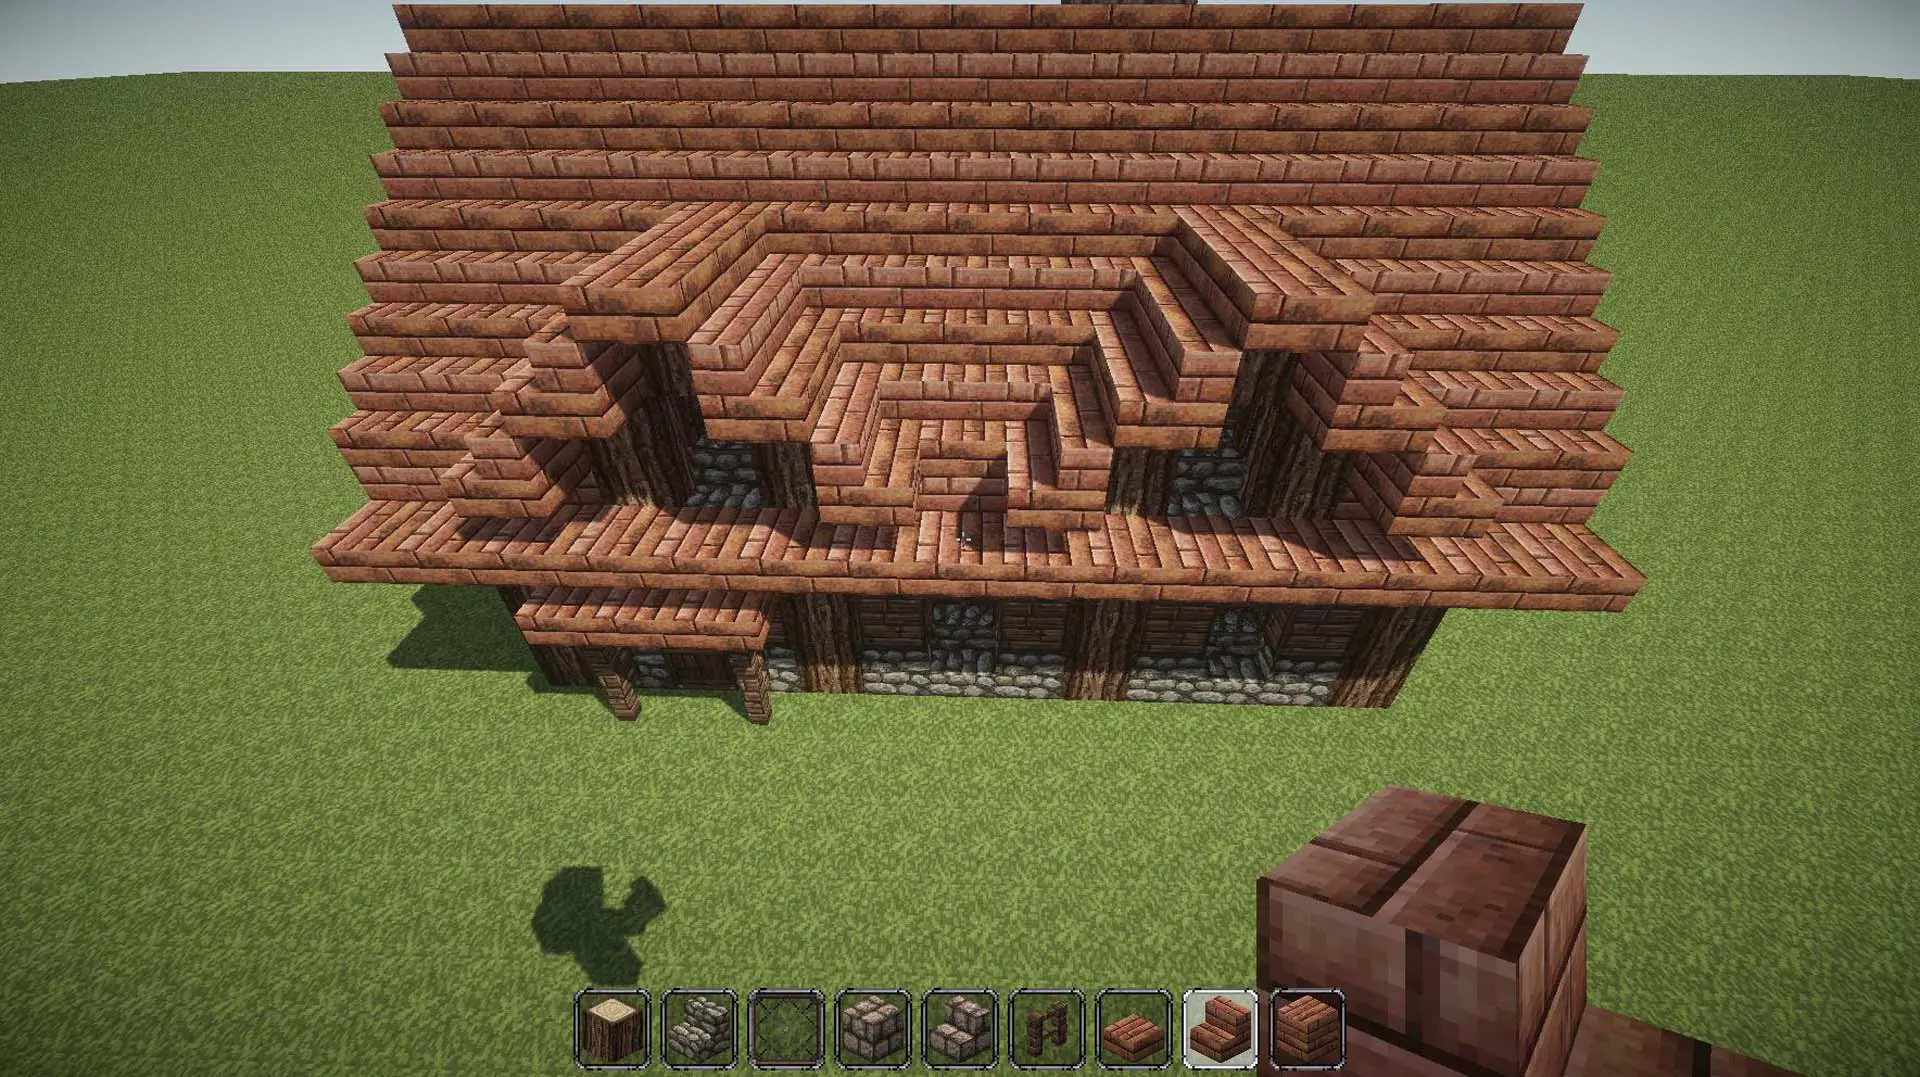
Fill in the A-Frame
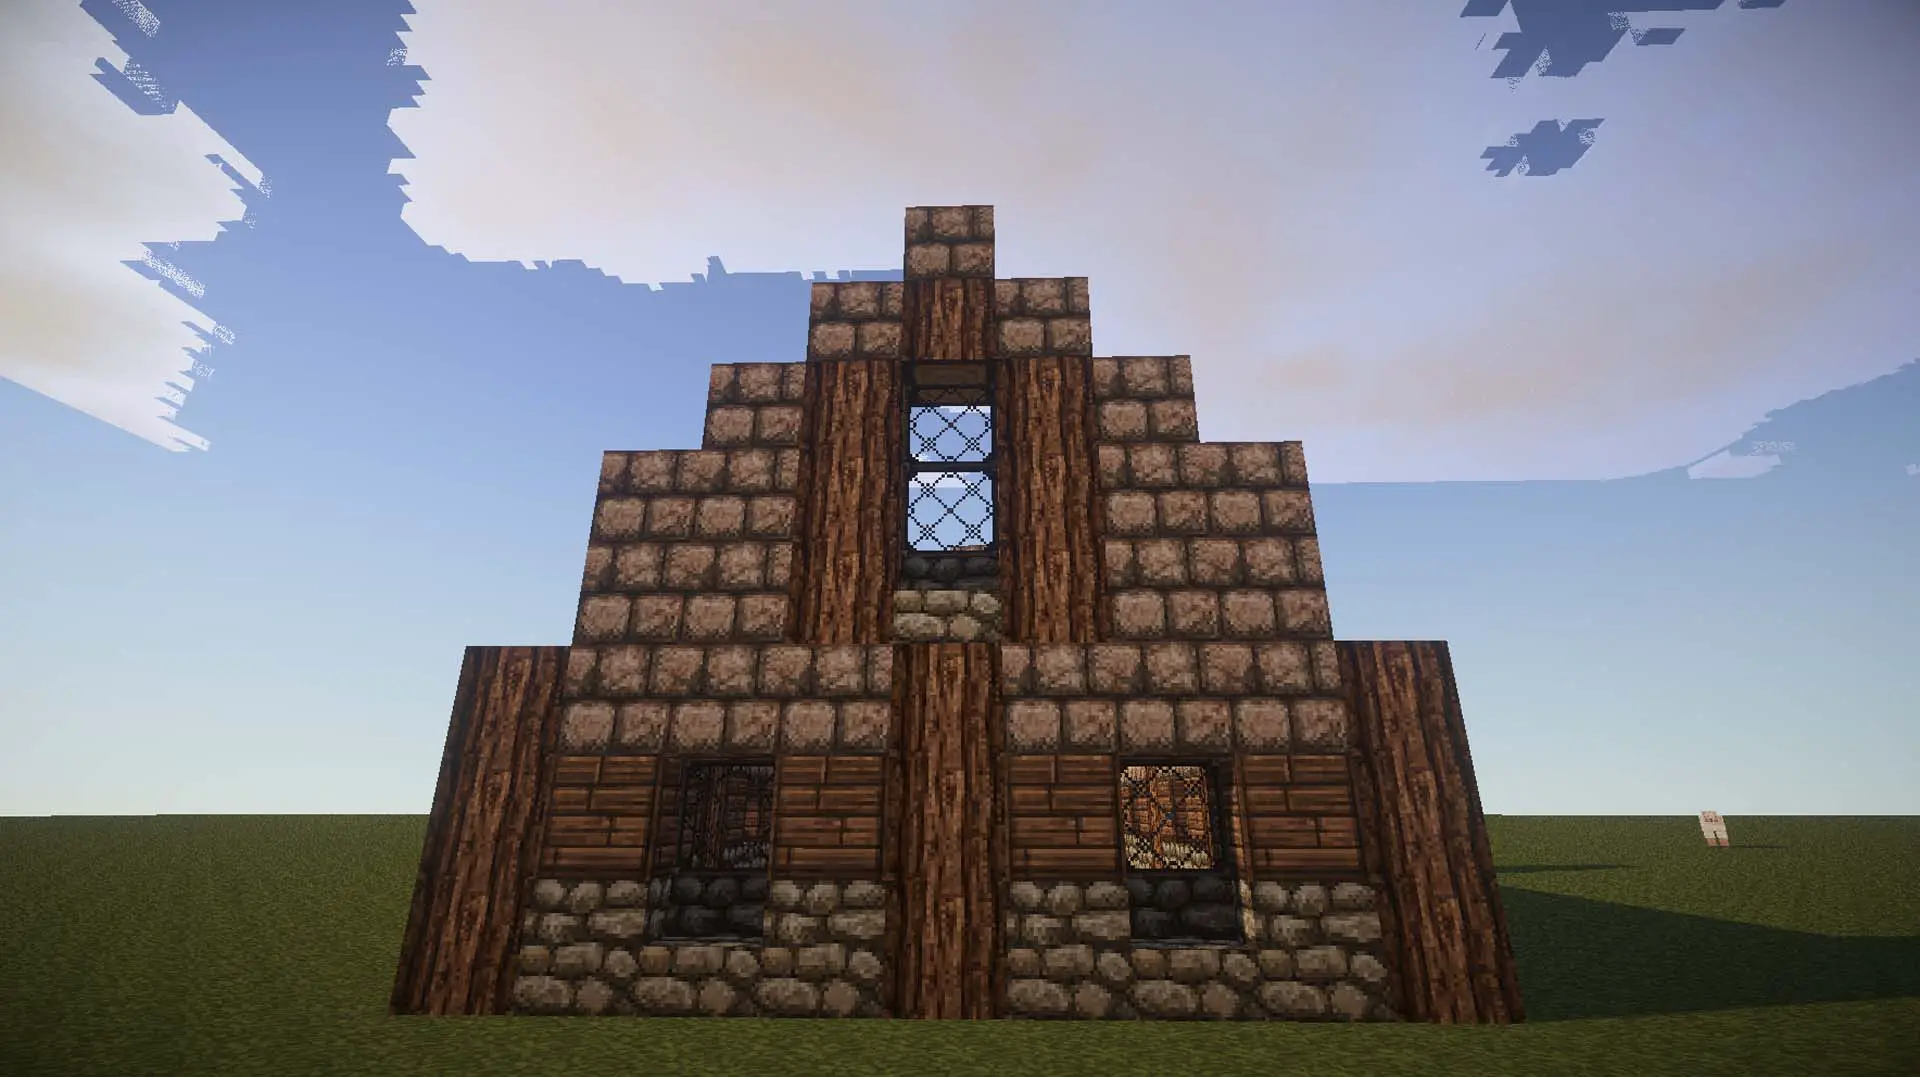
Now with the window and frame on, cap it with stone bricks, and step down by one whole block each meter out, so that just before the outer support beams, you’ve got a 2 meter jump.
Upper and Lower Extents
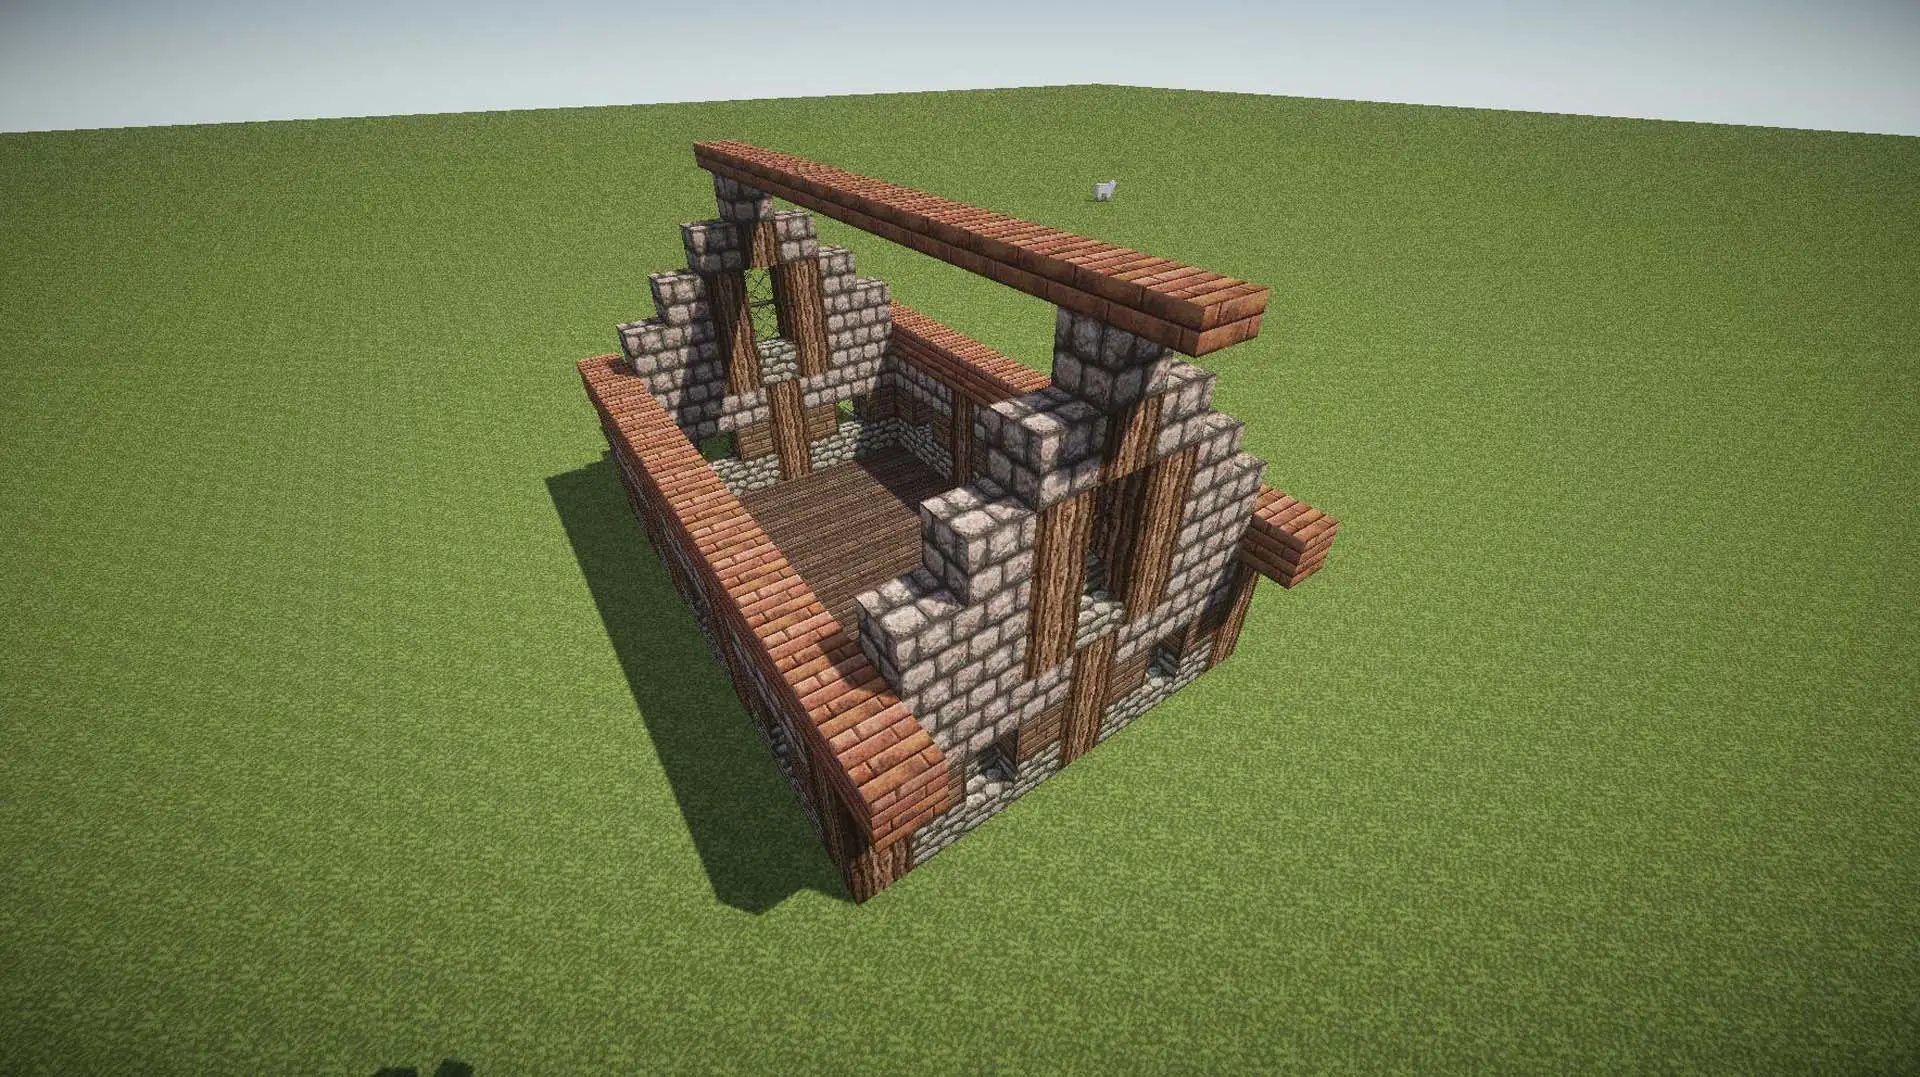
Let’s get roofing. Along the very top, lay a row of Brick Slabs, while on top of the LONG side walls, lay a row of full Bricks blocks. MAKE SURE to have these rows overhang the windowed-edge by one block. This is yet another layer of depth.
Slab Border Around
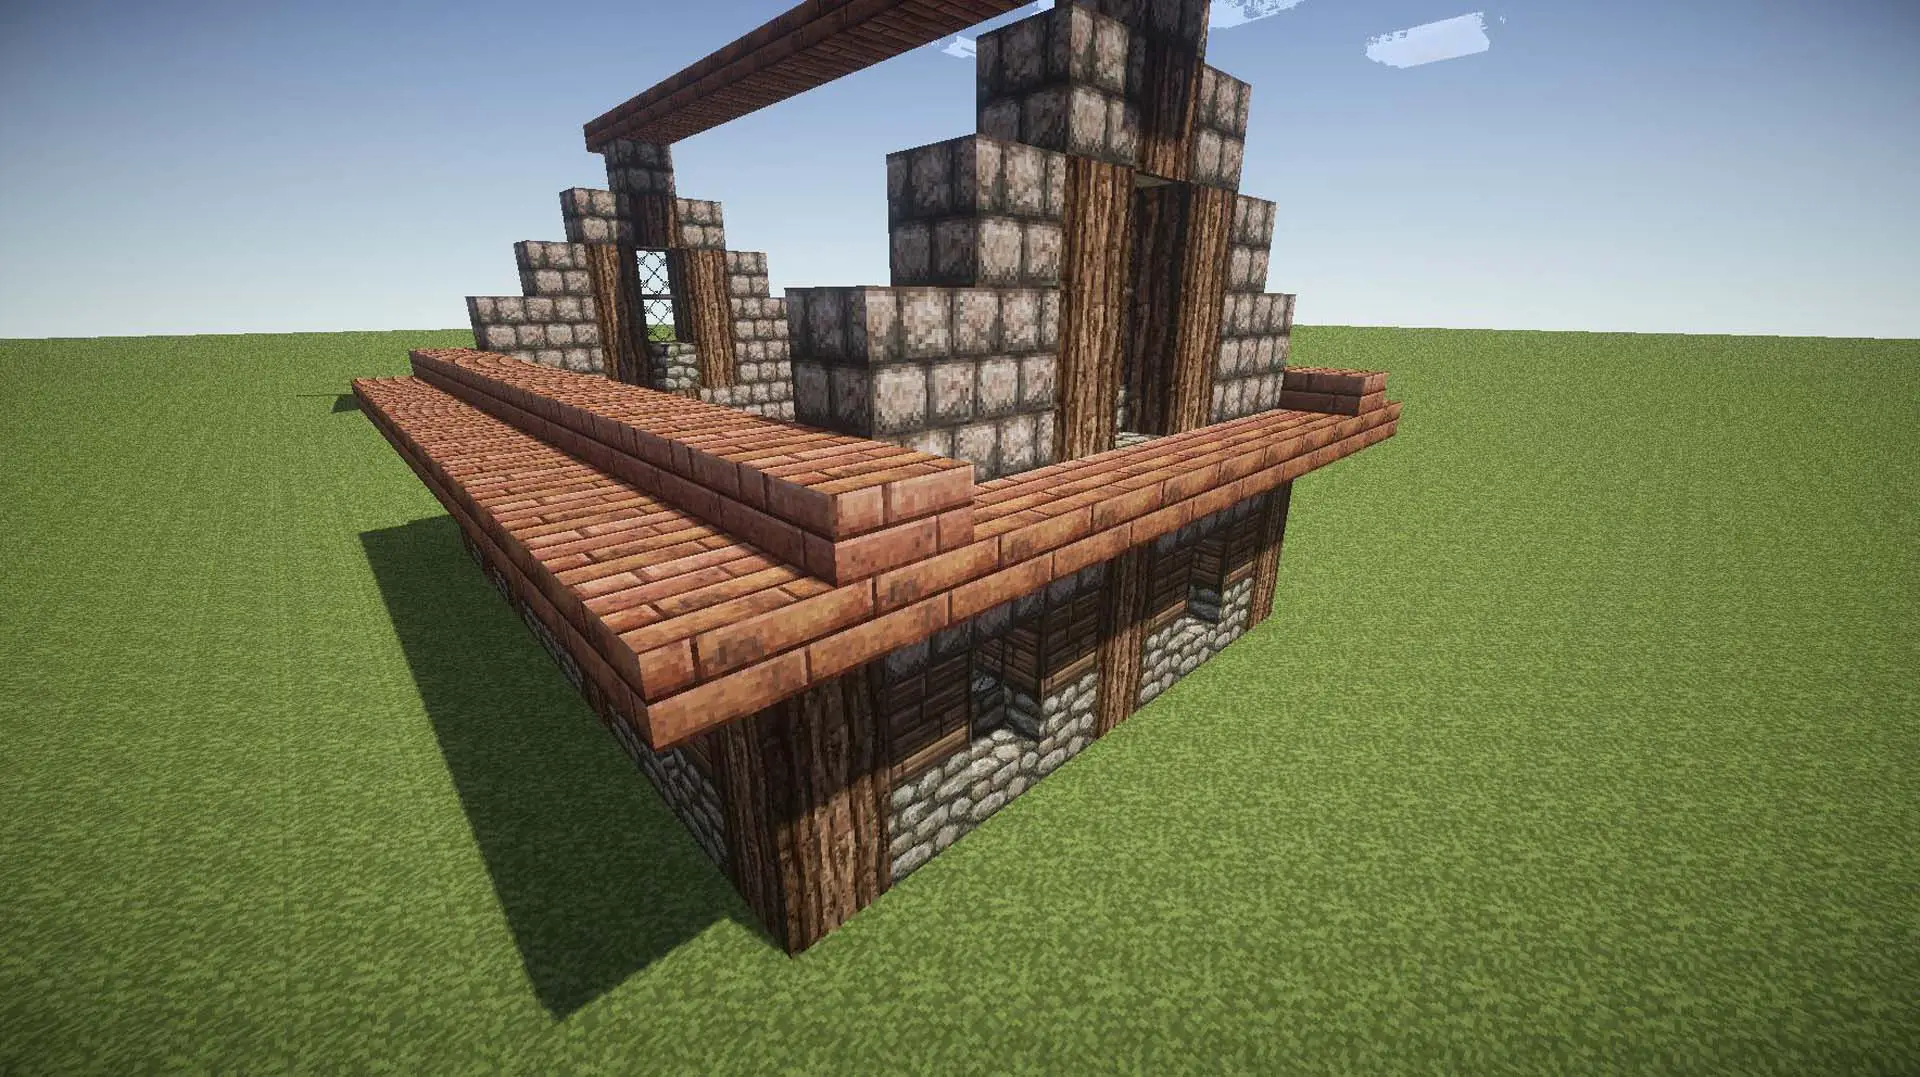
Lay down slabs along the outside (bottom half) of the full brick blocks you just finished up with. Make sure that if you walk underneath it, it’s one block of overhang the whole way around, so that even on the short side, there’s slabs separating the ground floor from the upper. …Make it look like the picture. You know. Good lad.
First row of Stairs
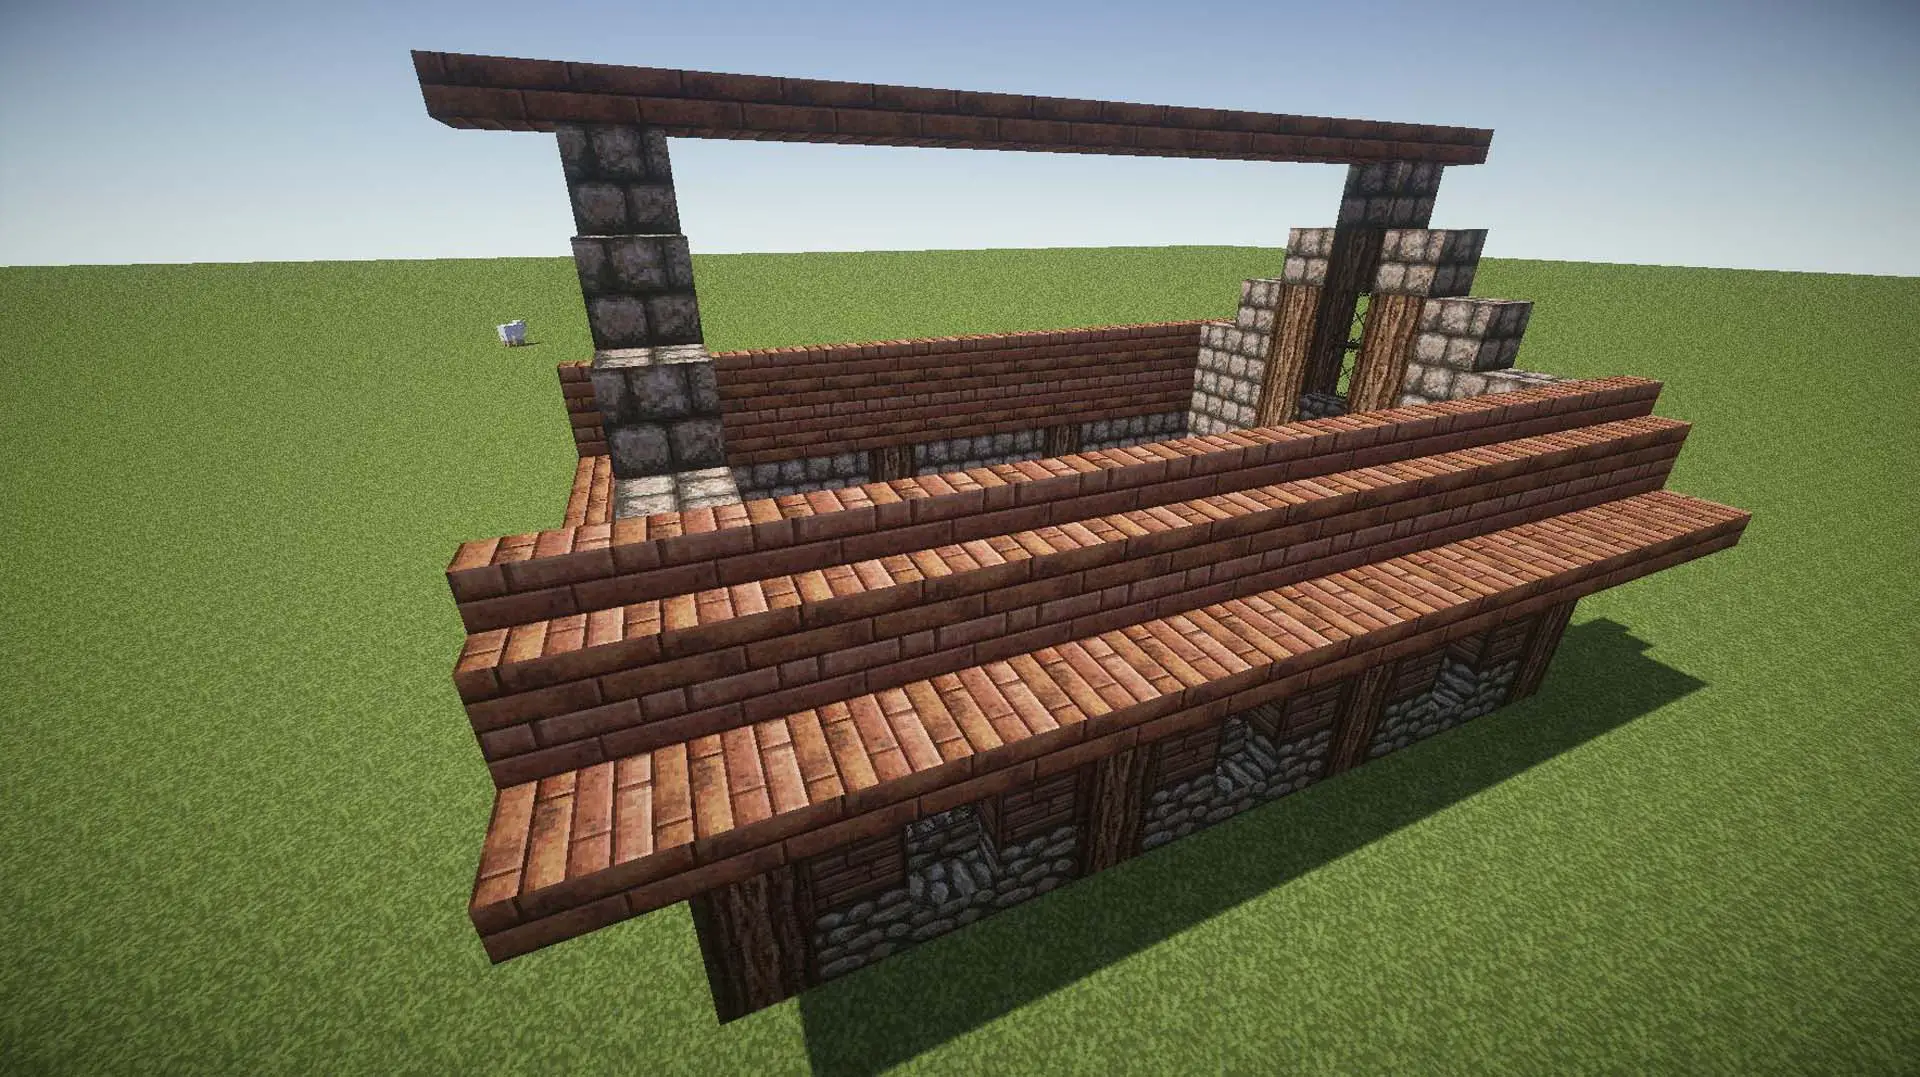
Brick Stairs. Love them? You’d better. Start by laying rows of them facing outward on top of the full Brick Blocks.
Fill ’em in.
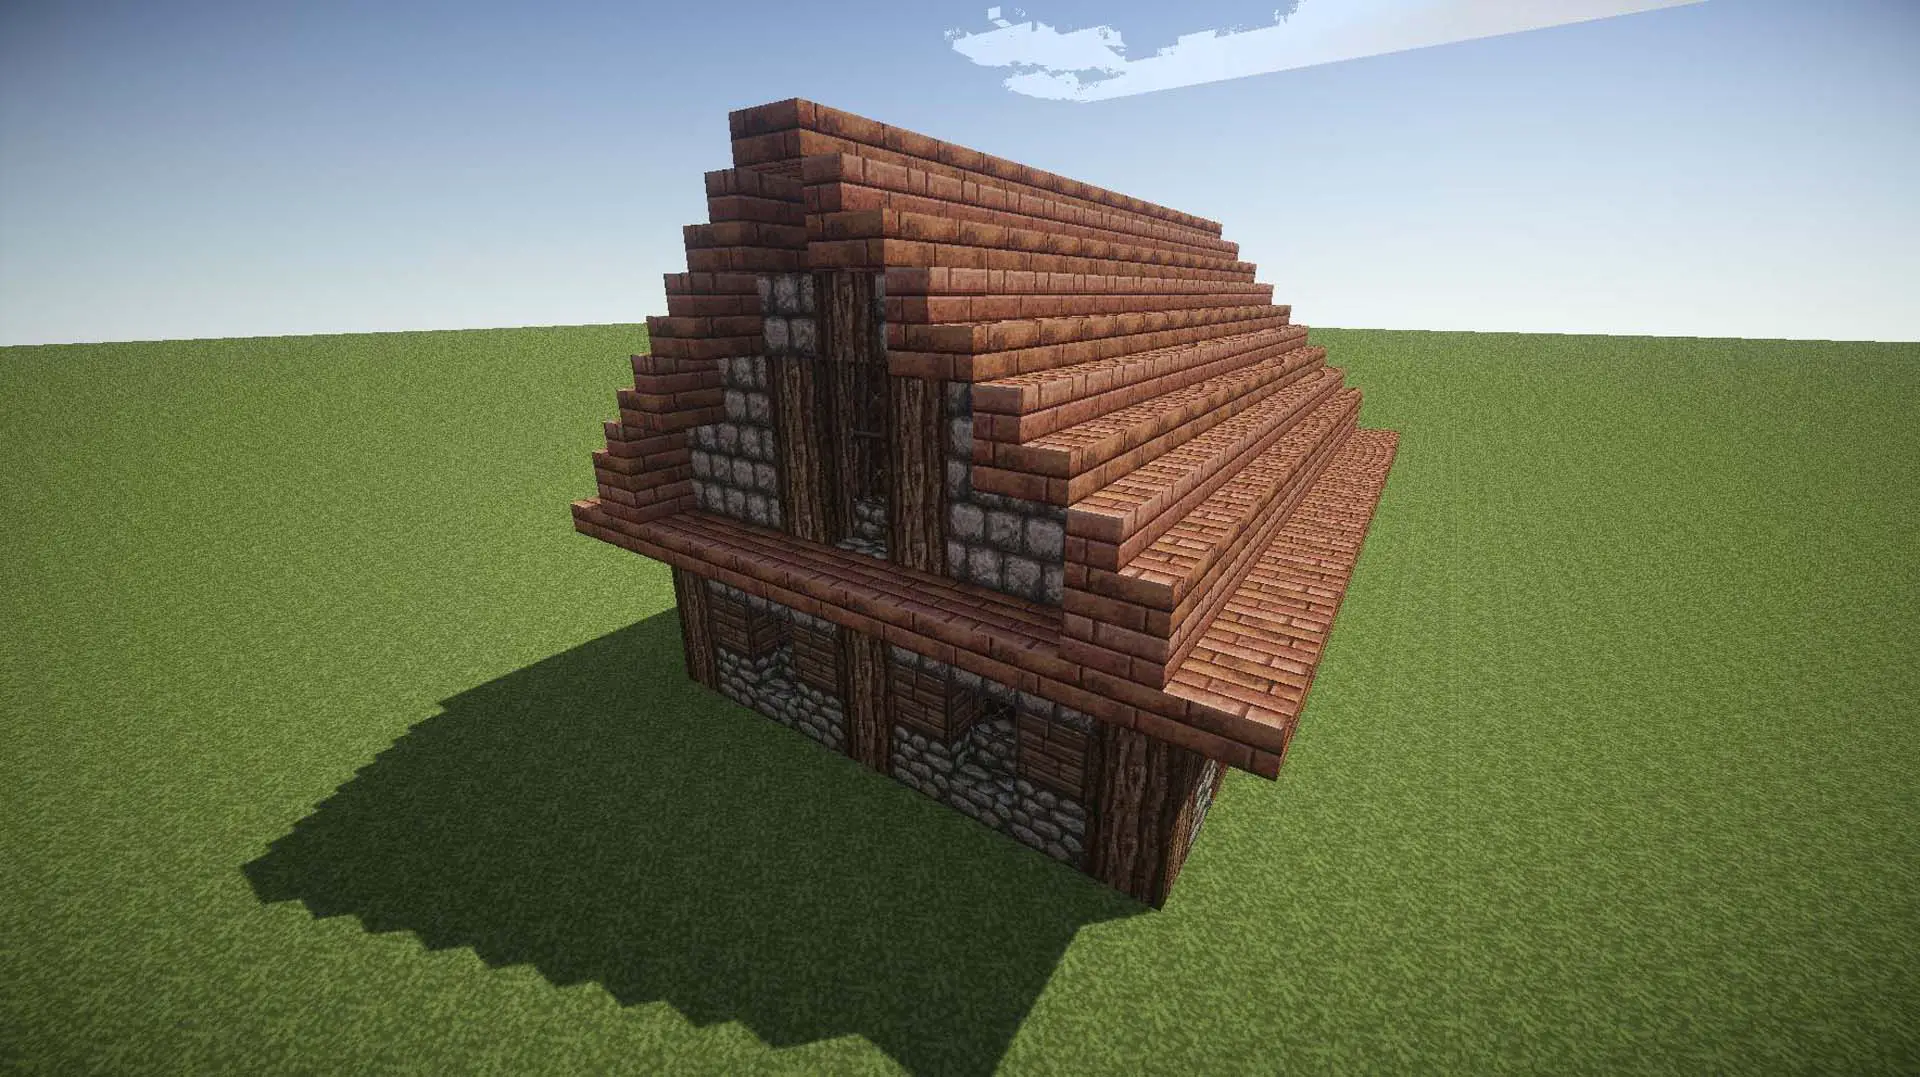
Fill in the remaining space until you’ve got no open spots. There should be an overhang of one the whole way along the A-Frame.
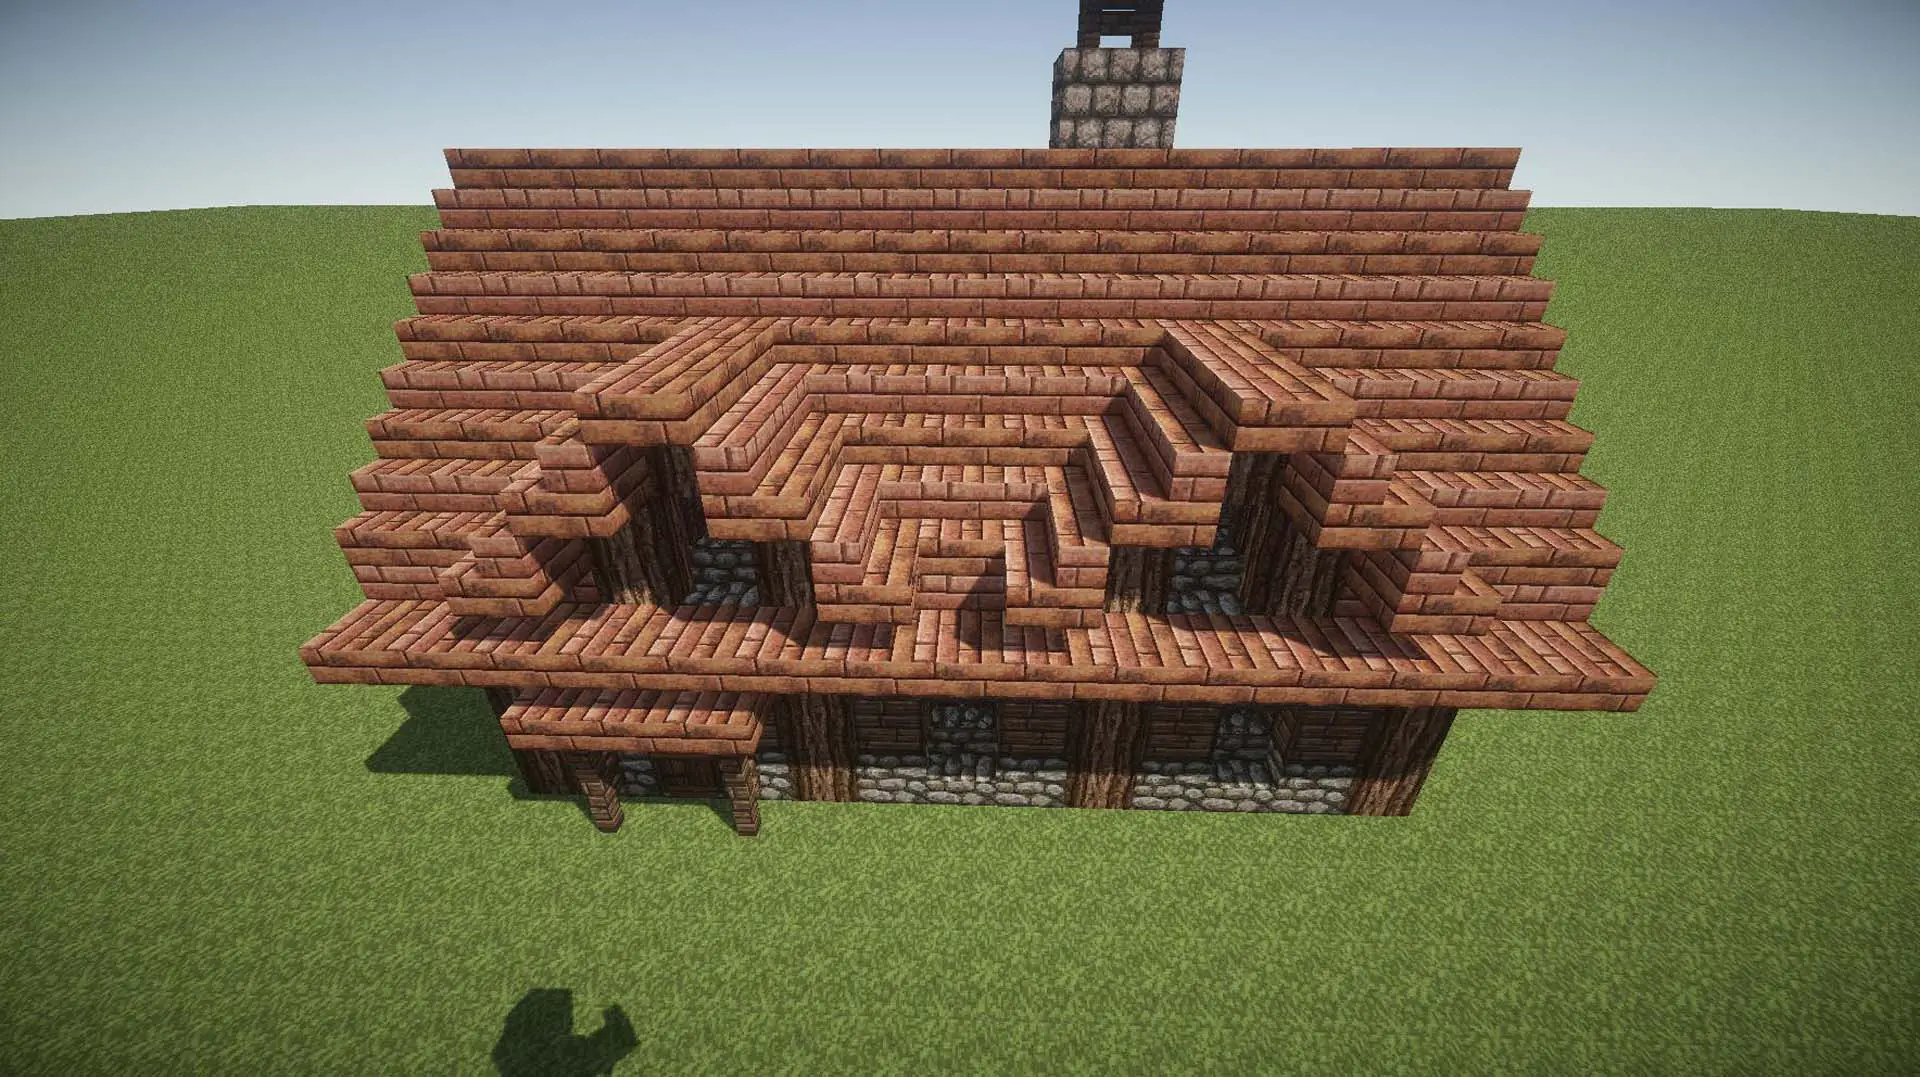
Stage 2 Complete
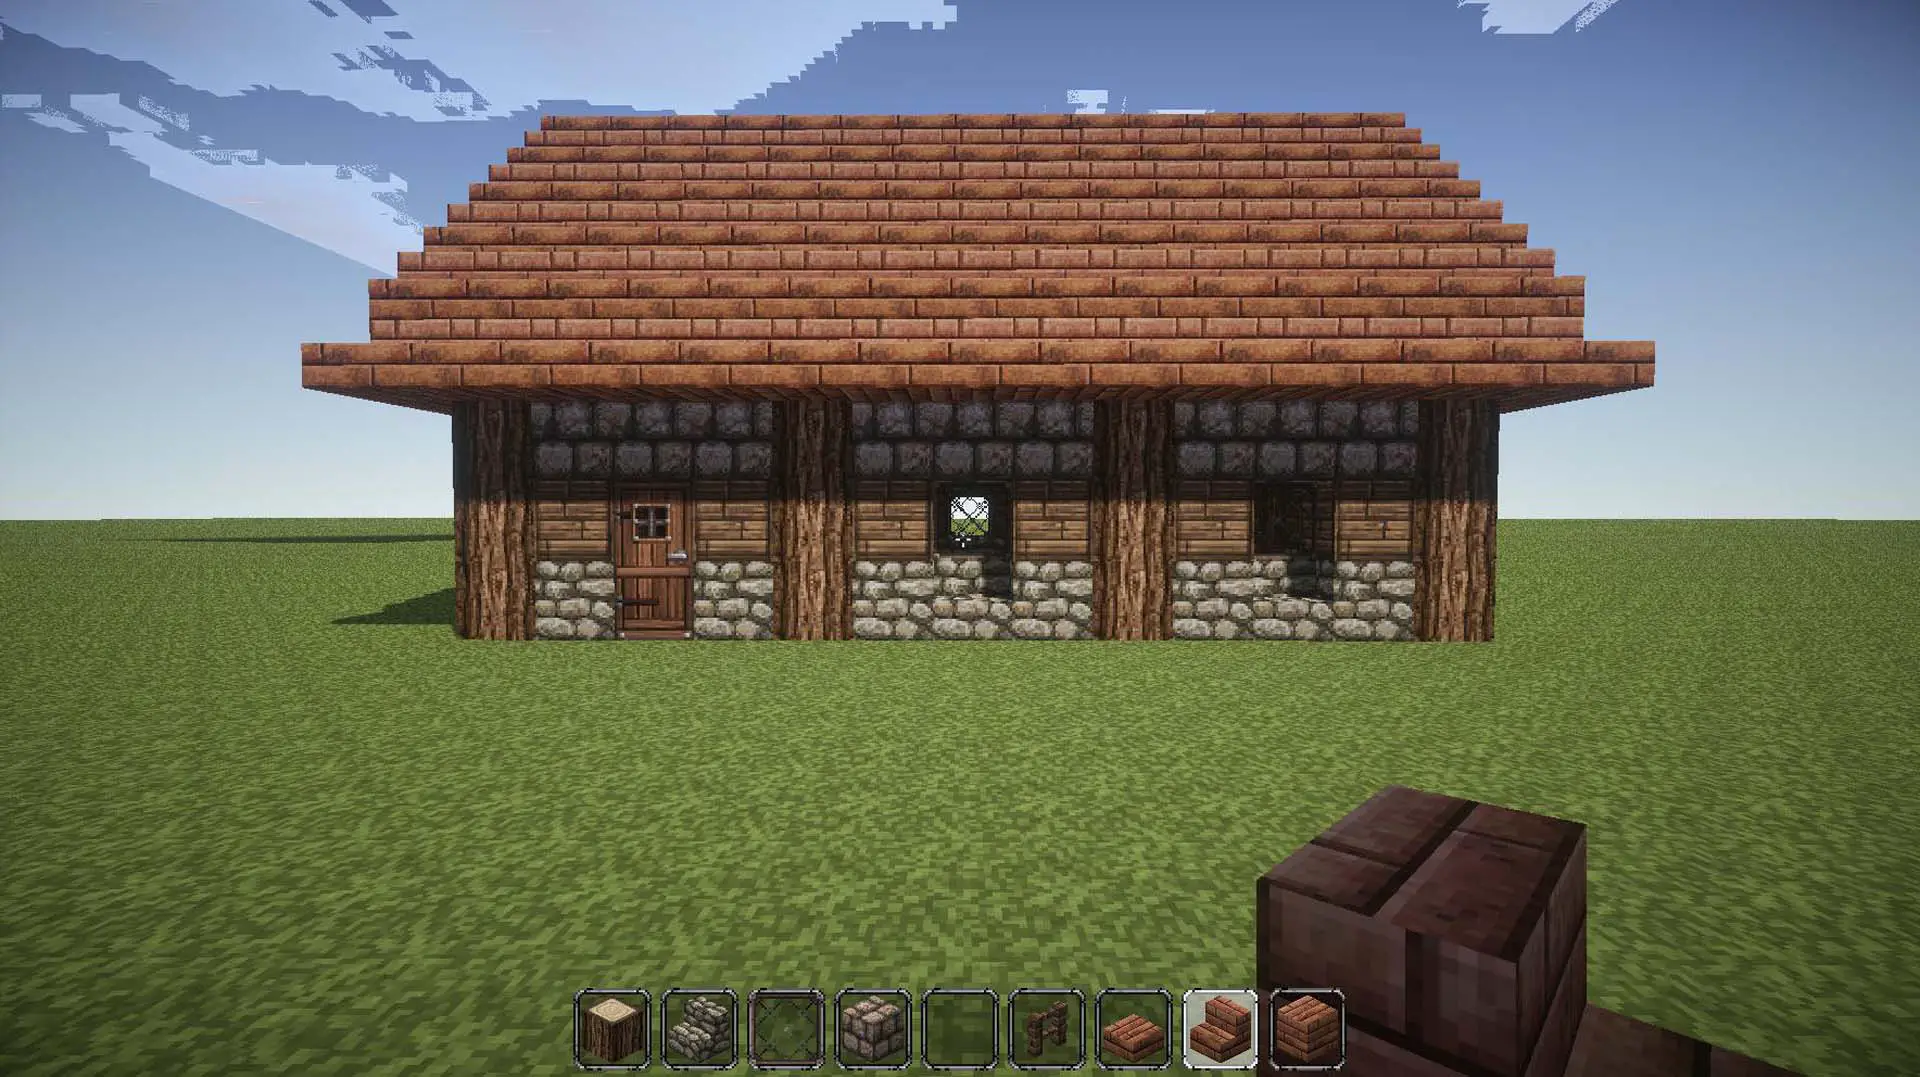
Almost there, bud. Now comes the fun part. What? You were having fun already? Strange. Stage 3 is decoration, and adds more…you guessed it: depth. It also adds in some more variation where there are large unbroken regions of one color or arrangement. You’ll see what I mean shortly.
Door Awning
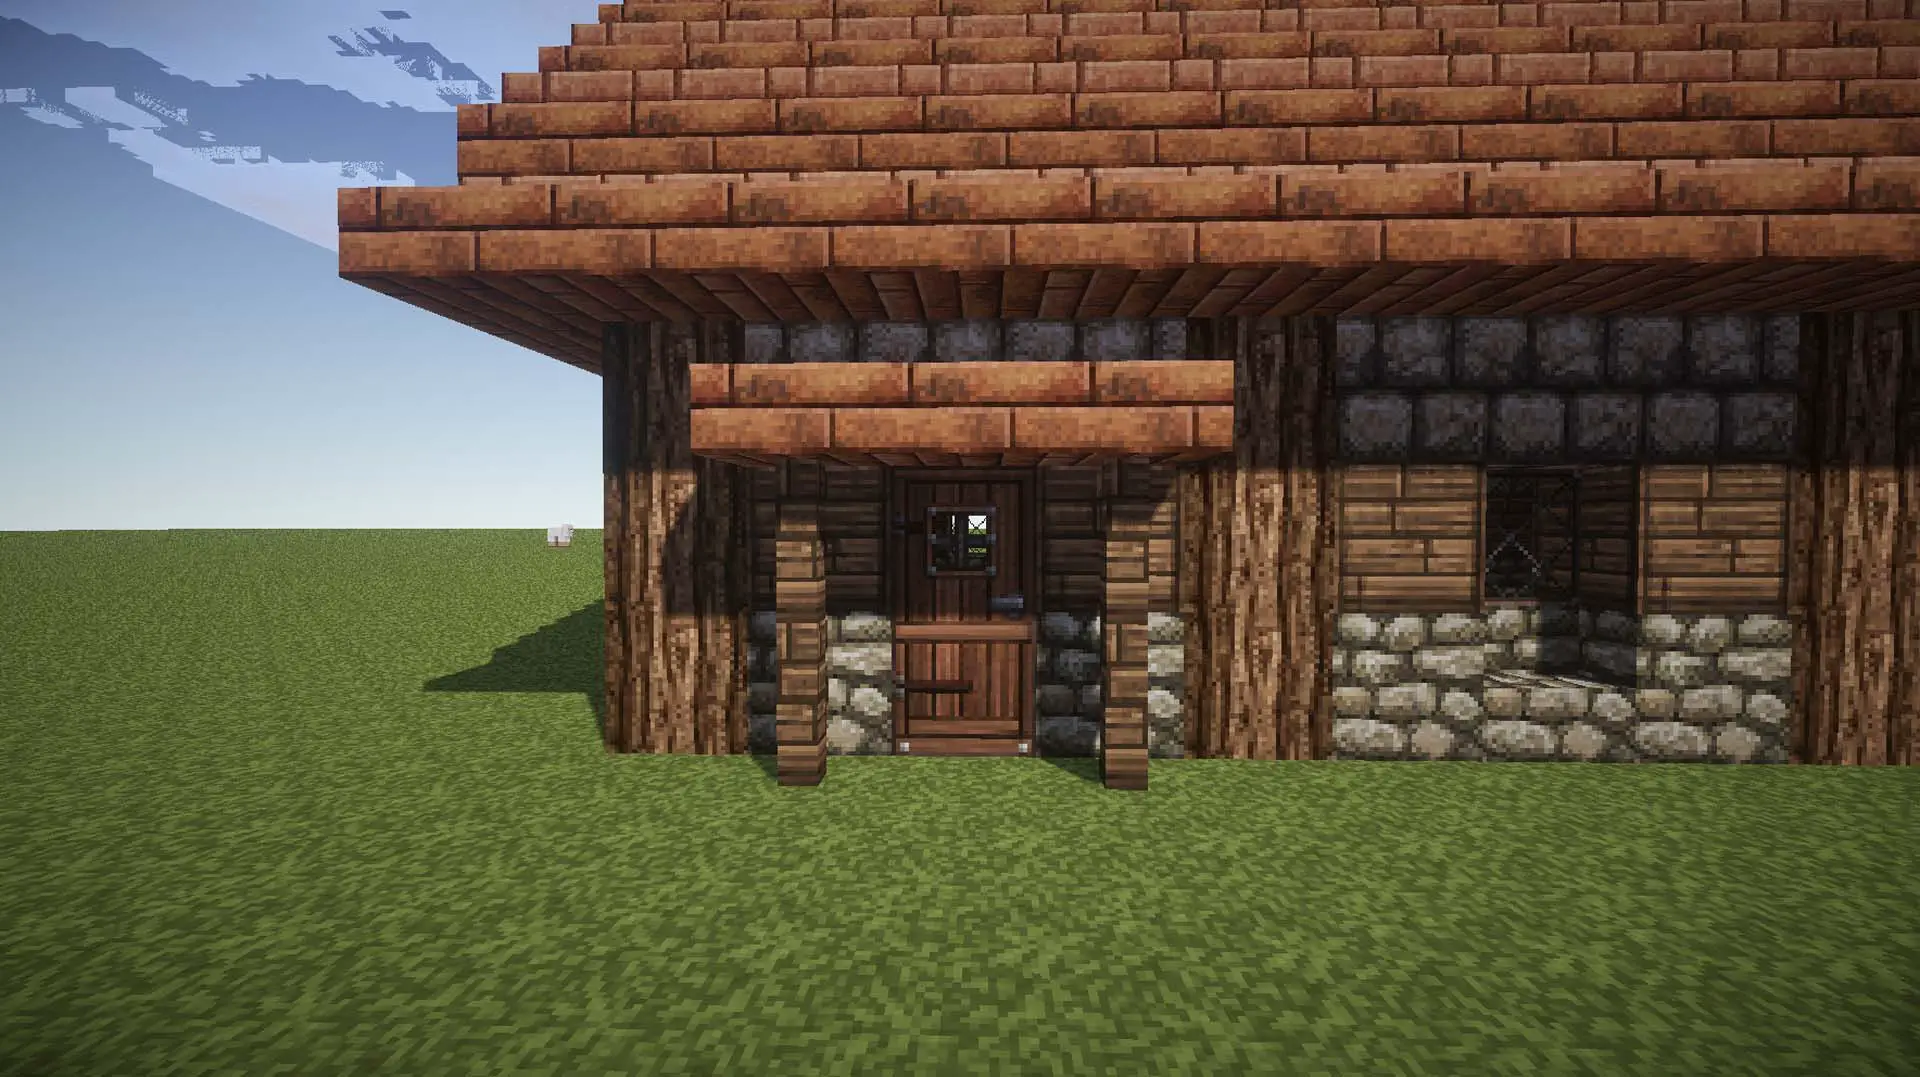
Use Brick Slabs and Fencing to create a bit of an awning or ledge above your door. It adds depth to the wall, which is important since the door goes flush to it. It also makes the door more noticeable than the windows, which is important because it draws the eye to it.
Attic Window Overhang

Similar idea to what we did to the door, but without fencing: Grab your brick slabs, and in half-meter steps, put a ledge above the window pane. This is functional, as it would (realistically) keep rain out of the windows were they open) and adds depth to the large triangle of flat wall.
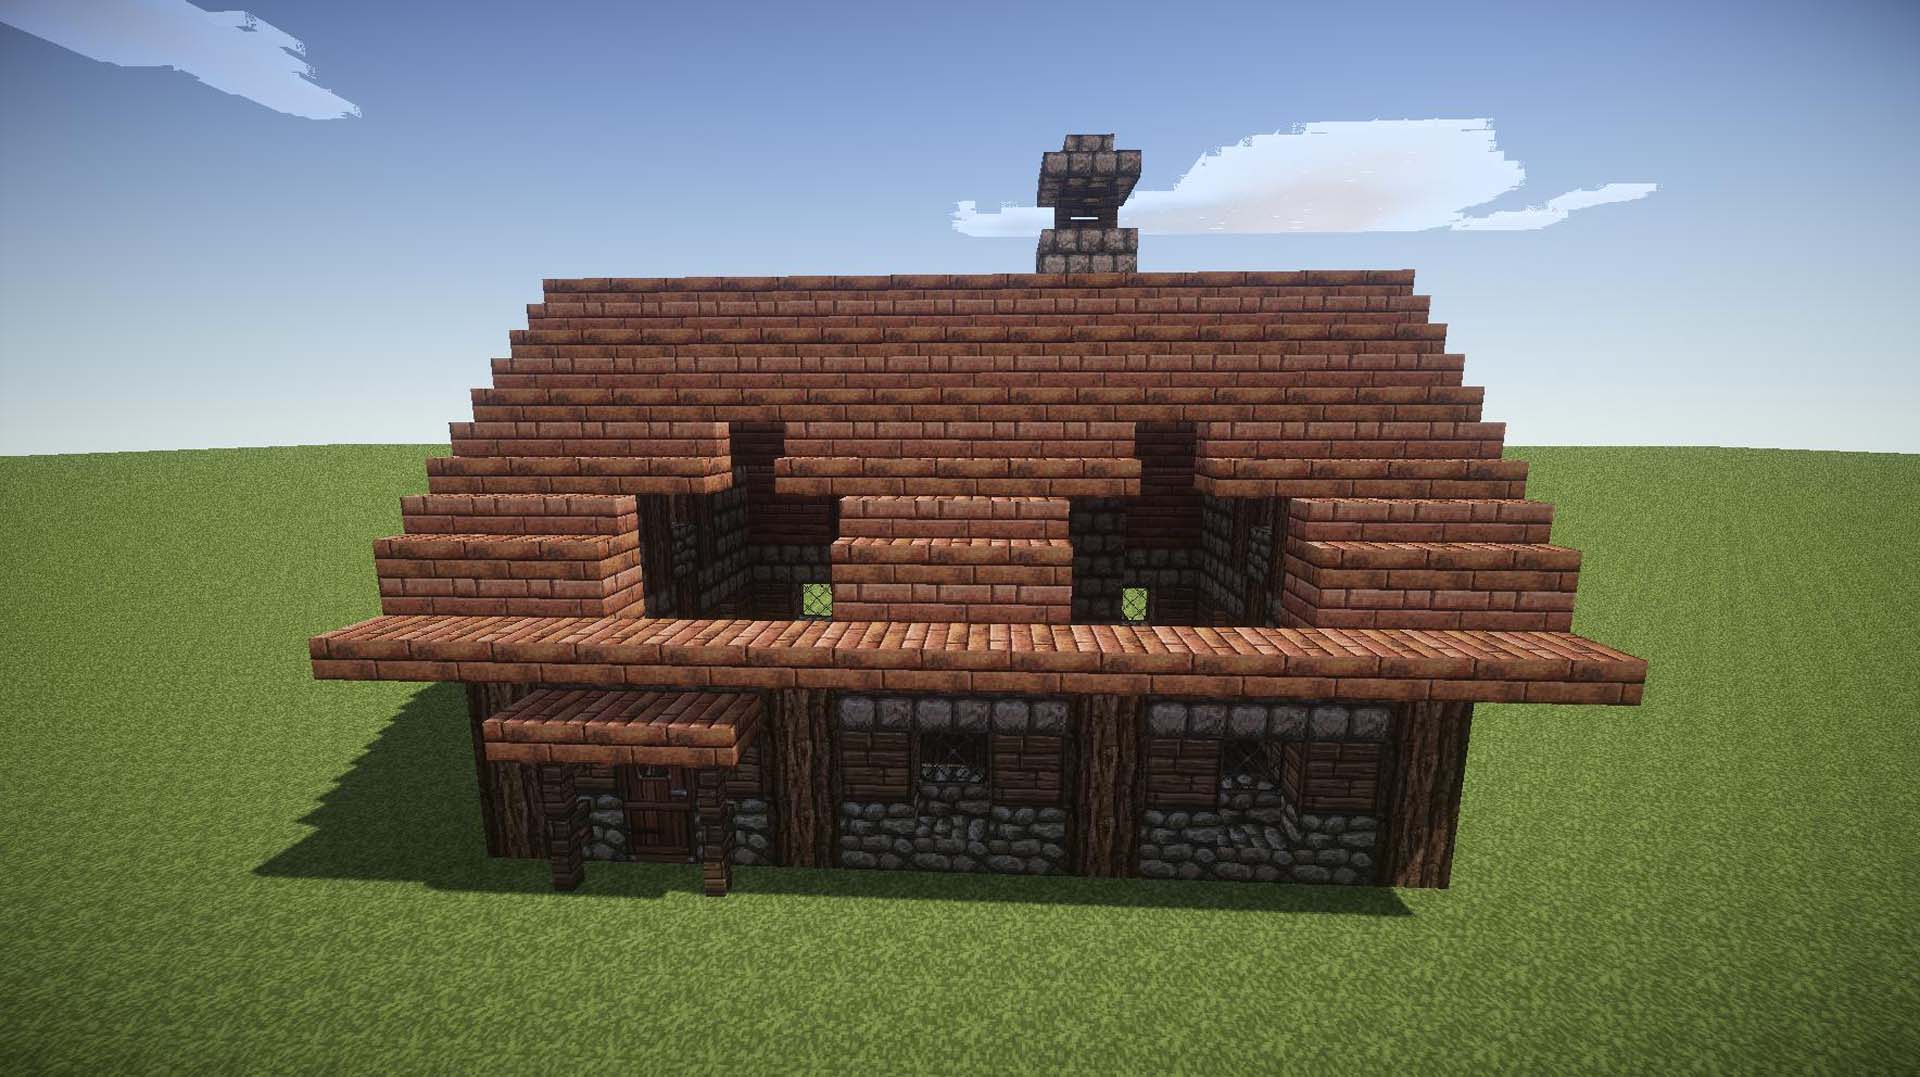
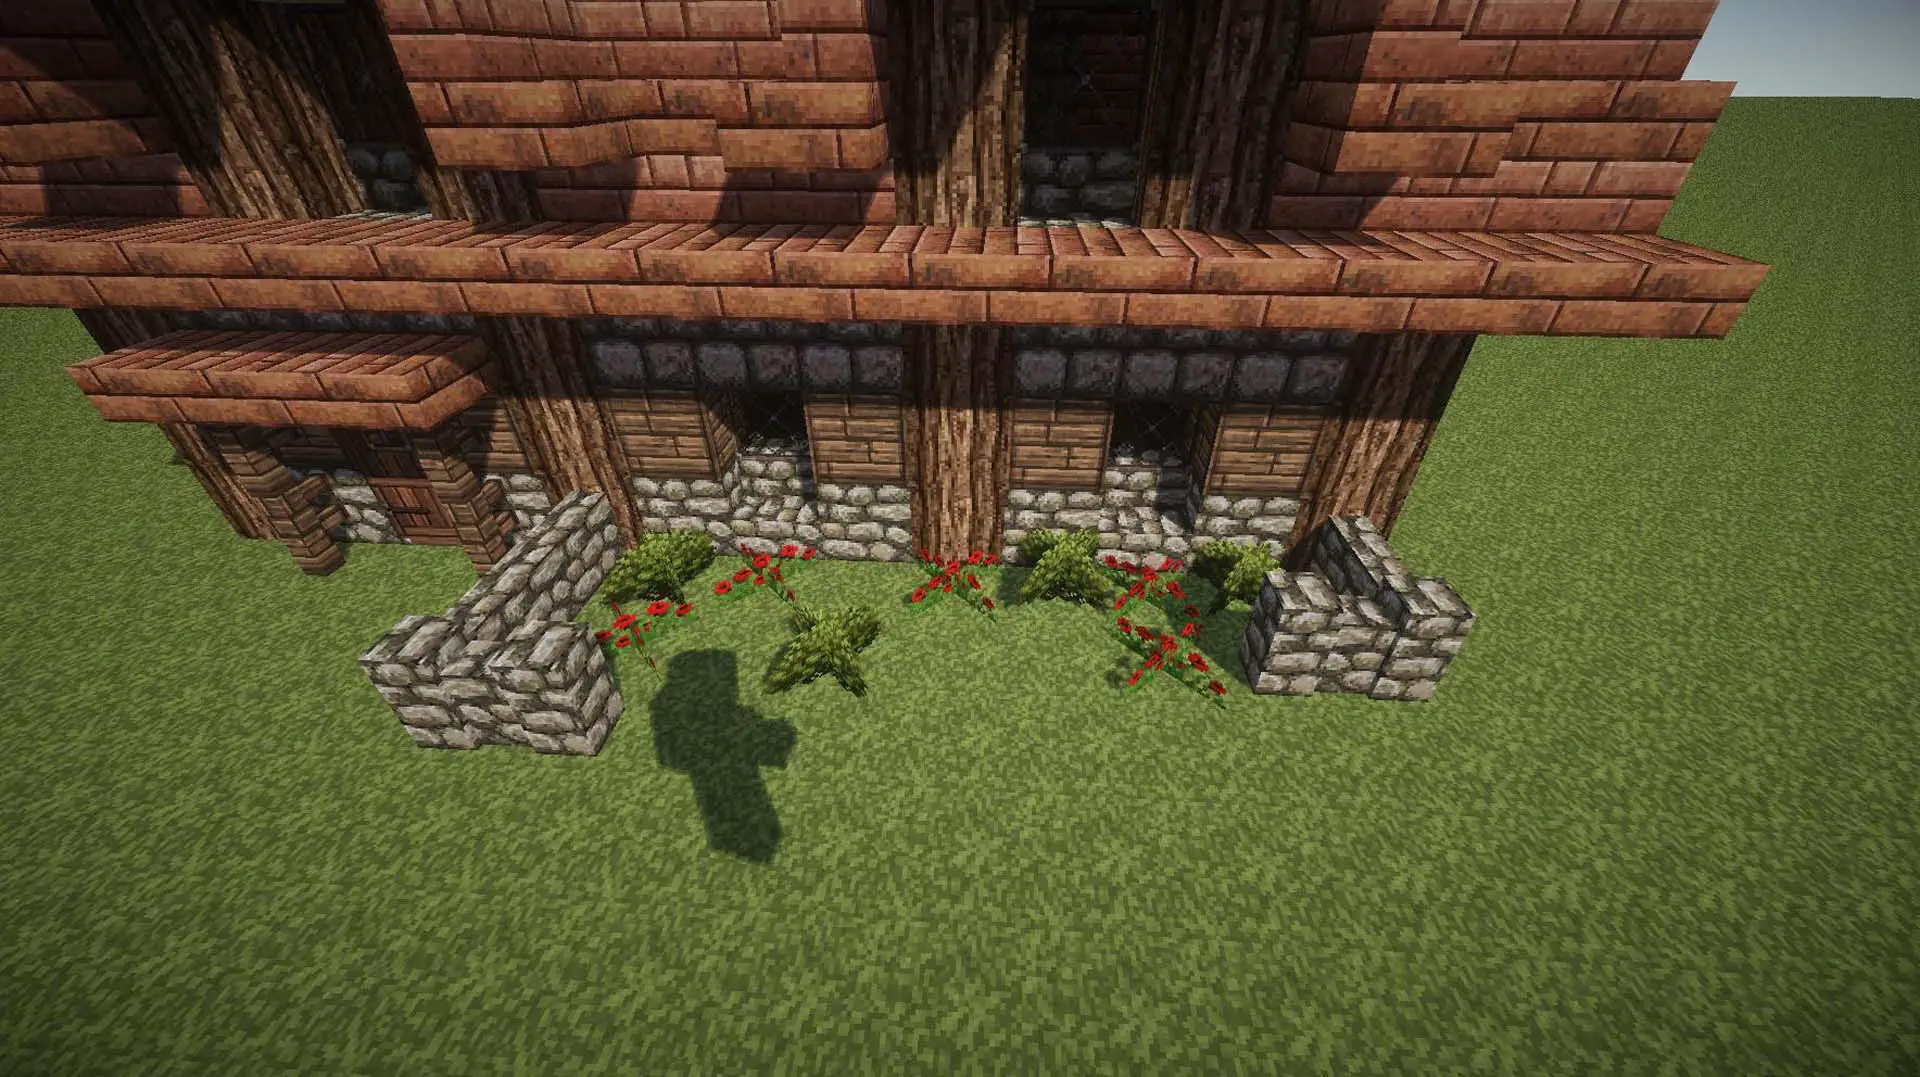
Make Room for Santa

Well, more like just a chimney for now. Make a 2×2 meter hole in the roof, where the outer 2 include the long side wall.
Fill with Chimney
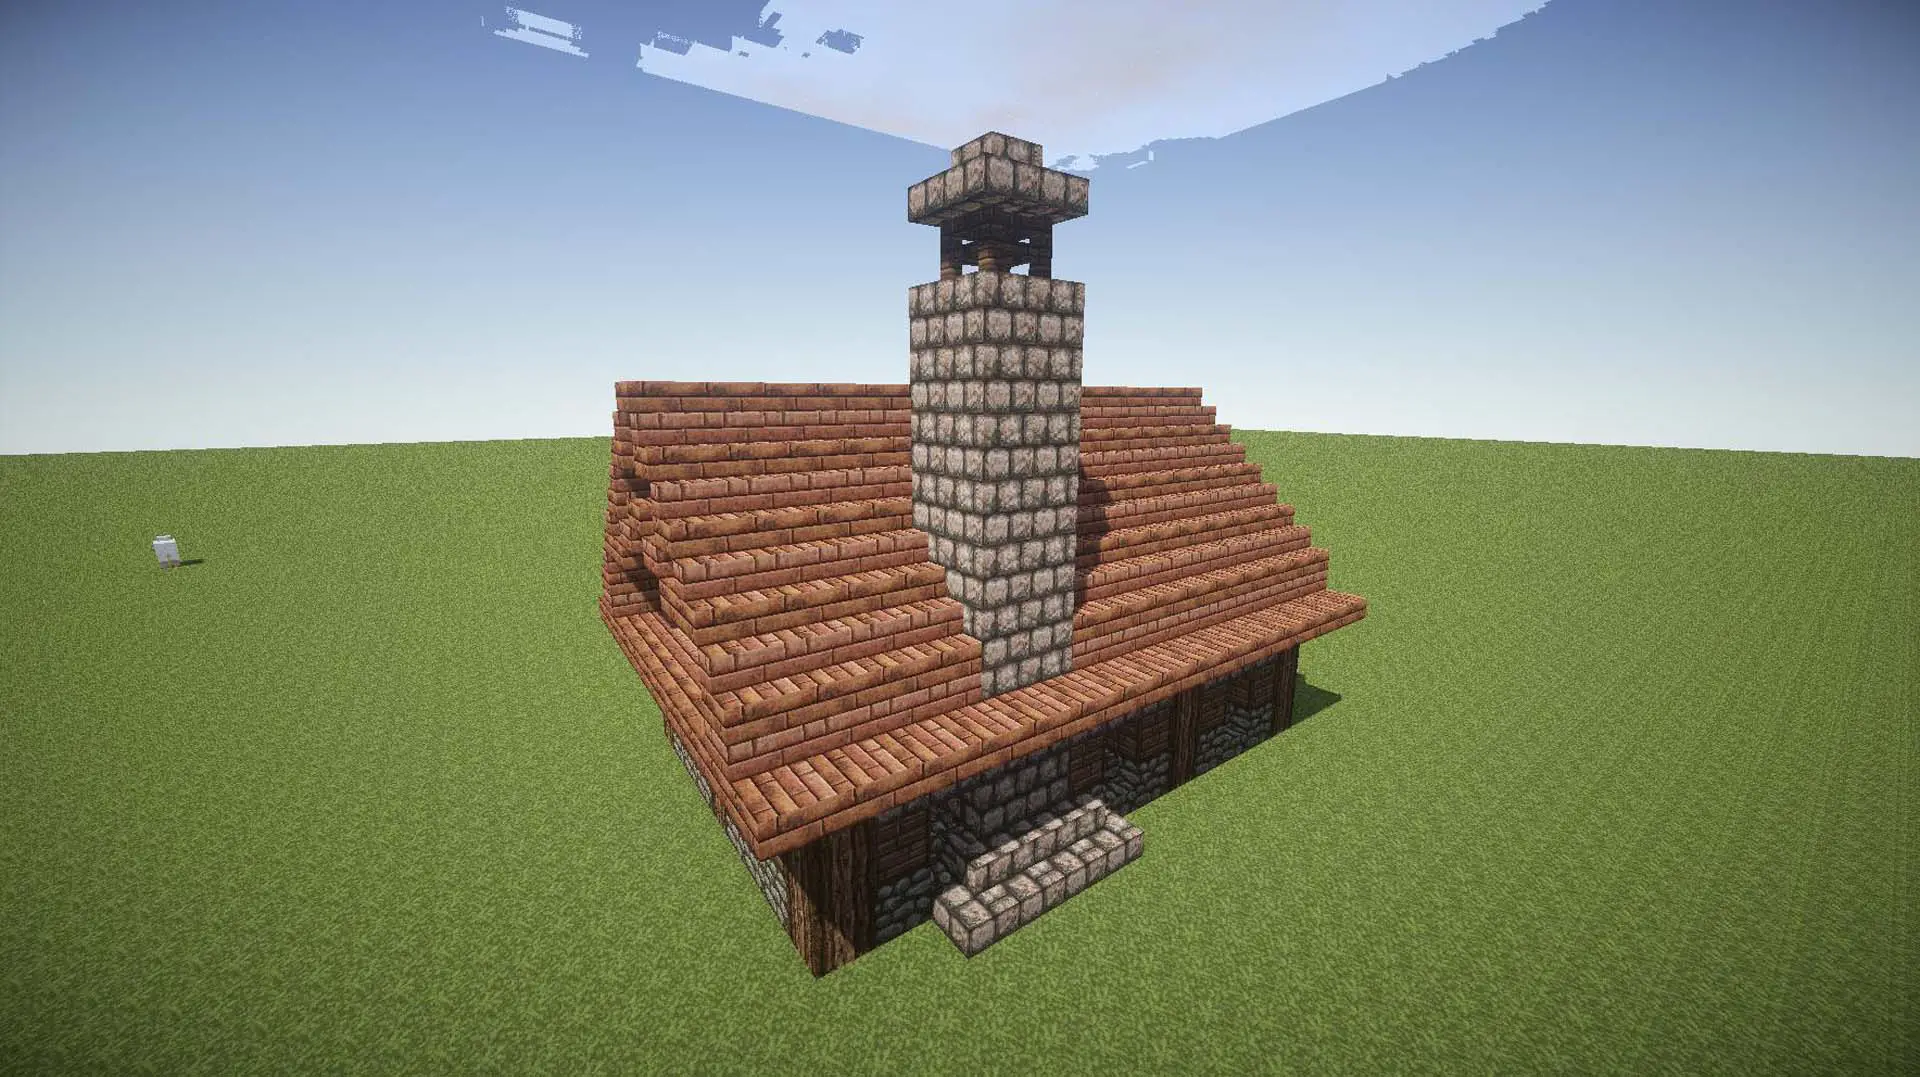
From the ground up, make a 2×2 column of Stone Brick to represent the chimney. Add some Stone Brick Stairs on the ground outside to add depth, and distinguish it as having a thickened hearth at the bottom. Cap the top with your topper of choice. Mine is 4 fences, and 4 Stone Brick Stairs that have been…shall we say, encouraged…to come to a central point.
Make Way for More Windows
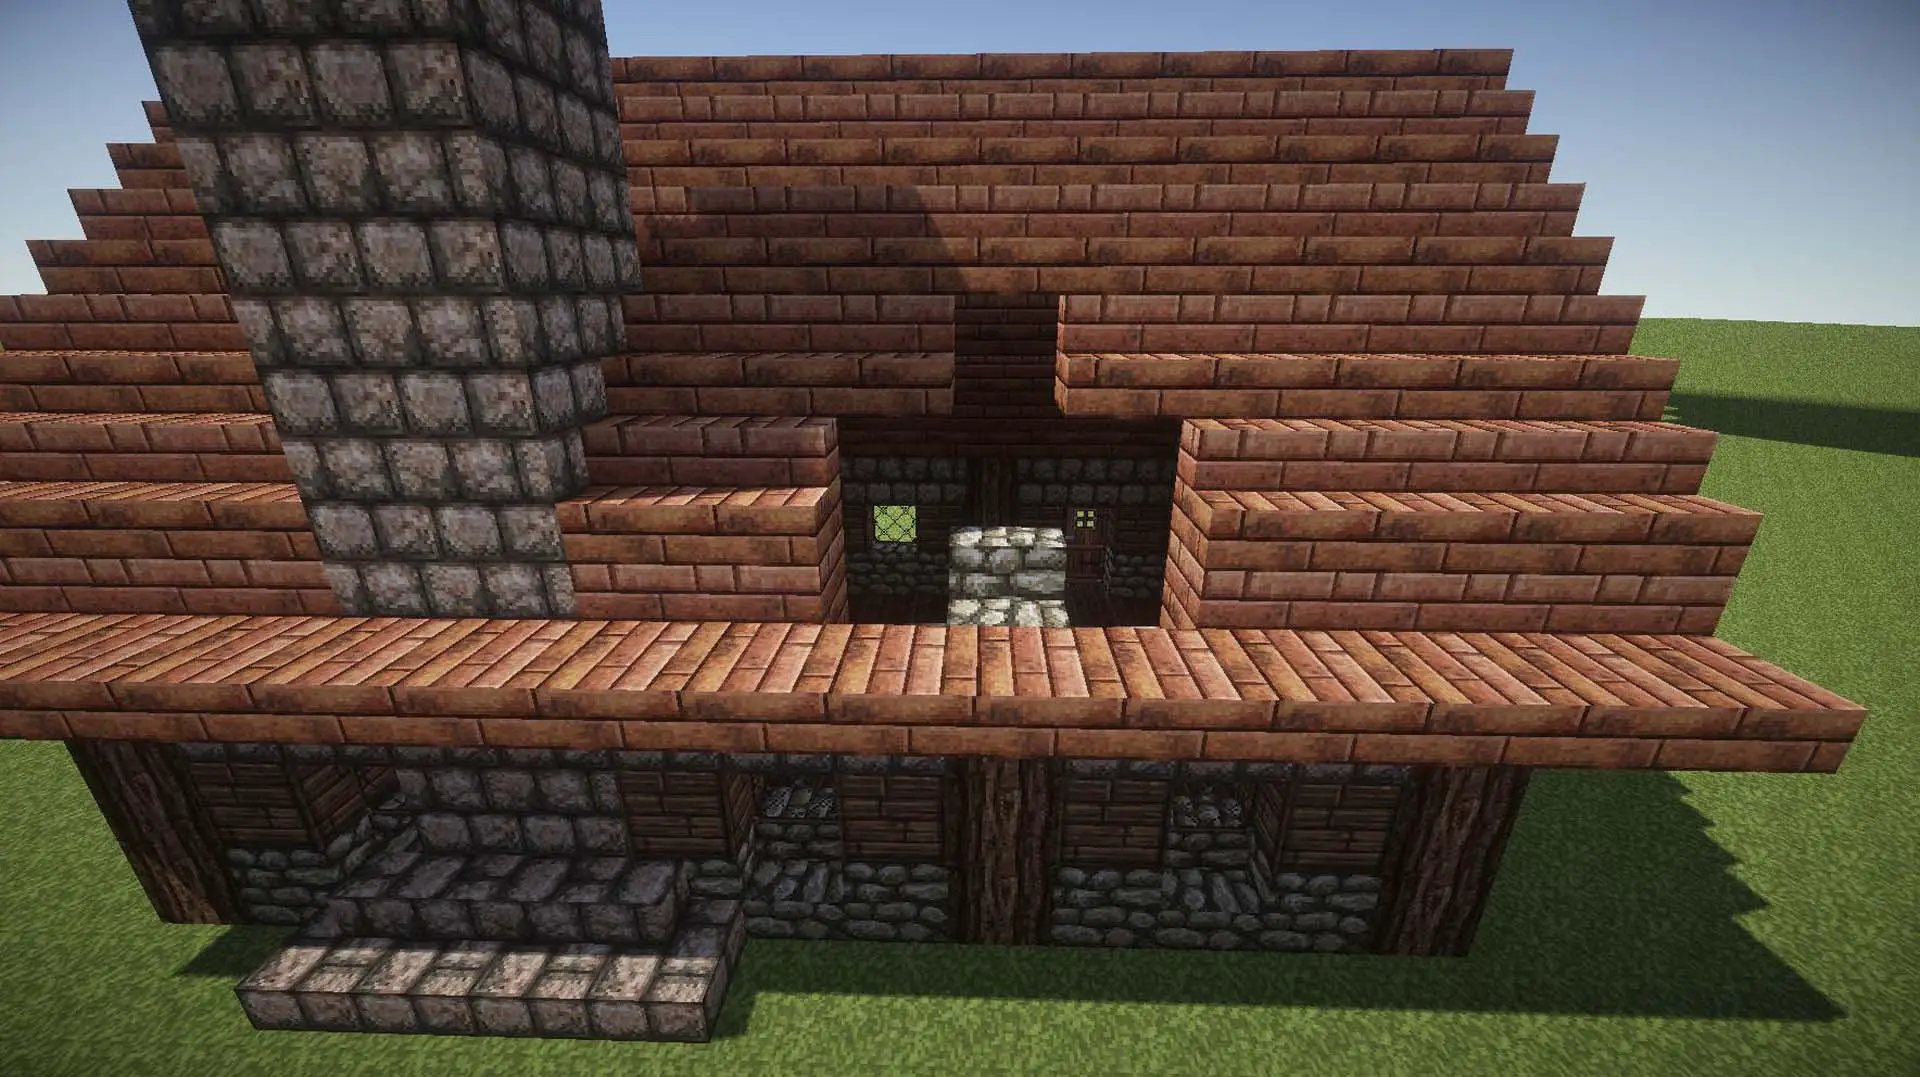
Looks like a Creeper’s Mouth, but it’s just a Cobblestone Stair block over top of a support beam. You picking up what I’m putting down? More windows. Putting it over top of the support beam makes sense here, as it’s far enough away from the chimney, and looks sturdy for it.
Frame and Glass
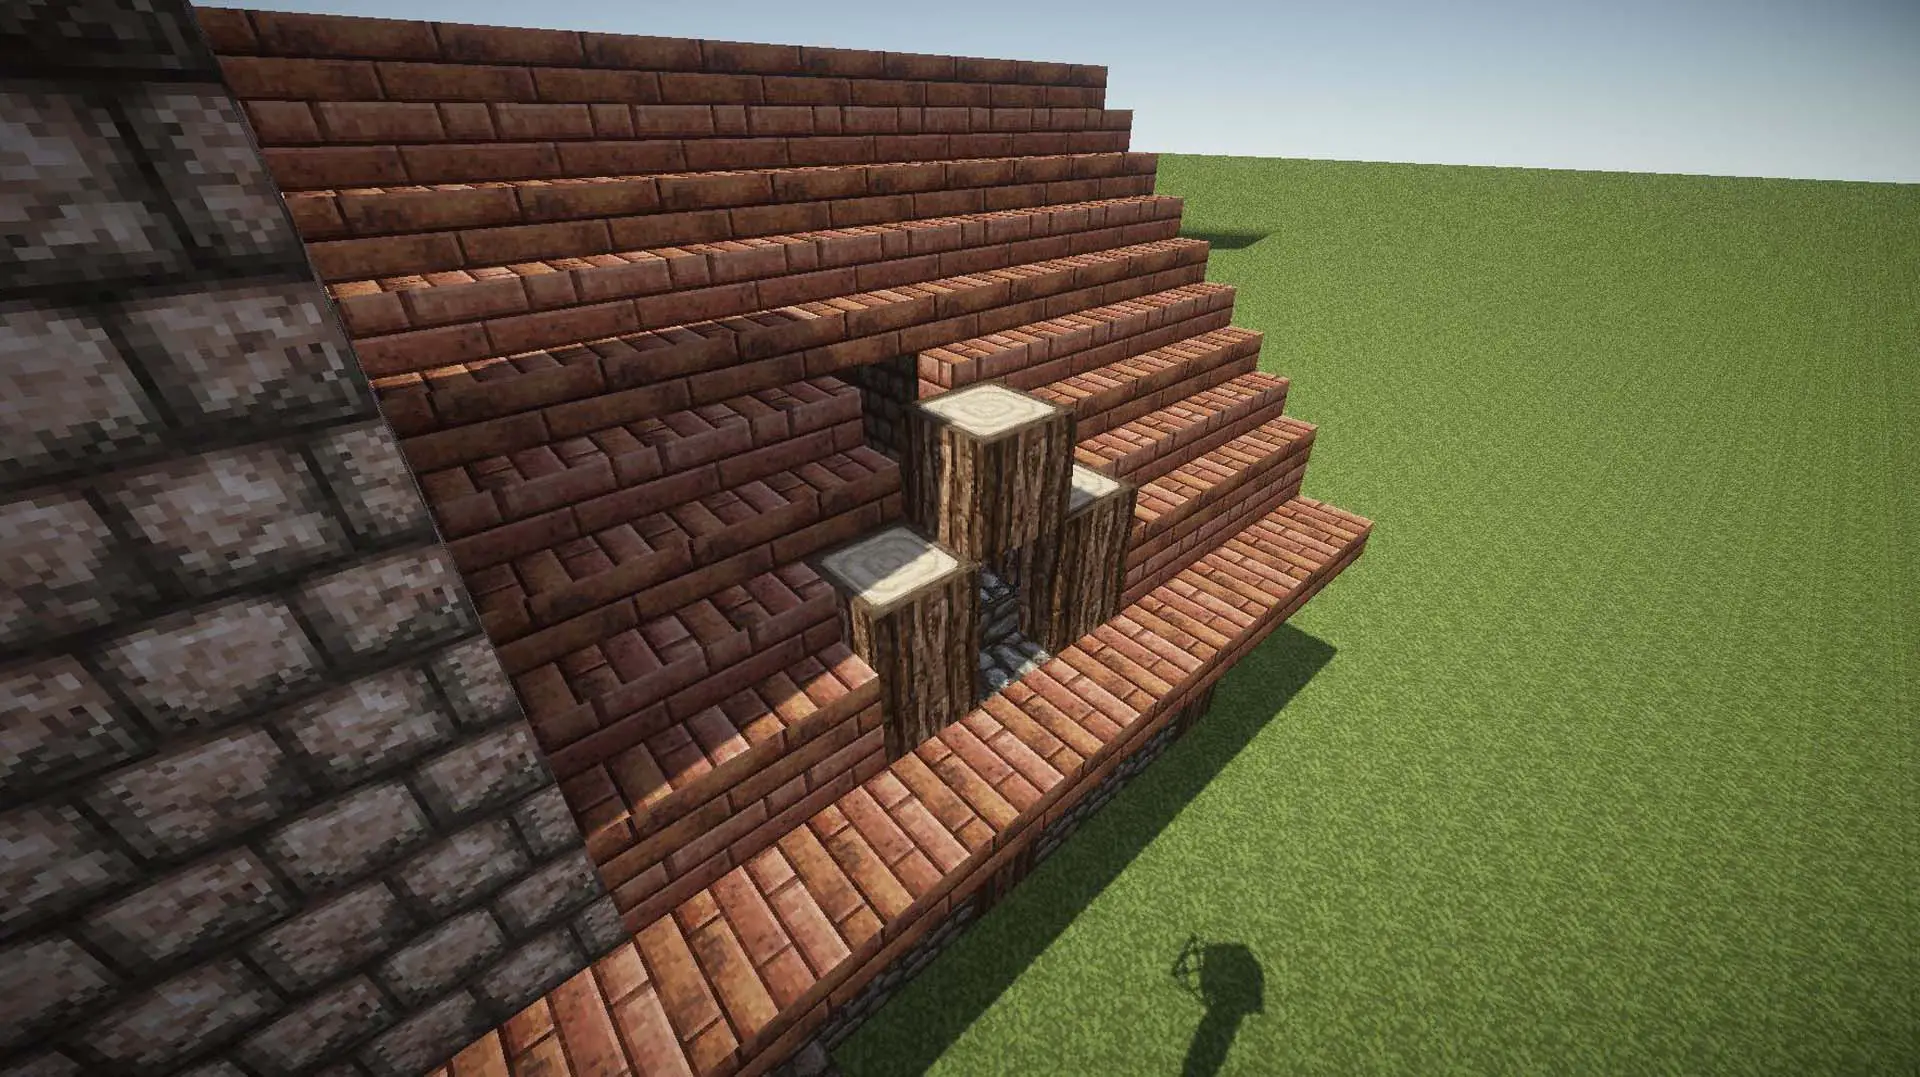
Turn, Turn, Turn
Encourage some Brick Stairs to turn the corner, and overhang the frame of the windows by one block. For the top, use those Slabs.
Rinse, Repeat.
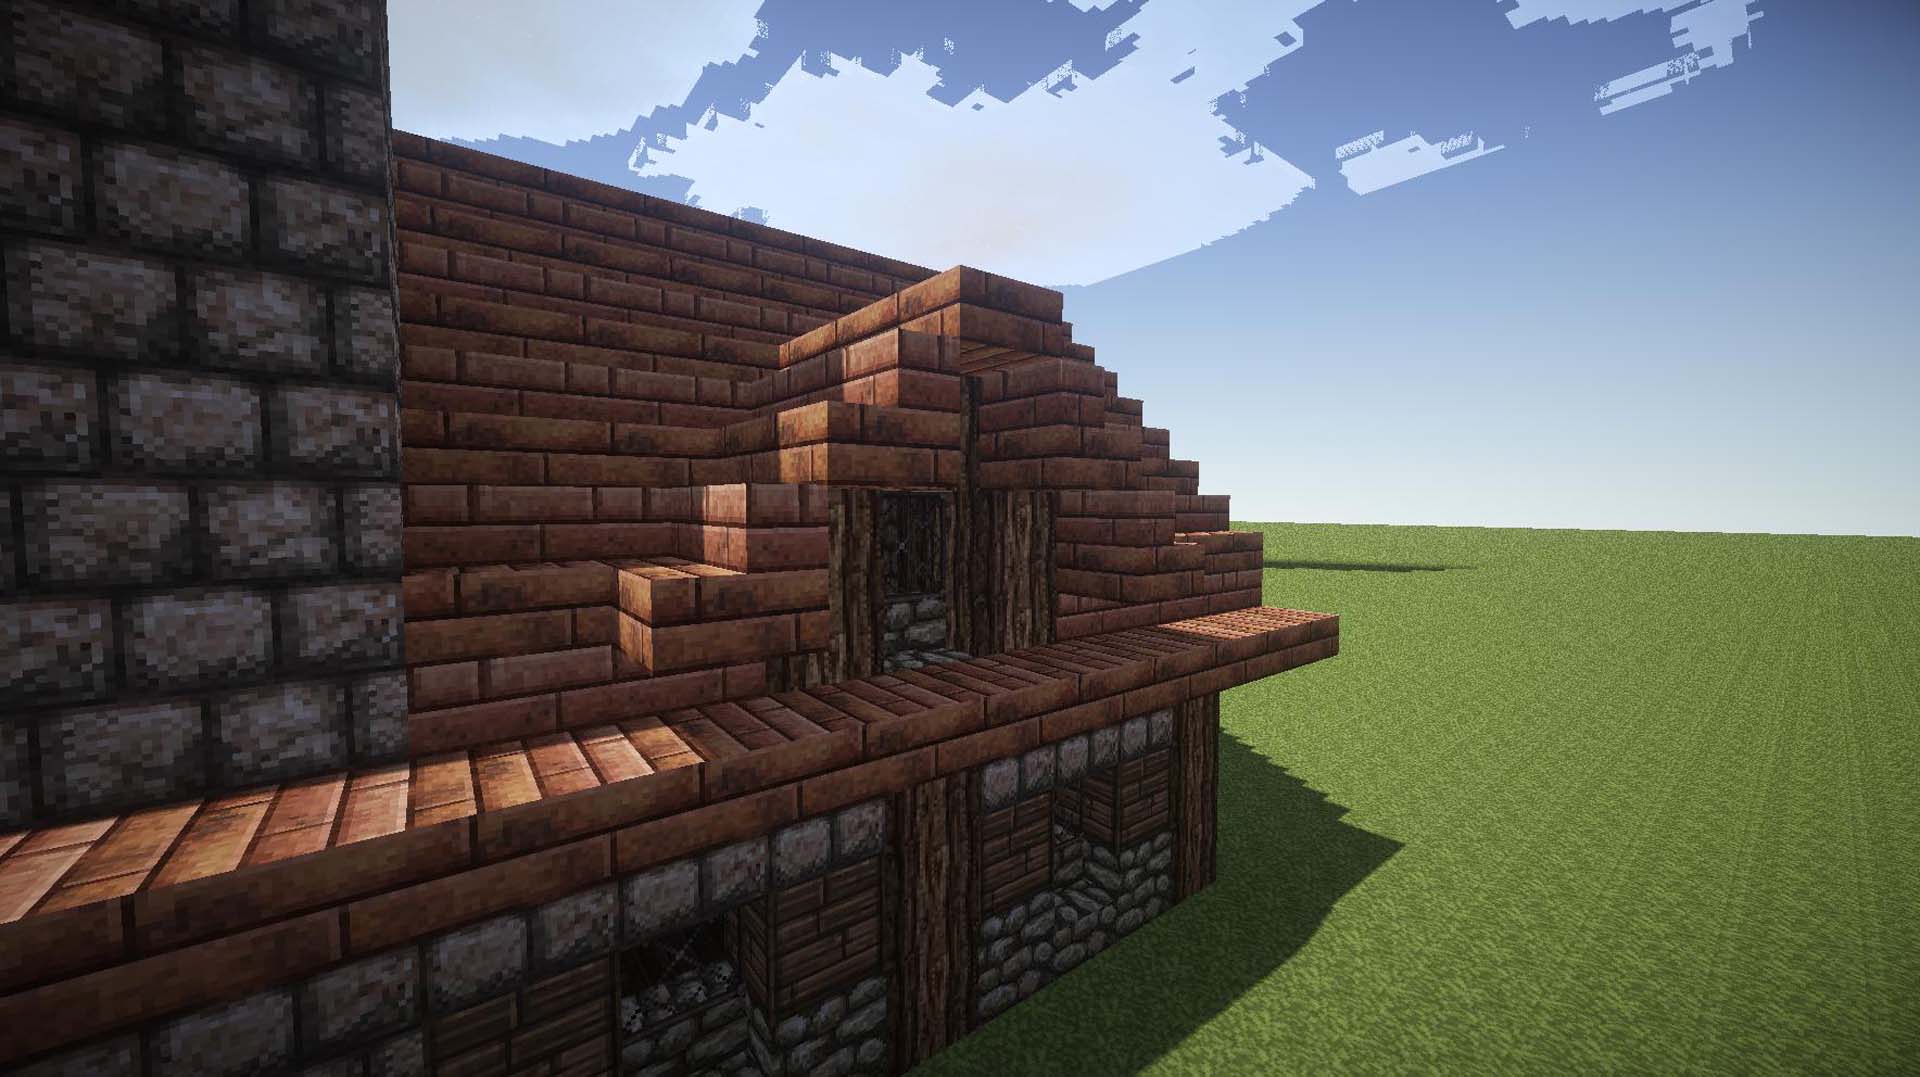
Now that you know the formula, we’re going to put 2 windows just like the last one, onto the front of the house. Not that they aren’t directly over the support beams here. This is intentional, so their roofing doesn’t collide in the middle.
Twins
Just do the same as you did on the back side, and you’ll have yourself two windows to break up the front as well. The space between the two windows may be tough to angle yourself to turn the stairs, but once you can do this, you’re well on your way to making advanced roof shapes. But that’s another tutorial.
Stage 3 Complete
Garden Party
Use some Cobblestone Walls, Roses (though not anymore, I suppose) and Ferns (basically bushes) to make a small garden out front. This breaks up the flatness of the wall, and adds color to the front grounds. If you’ve never heard of asymmetrical beauty, now may be the time to learn. Eastern design asserts that it’s imperfection which makes something beautiful. Make use of this by making your garden boundaries a bit uneven, and your plant placement random.
The Approach
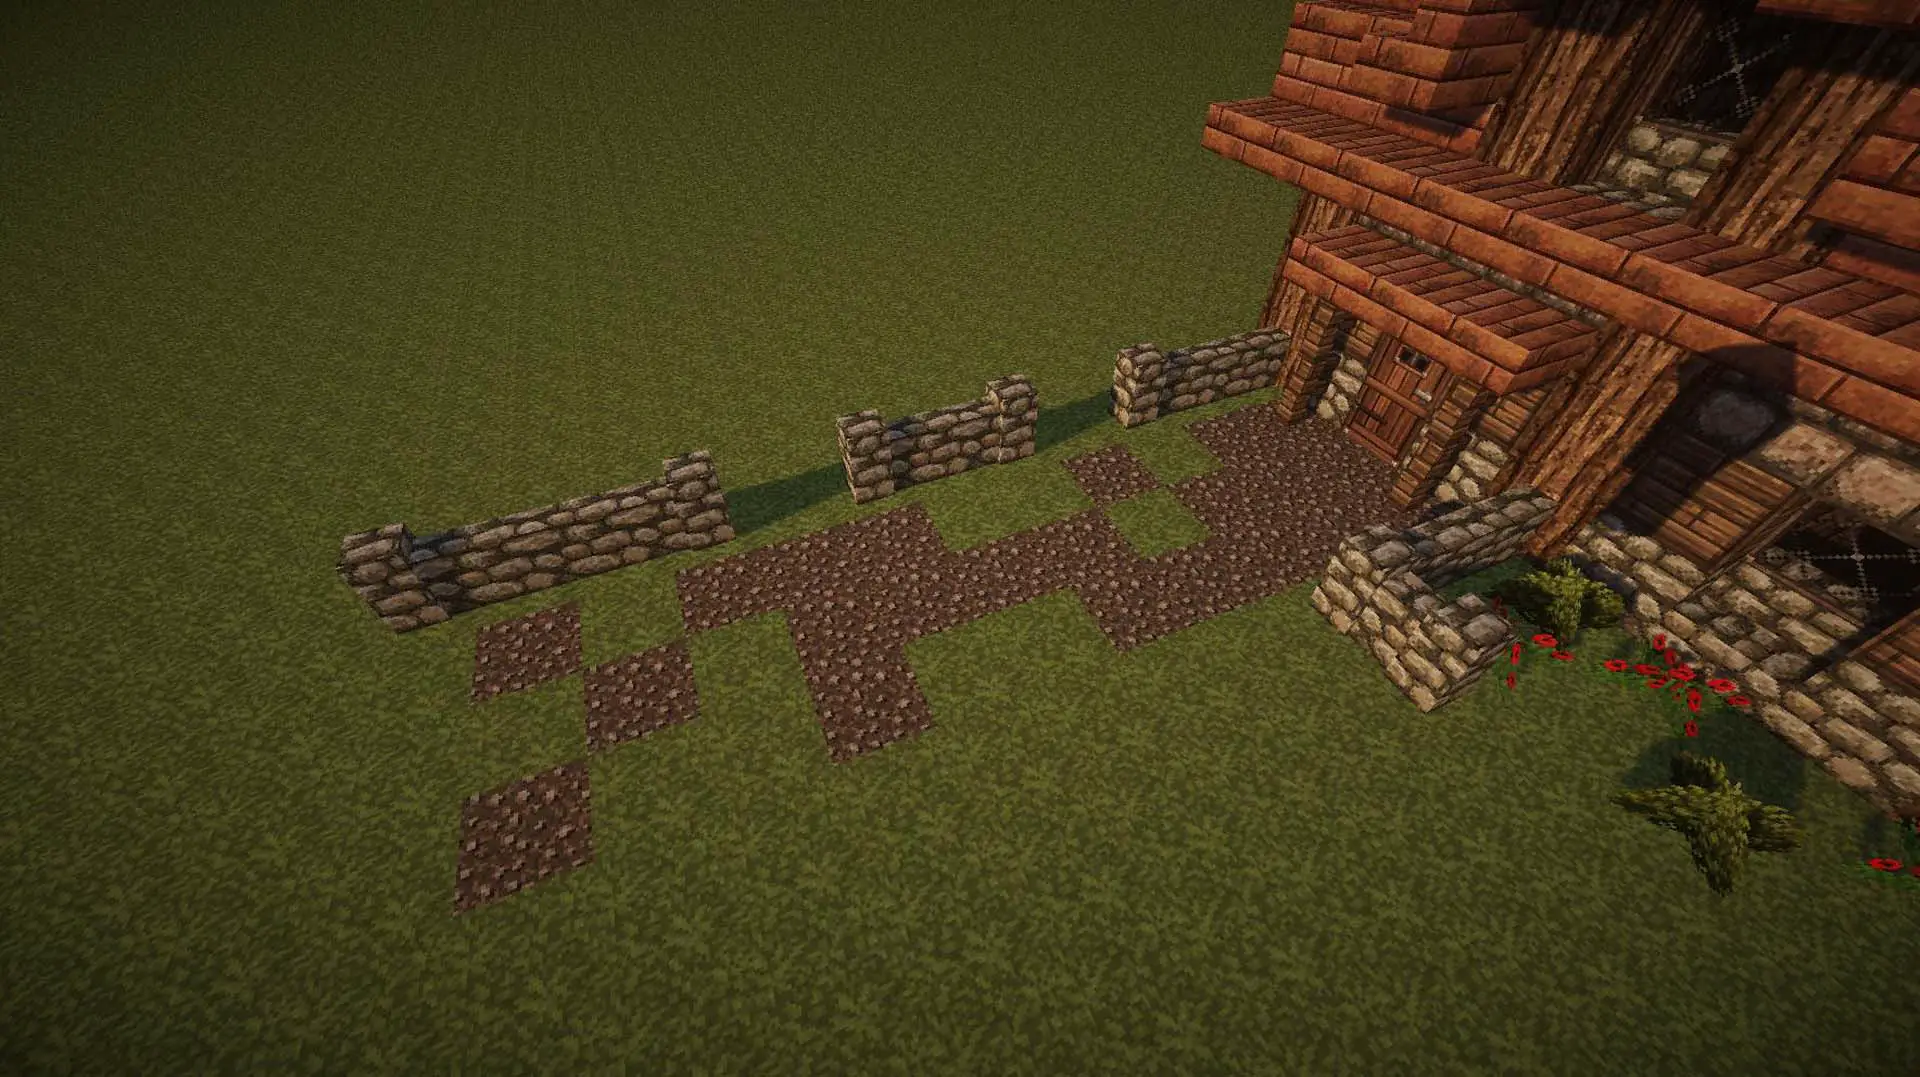
More asymmetry: Make yourself a path of gravel, and then break it up with some grass. Nobody’s perfect, especially the guy who made this path. The viewer’s eye will be drawn better to the cottage, when there isn’t a strong block of solid material between it and his eye. It’ll tease him. Tempt him. Sexy path.
Happy Little Lake
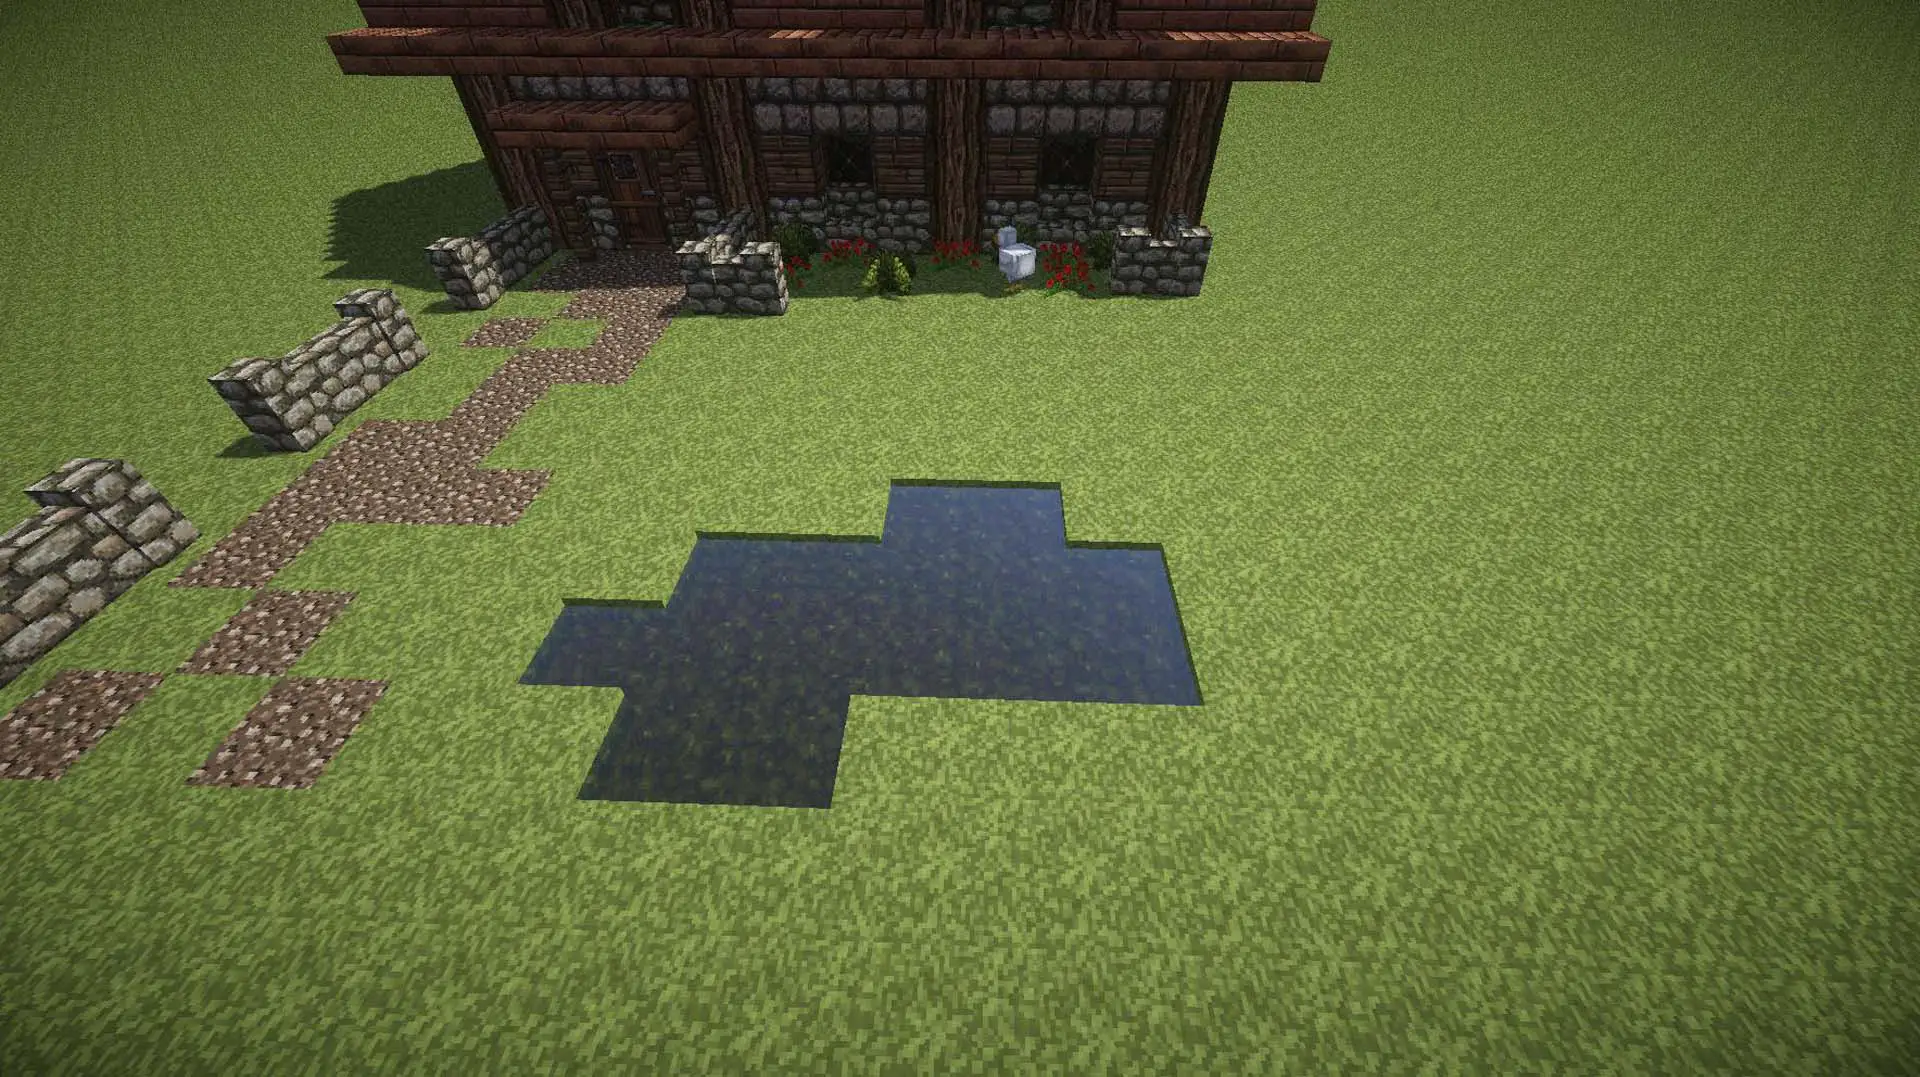
Not much to say here. don’t make it square. This happened by accident. Happy little lake. And it’s gonna be our little secret.
Don’t Stomp my Yard
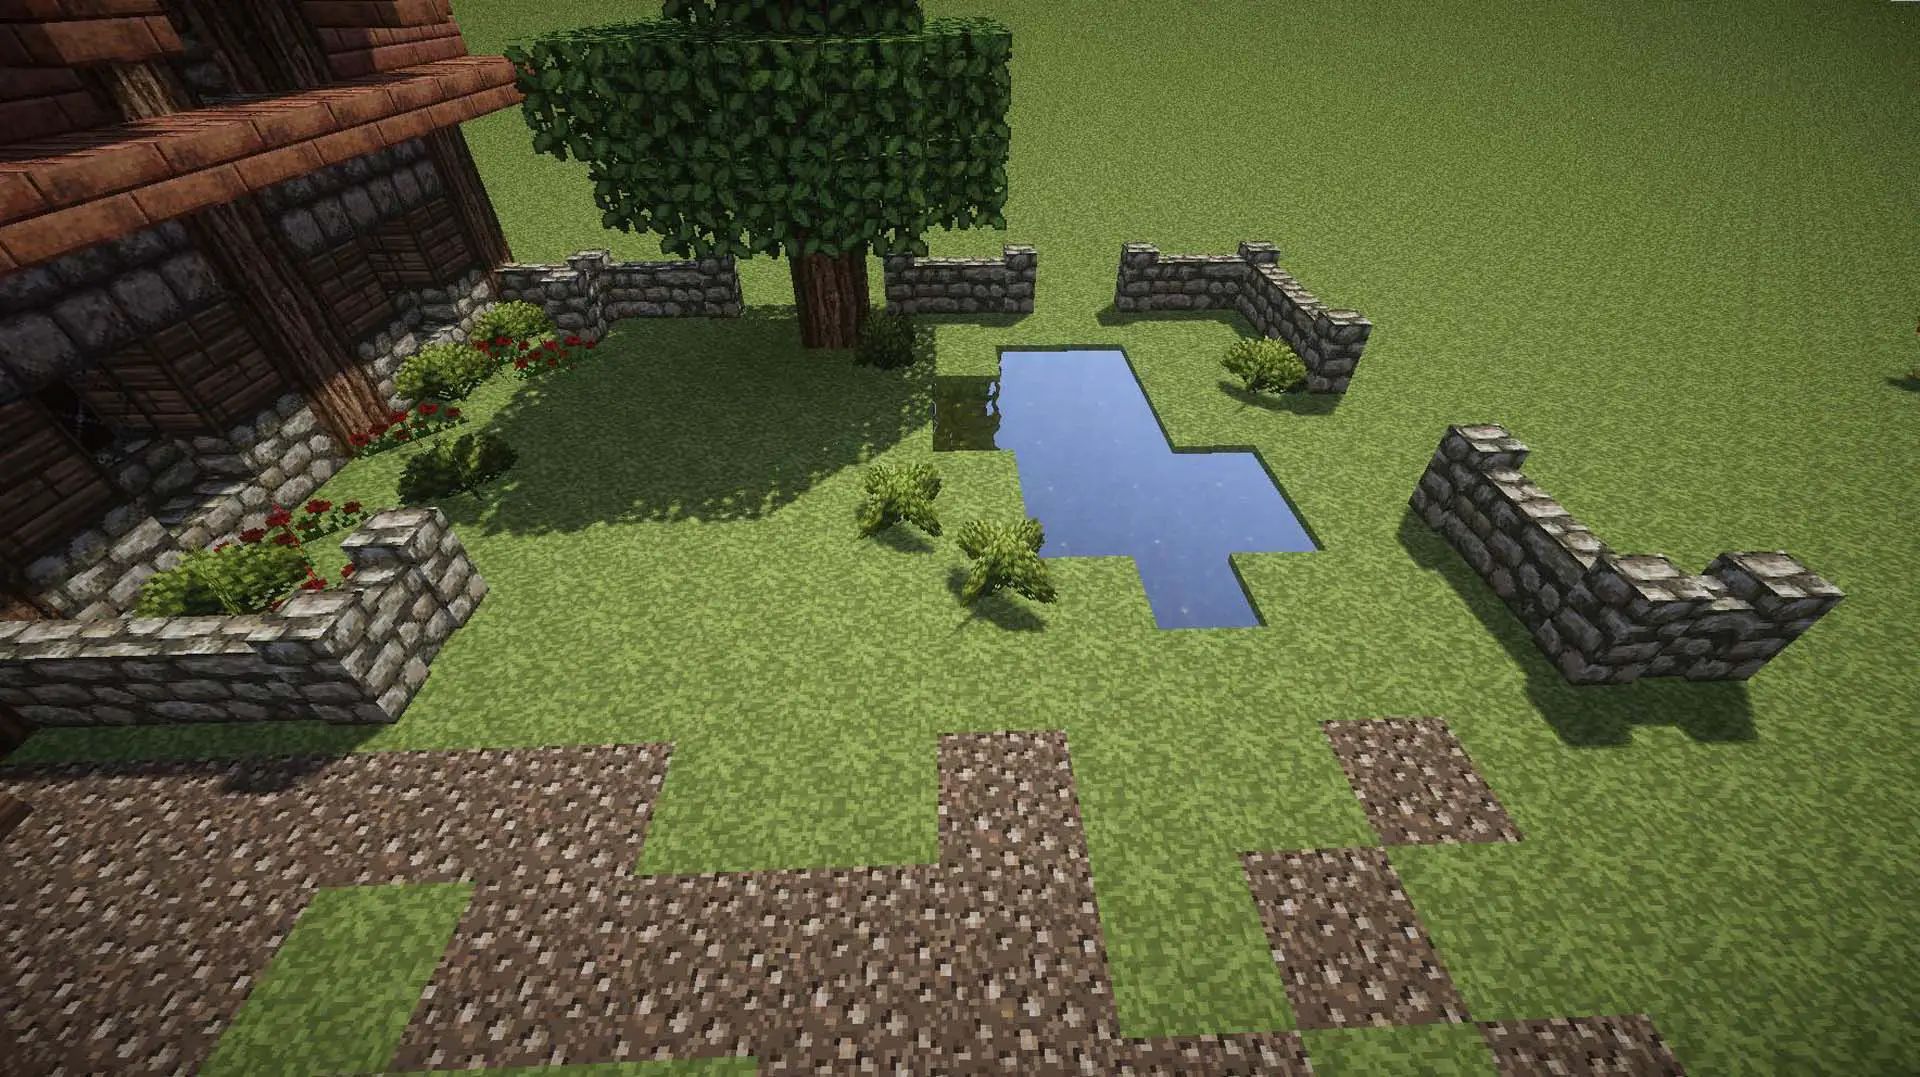
Finish off that yard with a little Oak Tree, and some more Ferns. Ferns give the natural appearance, without being as decorative as flowers, or as unkempt-looking as tall grass. Break up your Cobblestone Wall at points. It’s for show here, not trying to keep anybody out.
Whip it Out and Measure
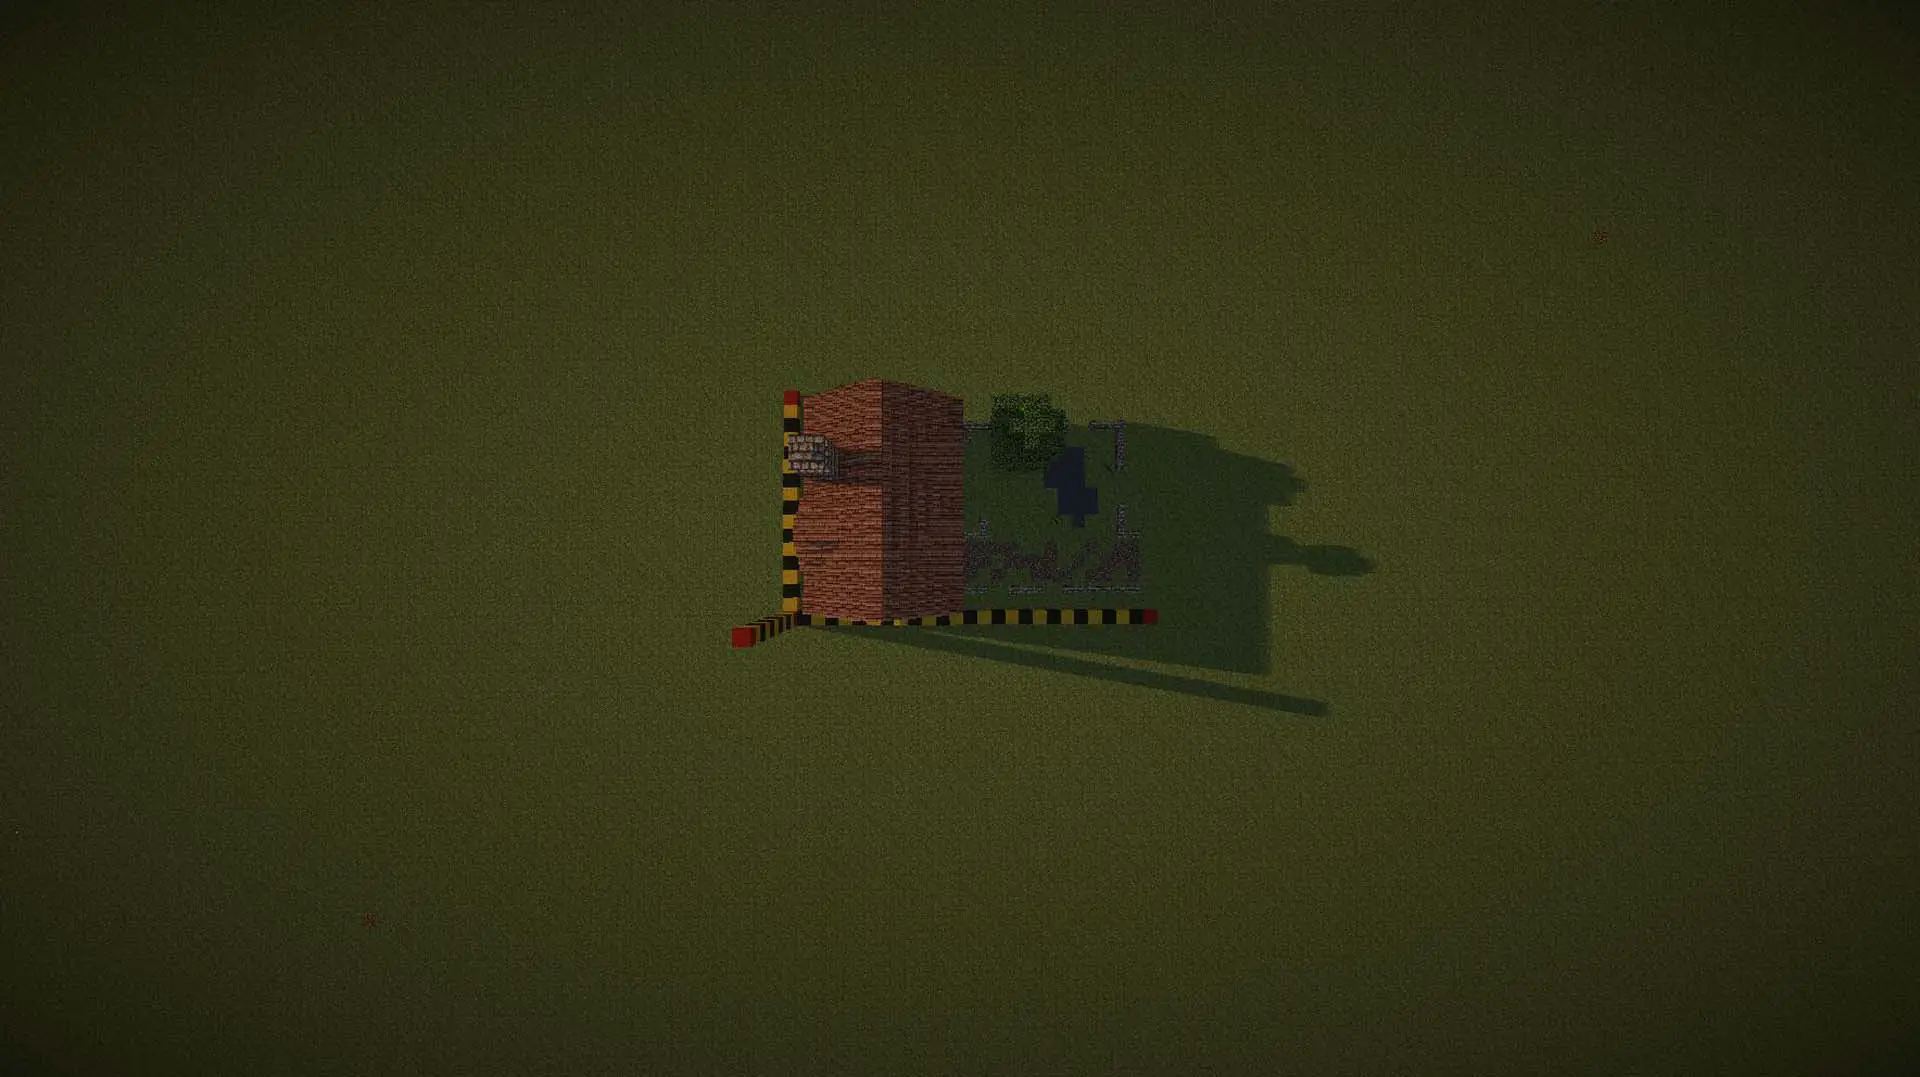
Well, we got out the Wool, and here’s what it says: with a generous one meter border, this whole package weighs in at 17×27 meters, and 12 meters tall. It’s not only compact, it’s downright Cozy! So, there you have it. If you enjoyed this tutorial, and want to build one of your own, I’d love to see what kind of environment you put it in, and what you do with the interior, too!


Discussion about this post