
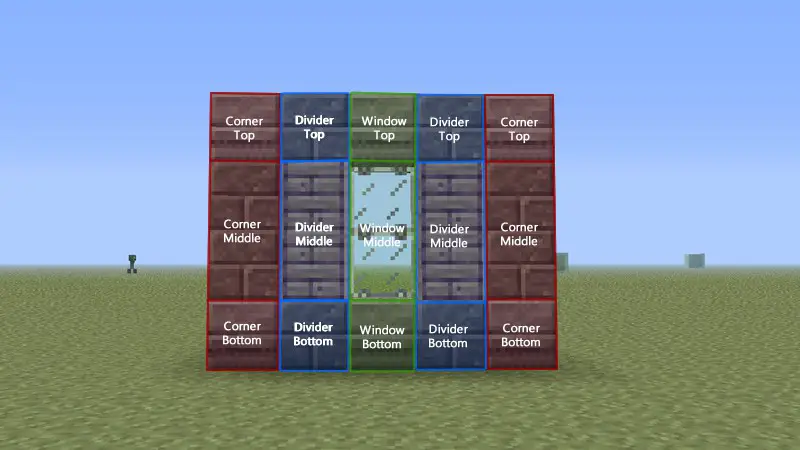
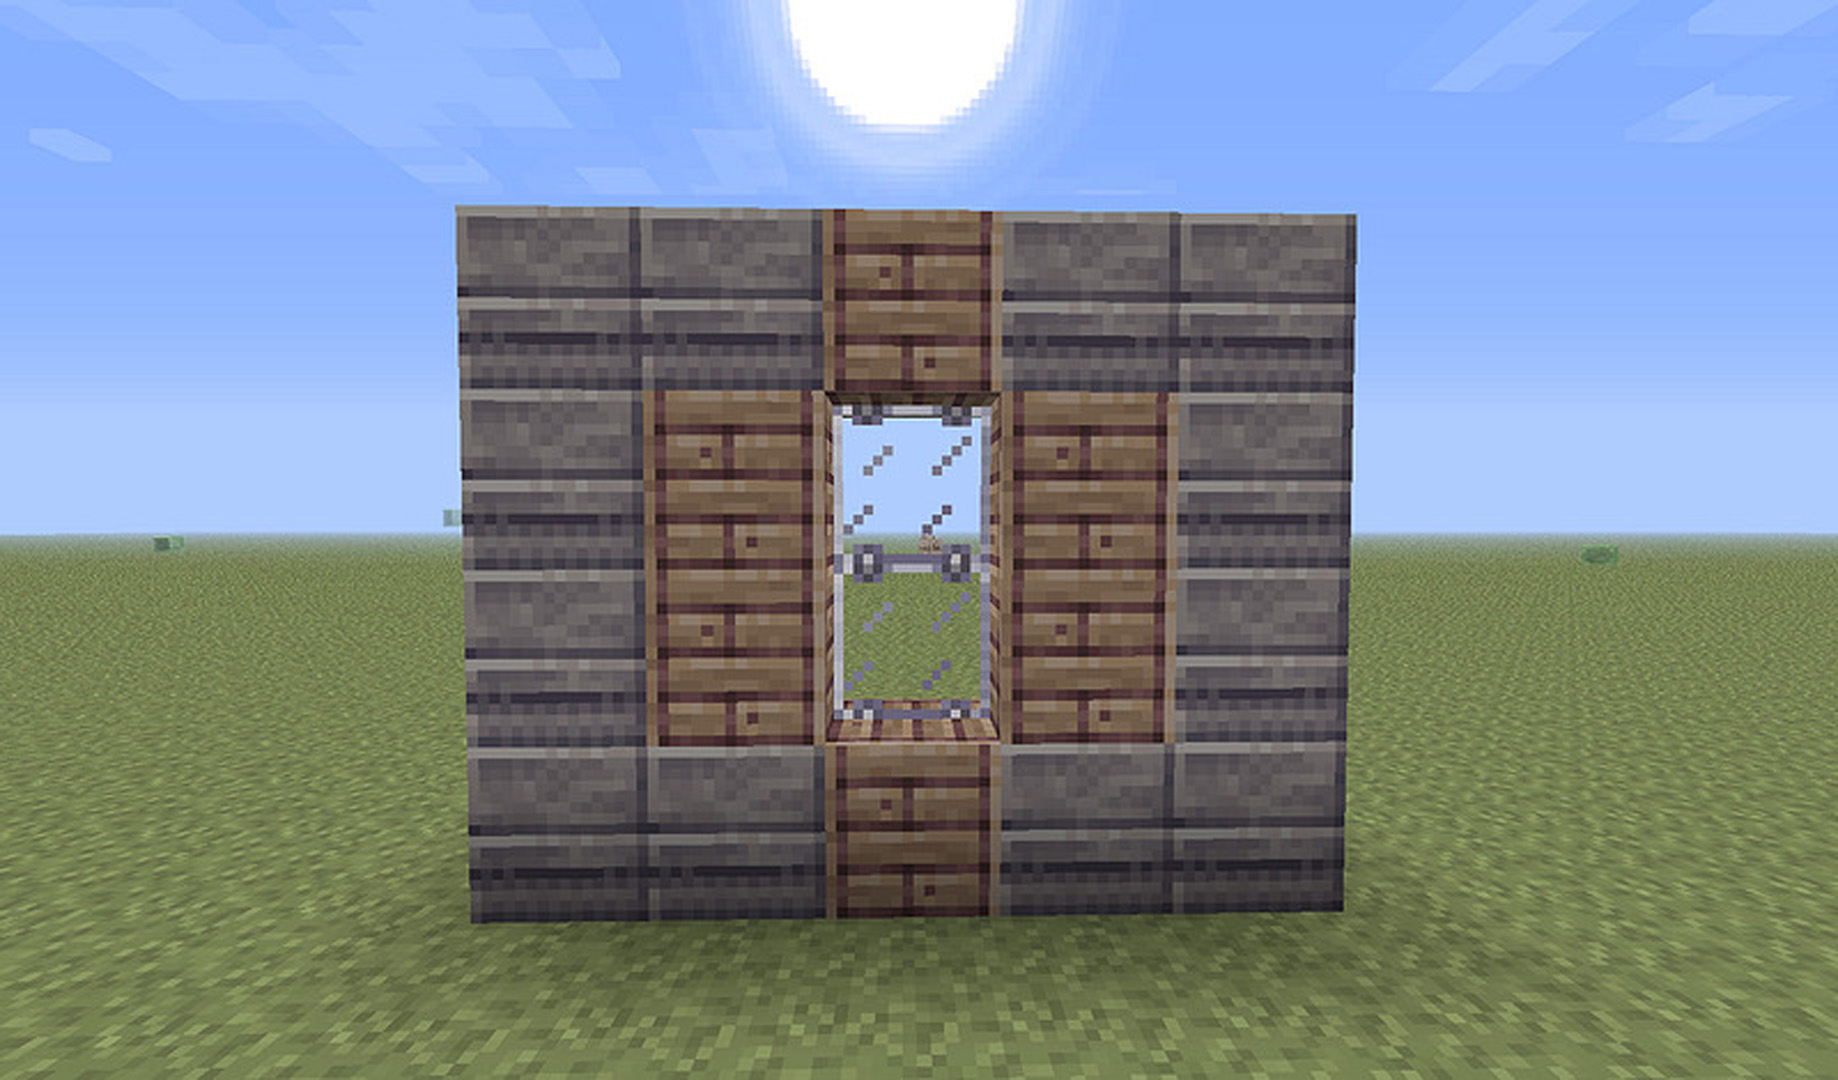
This is the layout I use for designing the exteriors of my houses. It’s essentially made up of 3 different sections – the corner, divider, and window. Each section has a top, middle, and bottom. Here’s a diagram demonstrating what I mean:
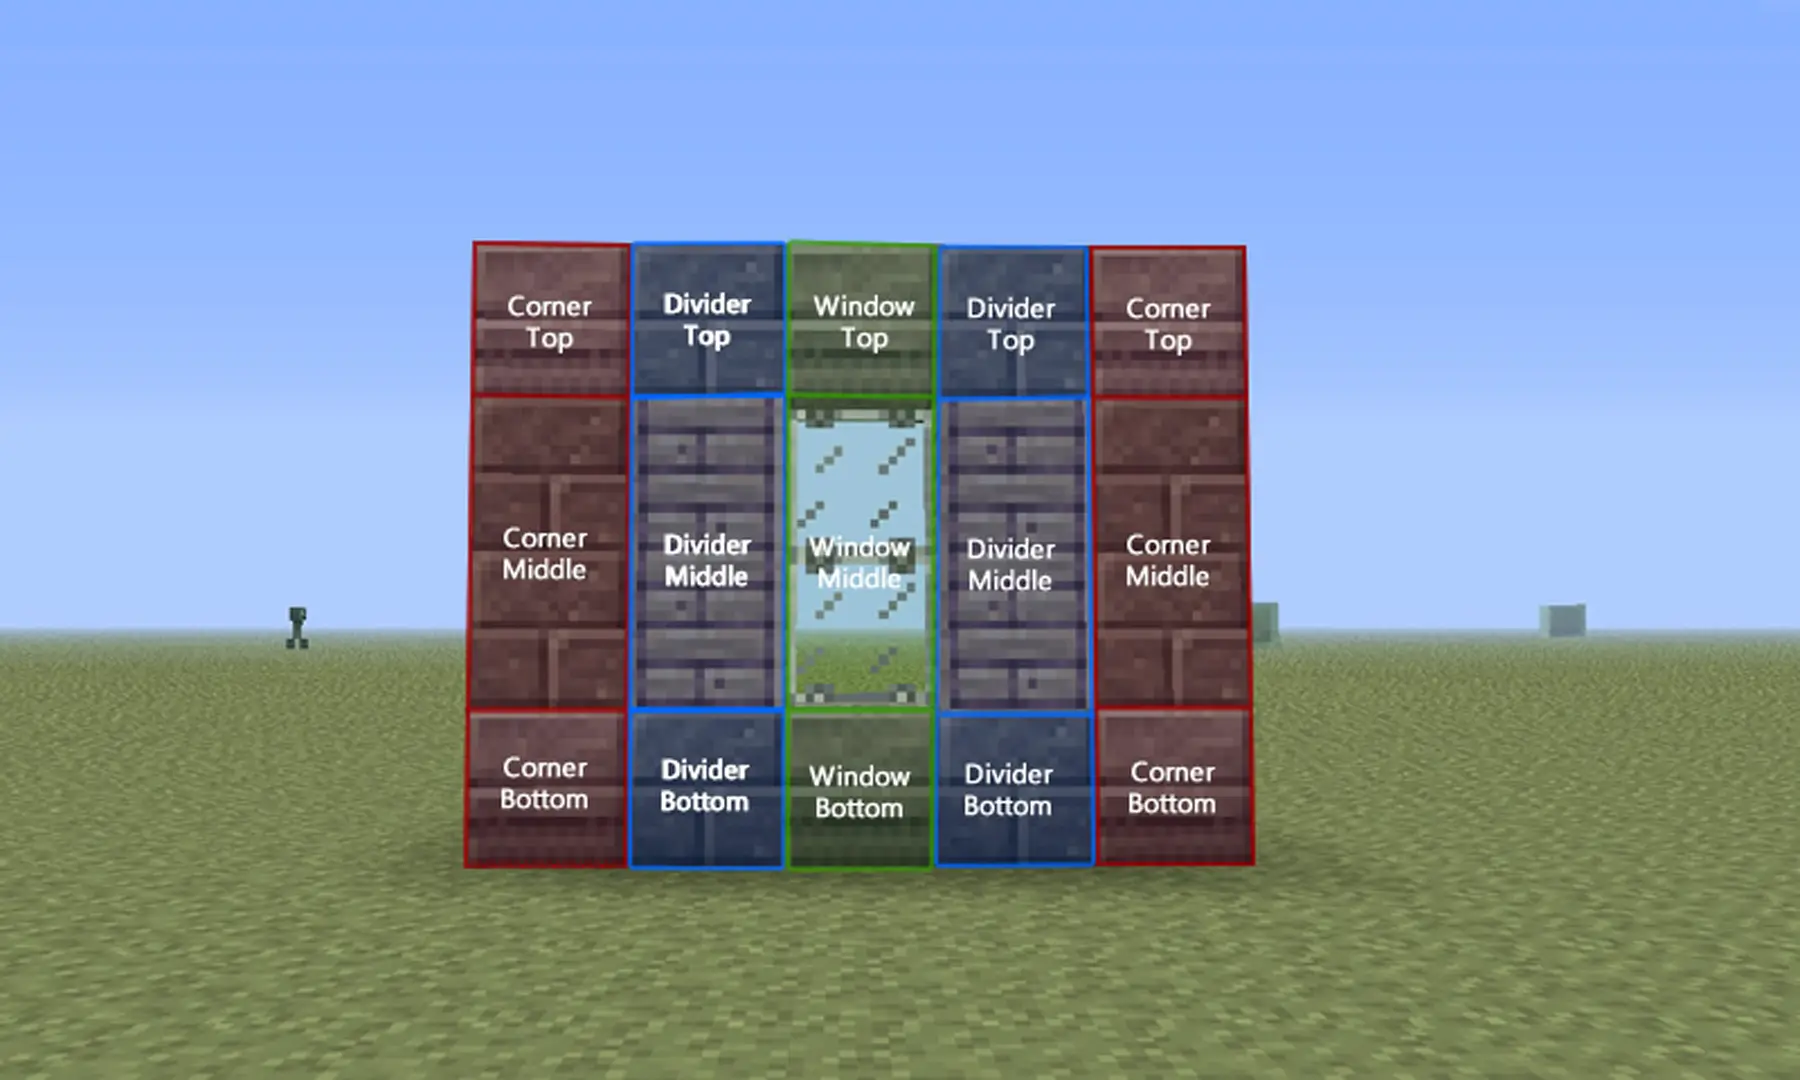
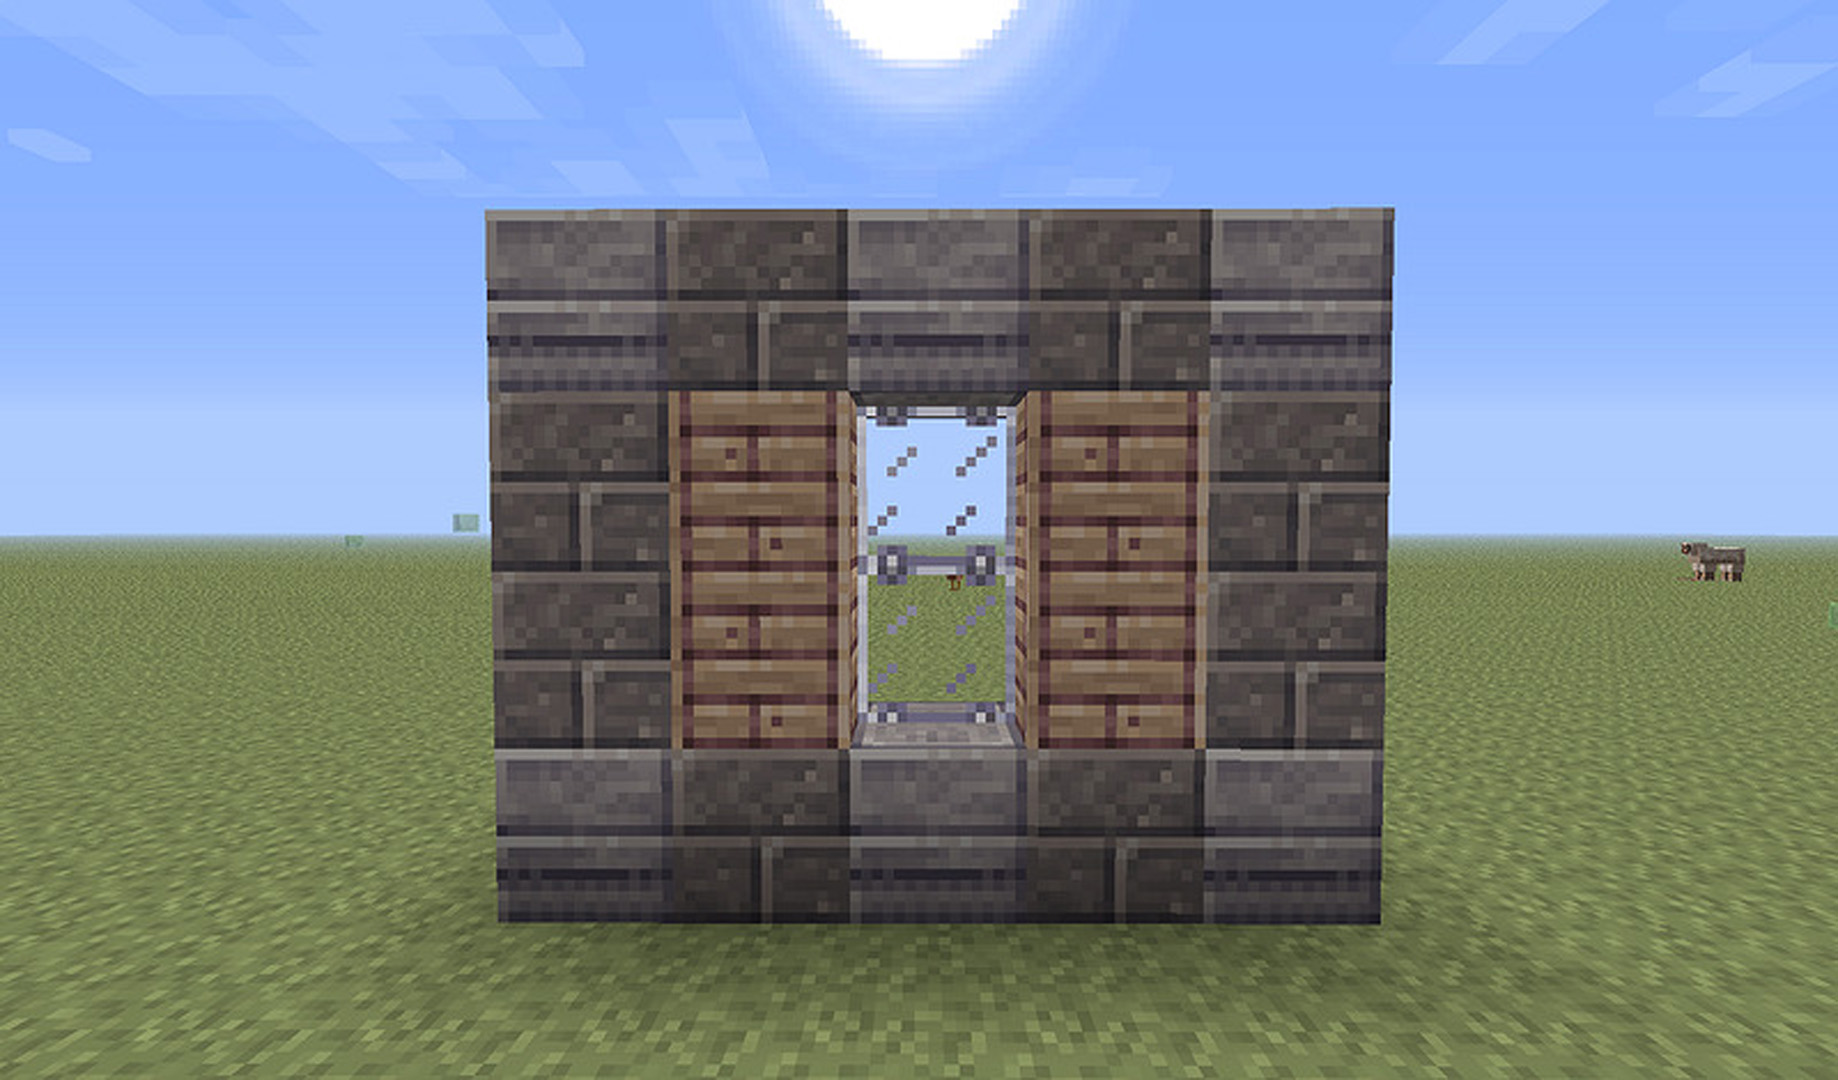
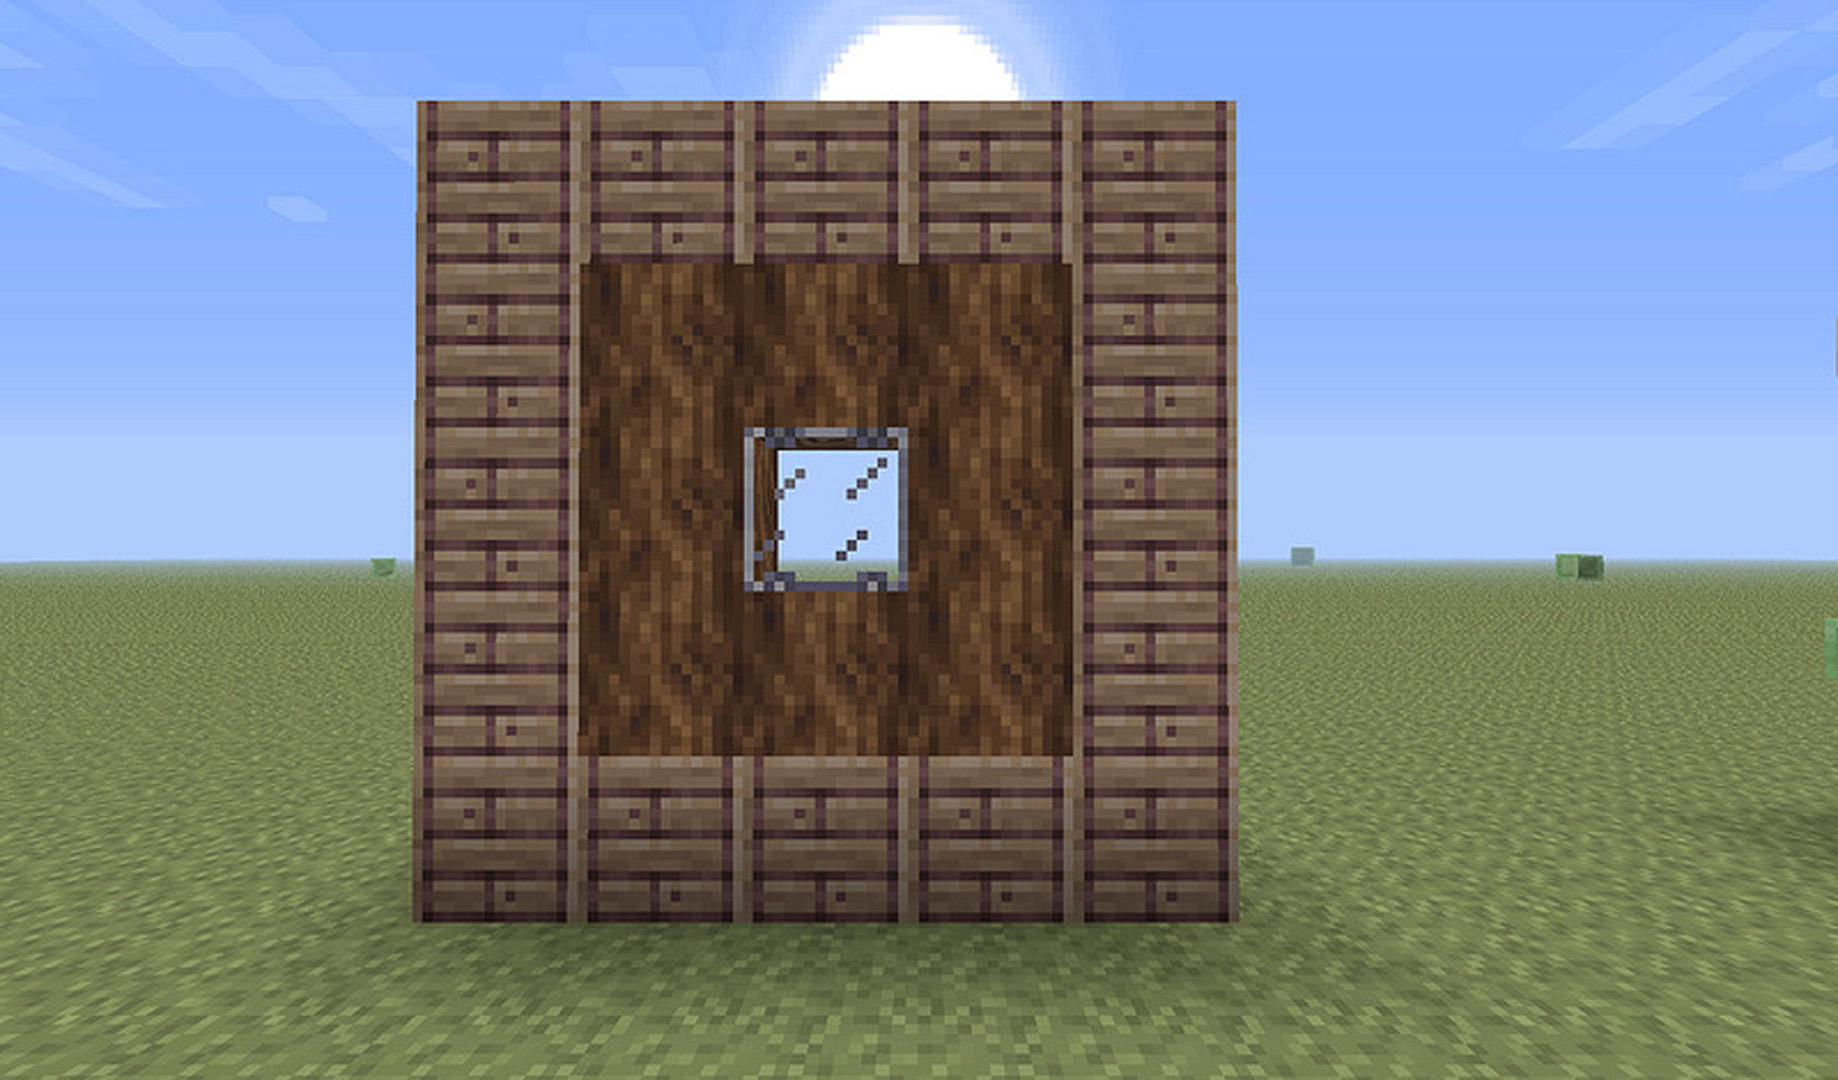
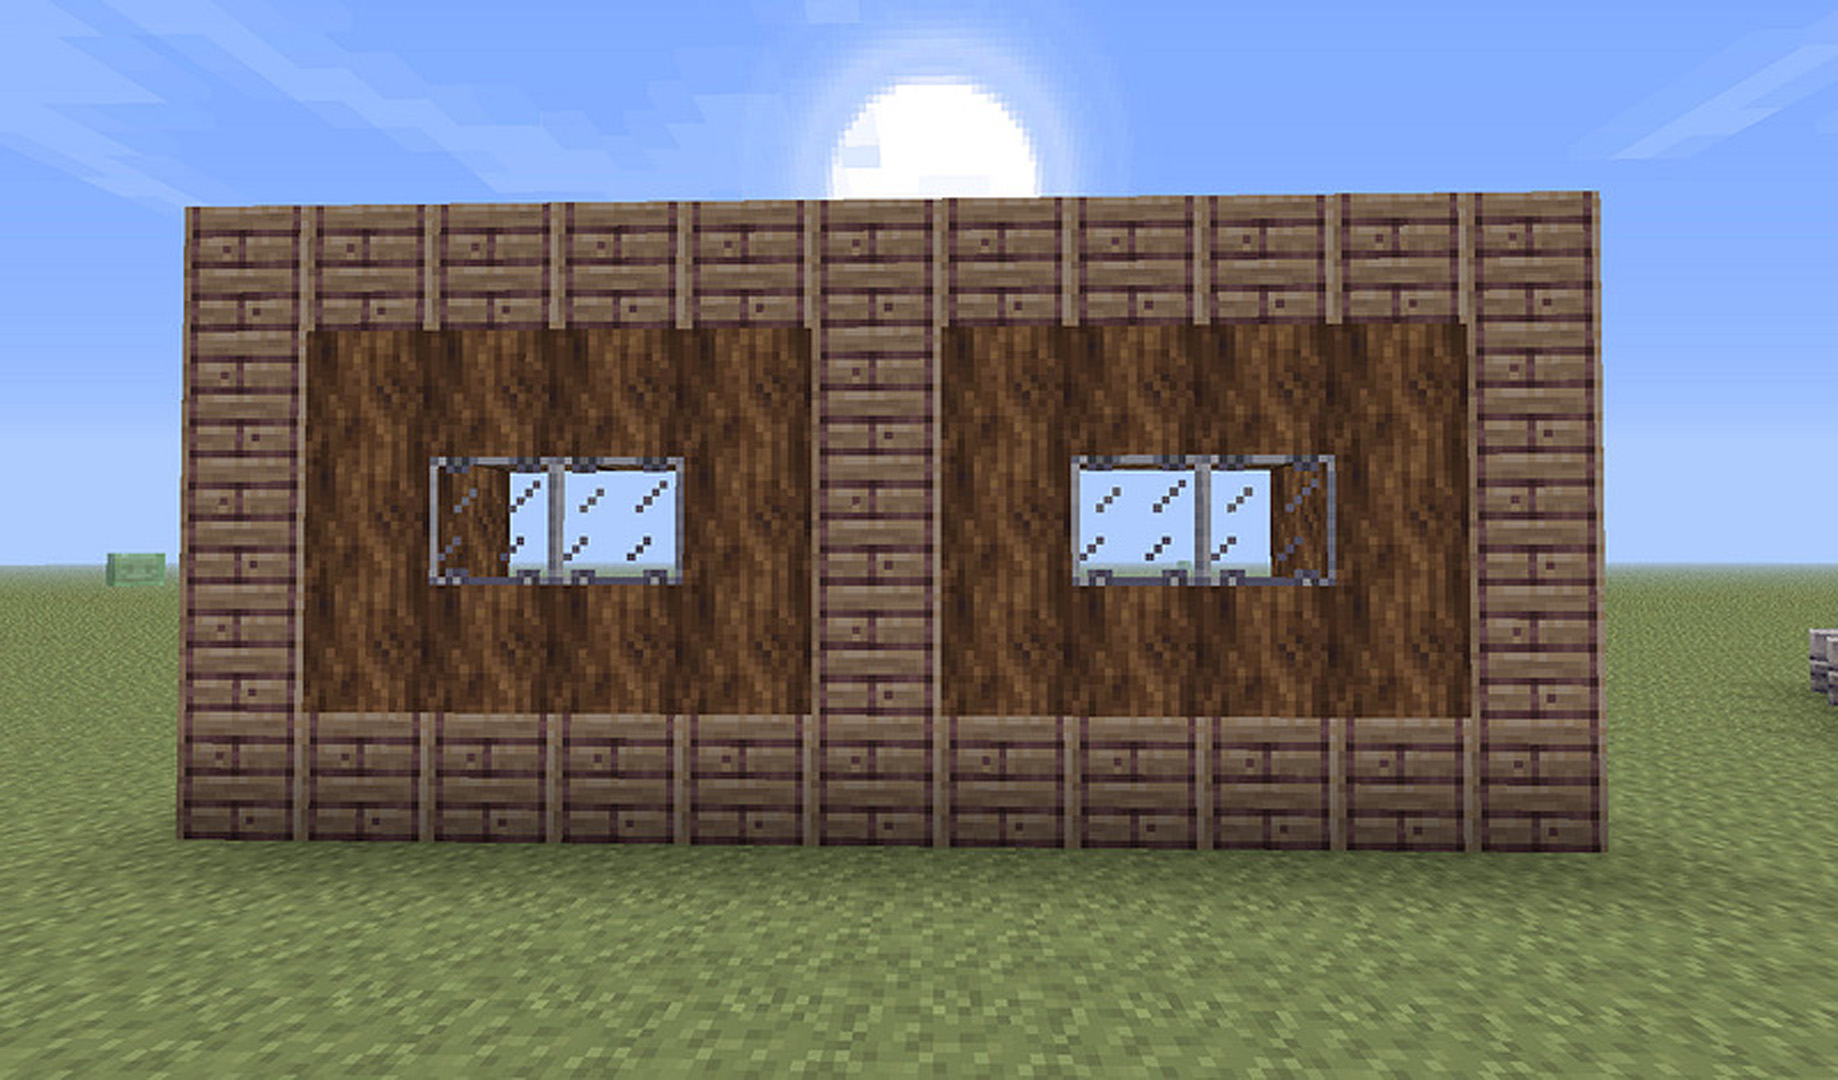
Each part of each section has it’s own block assigned to it. By changing the blocks we use, the design can change dramatically, but we’ll get back to that later. Here’s the previous design, extended to 7 blocks wide:

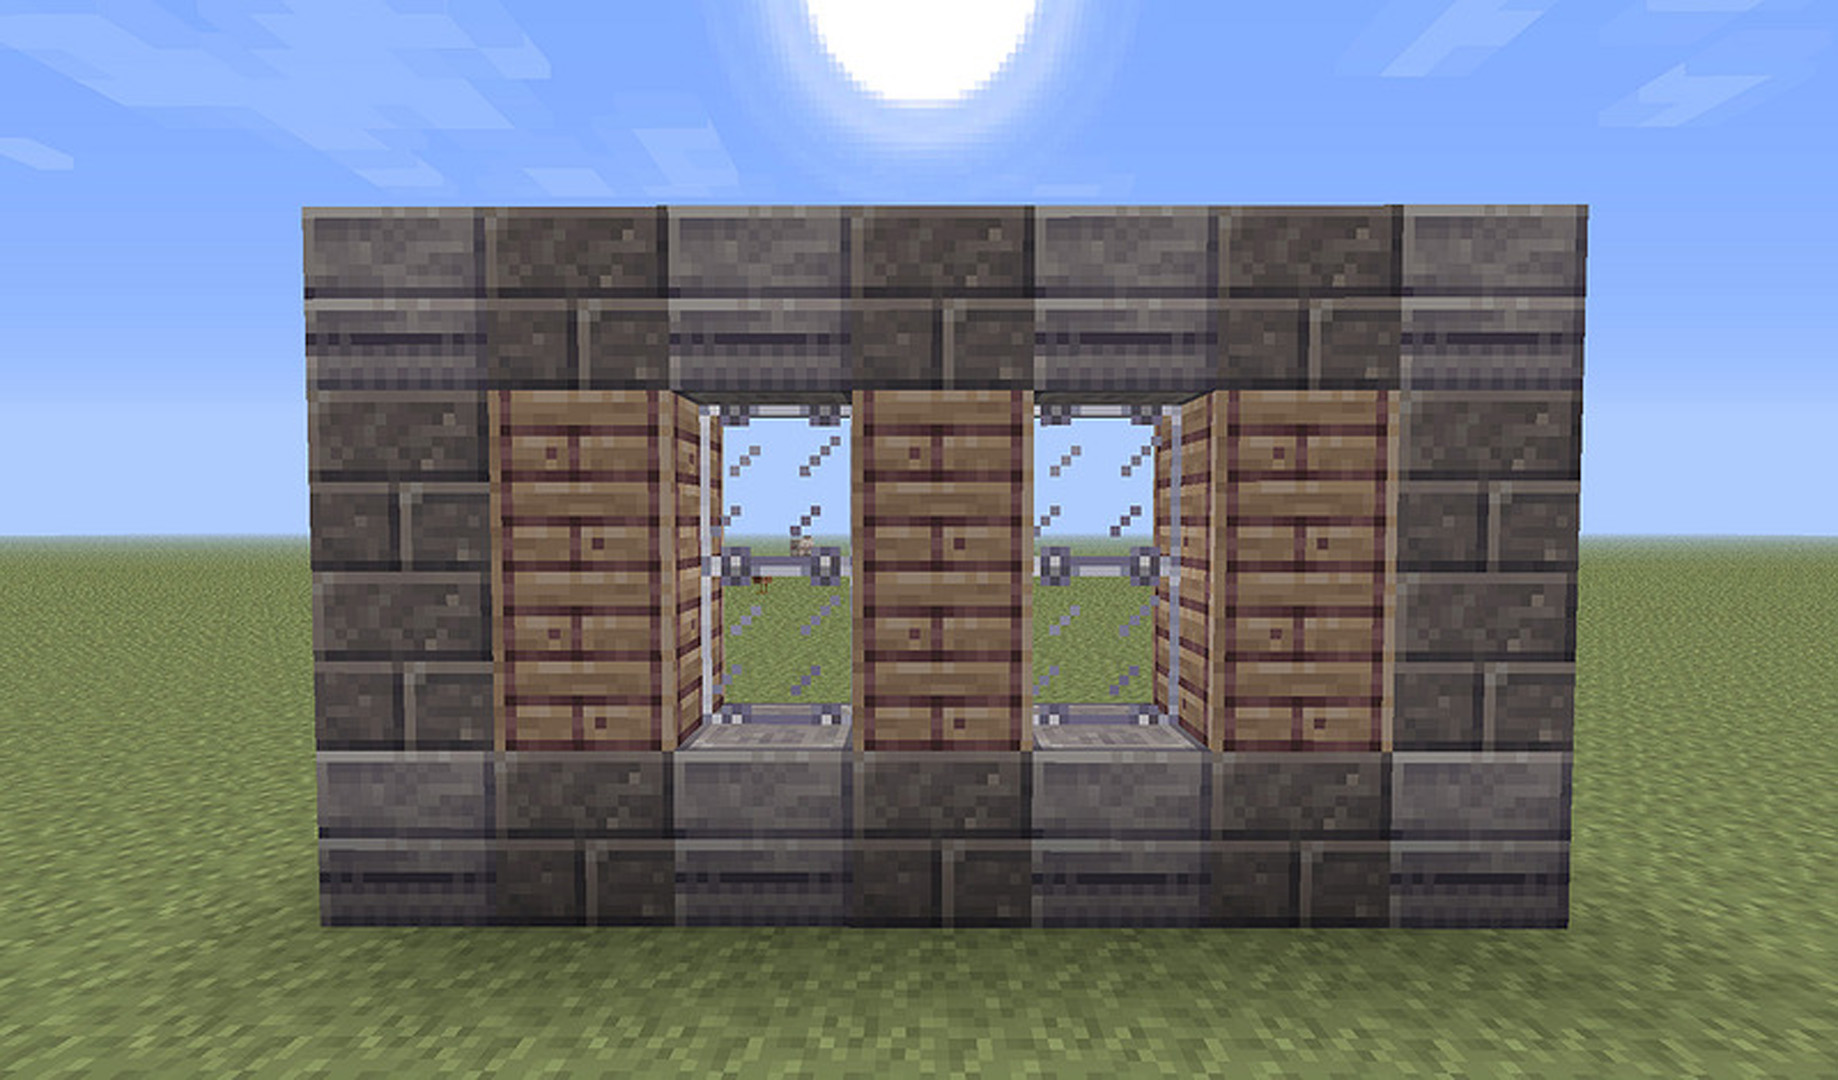
No changes really needed to be made at all. We’ve still got the corner sections on either side, with divider sections between, splitting both the window and corner sections. You’re really able to extend the design in any direction. We can extend the window section to 2 blocks to create wider windows, or pull the entire middle section up to make them taller. Before we go any further, I’ll introduce two pretty important concepts:
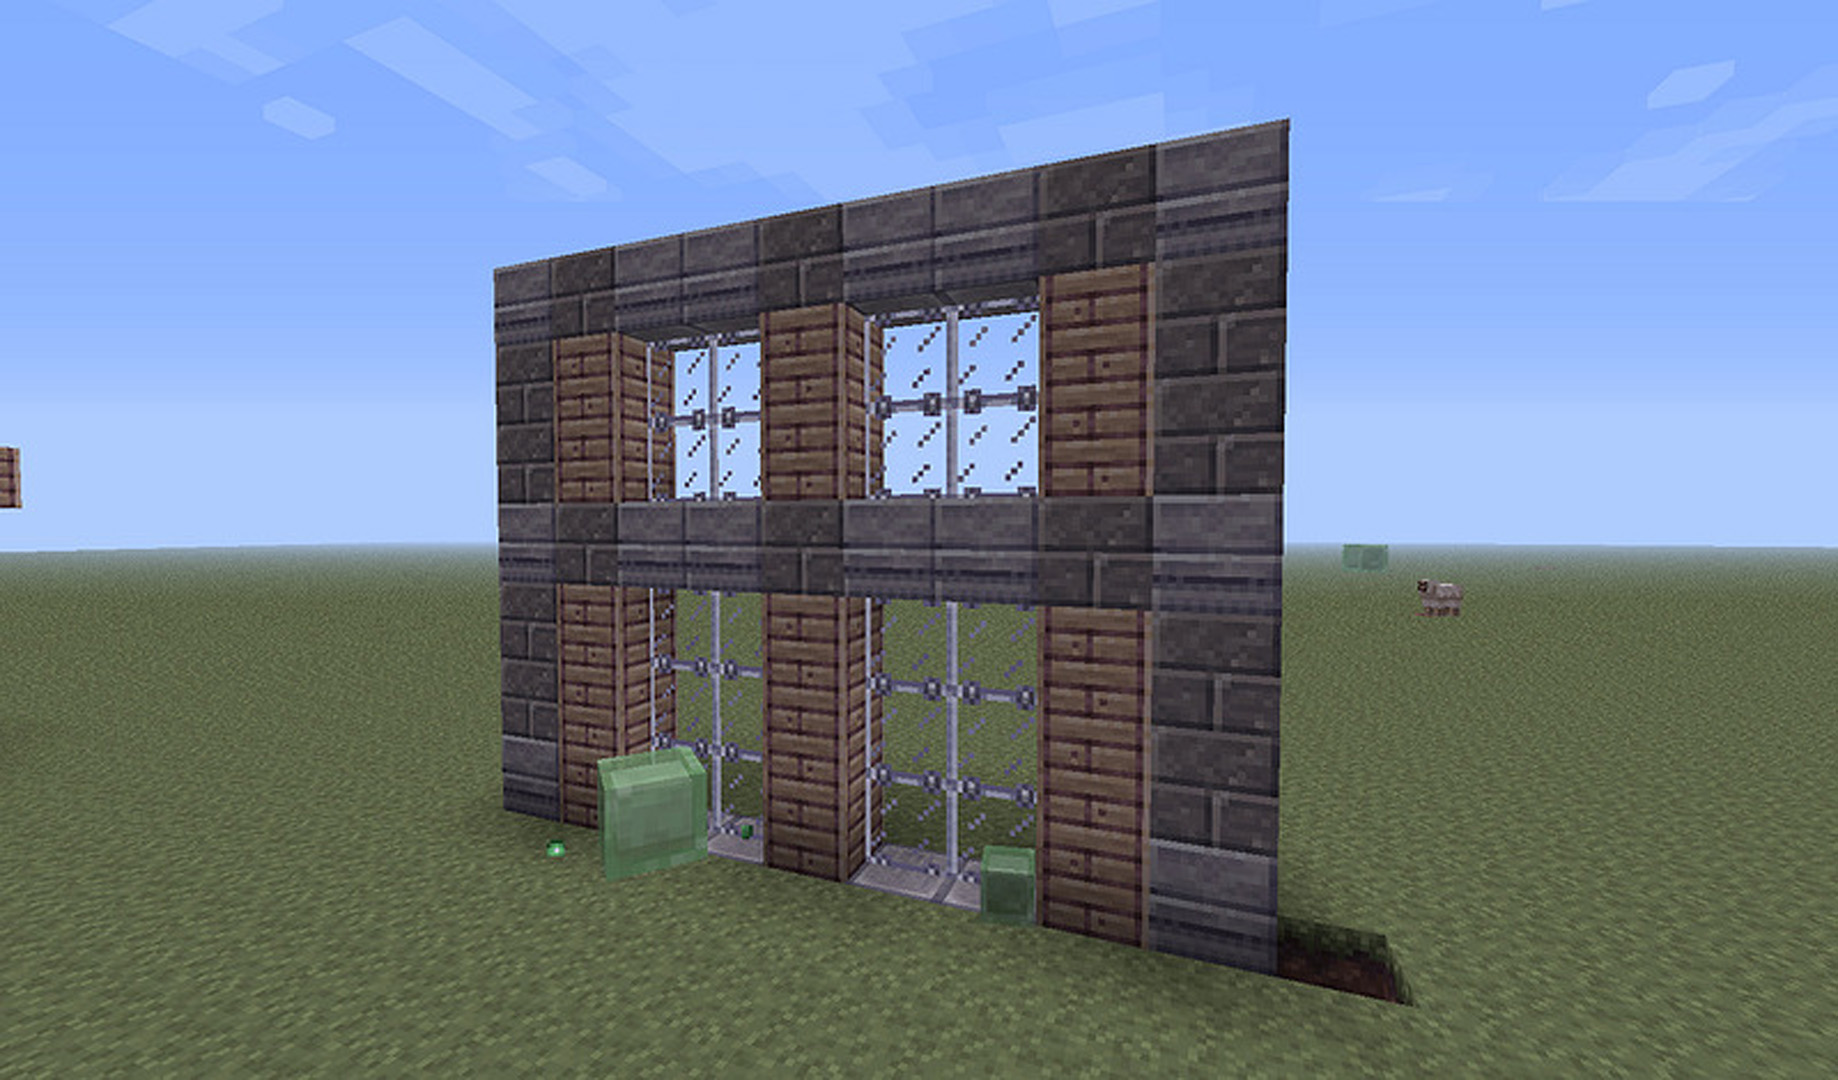
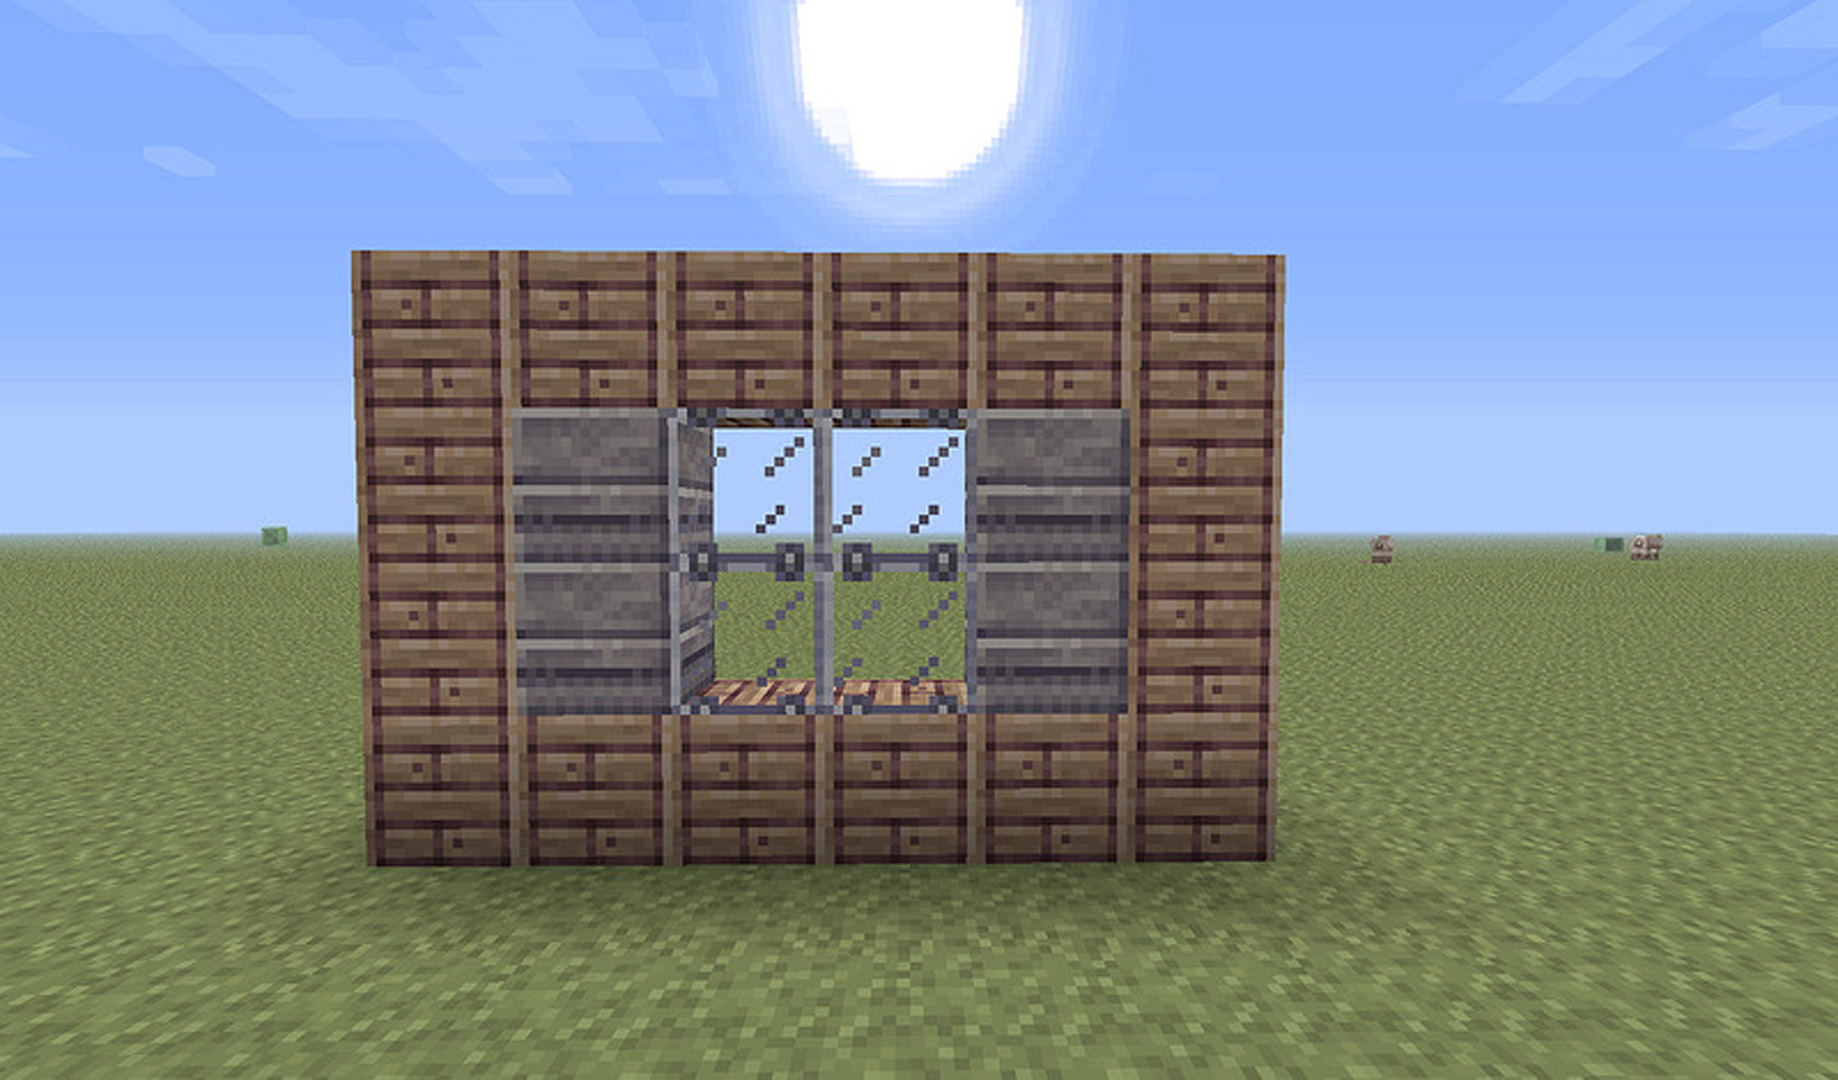
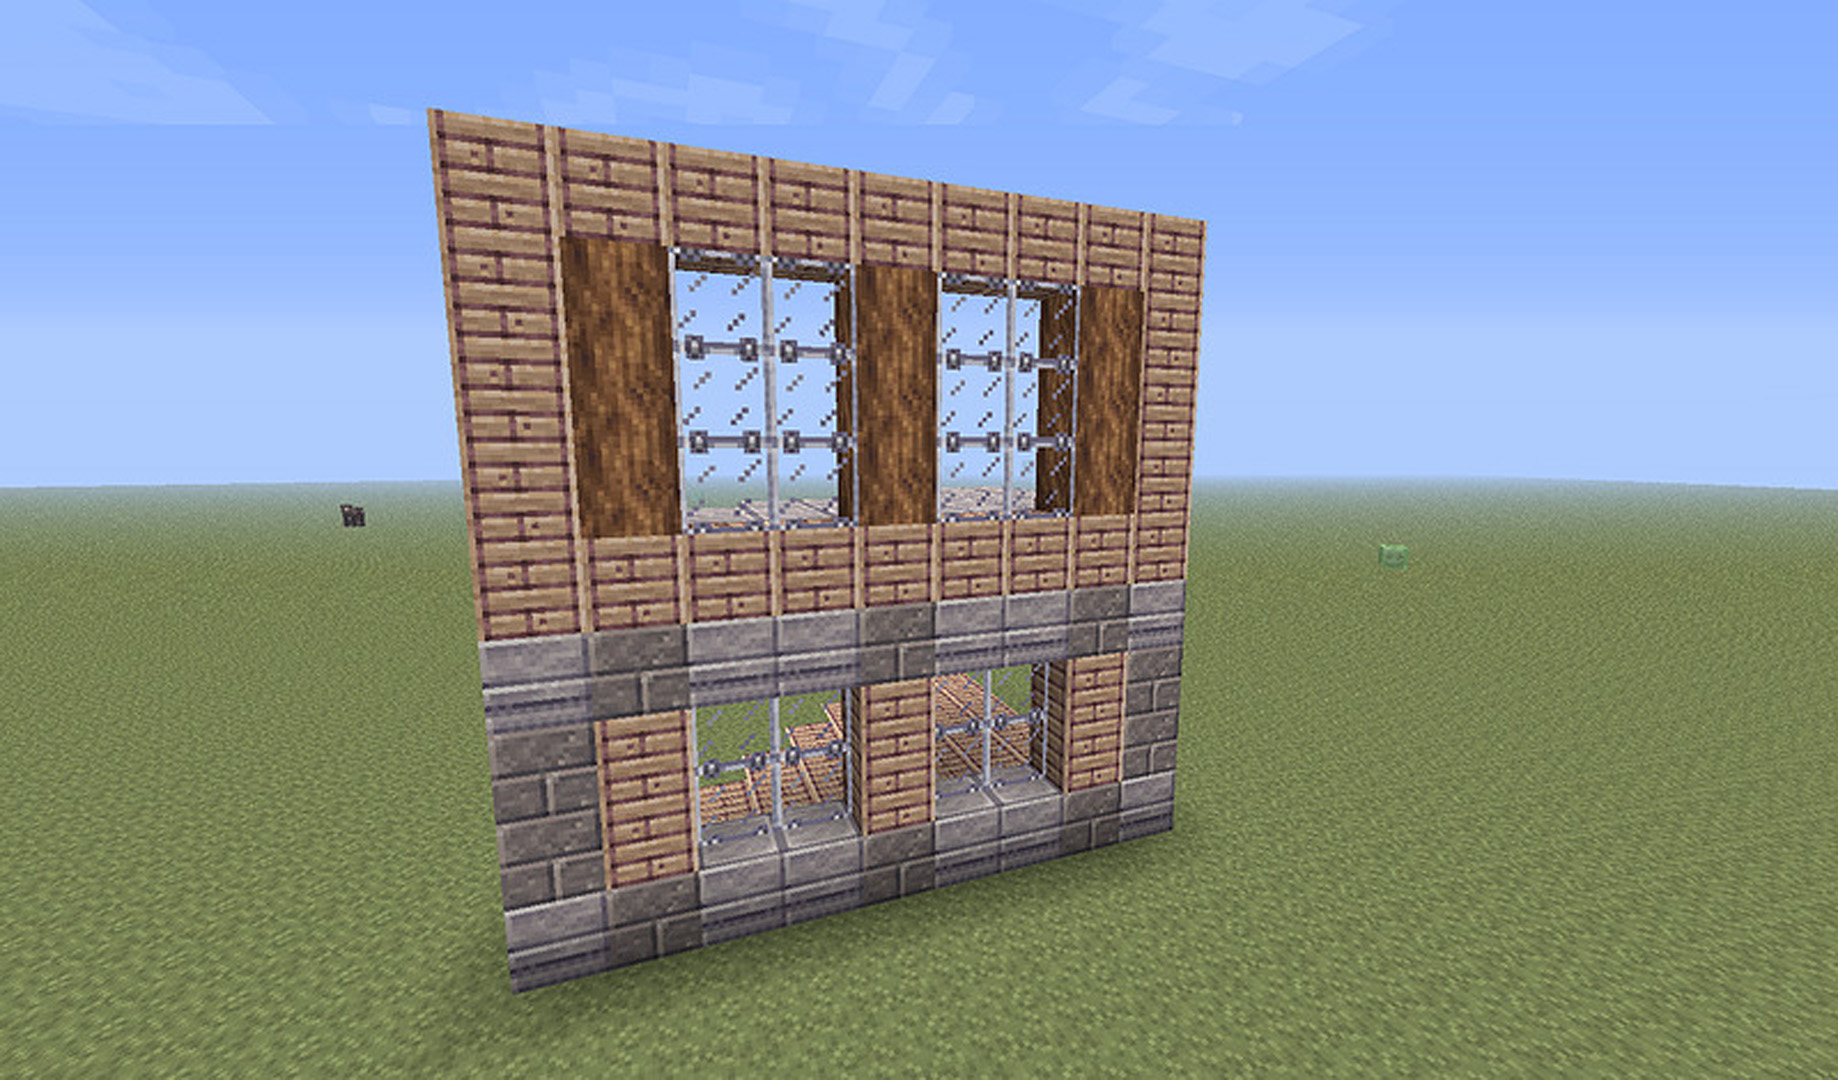
This is a stacked design. It’s literally two walls stacked on top of each other, with a floor dividing them.
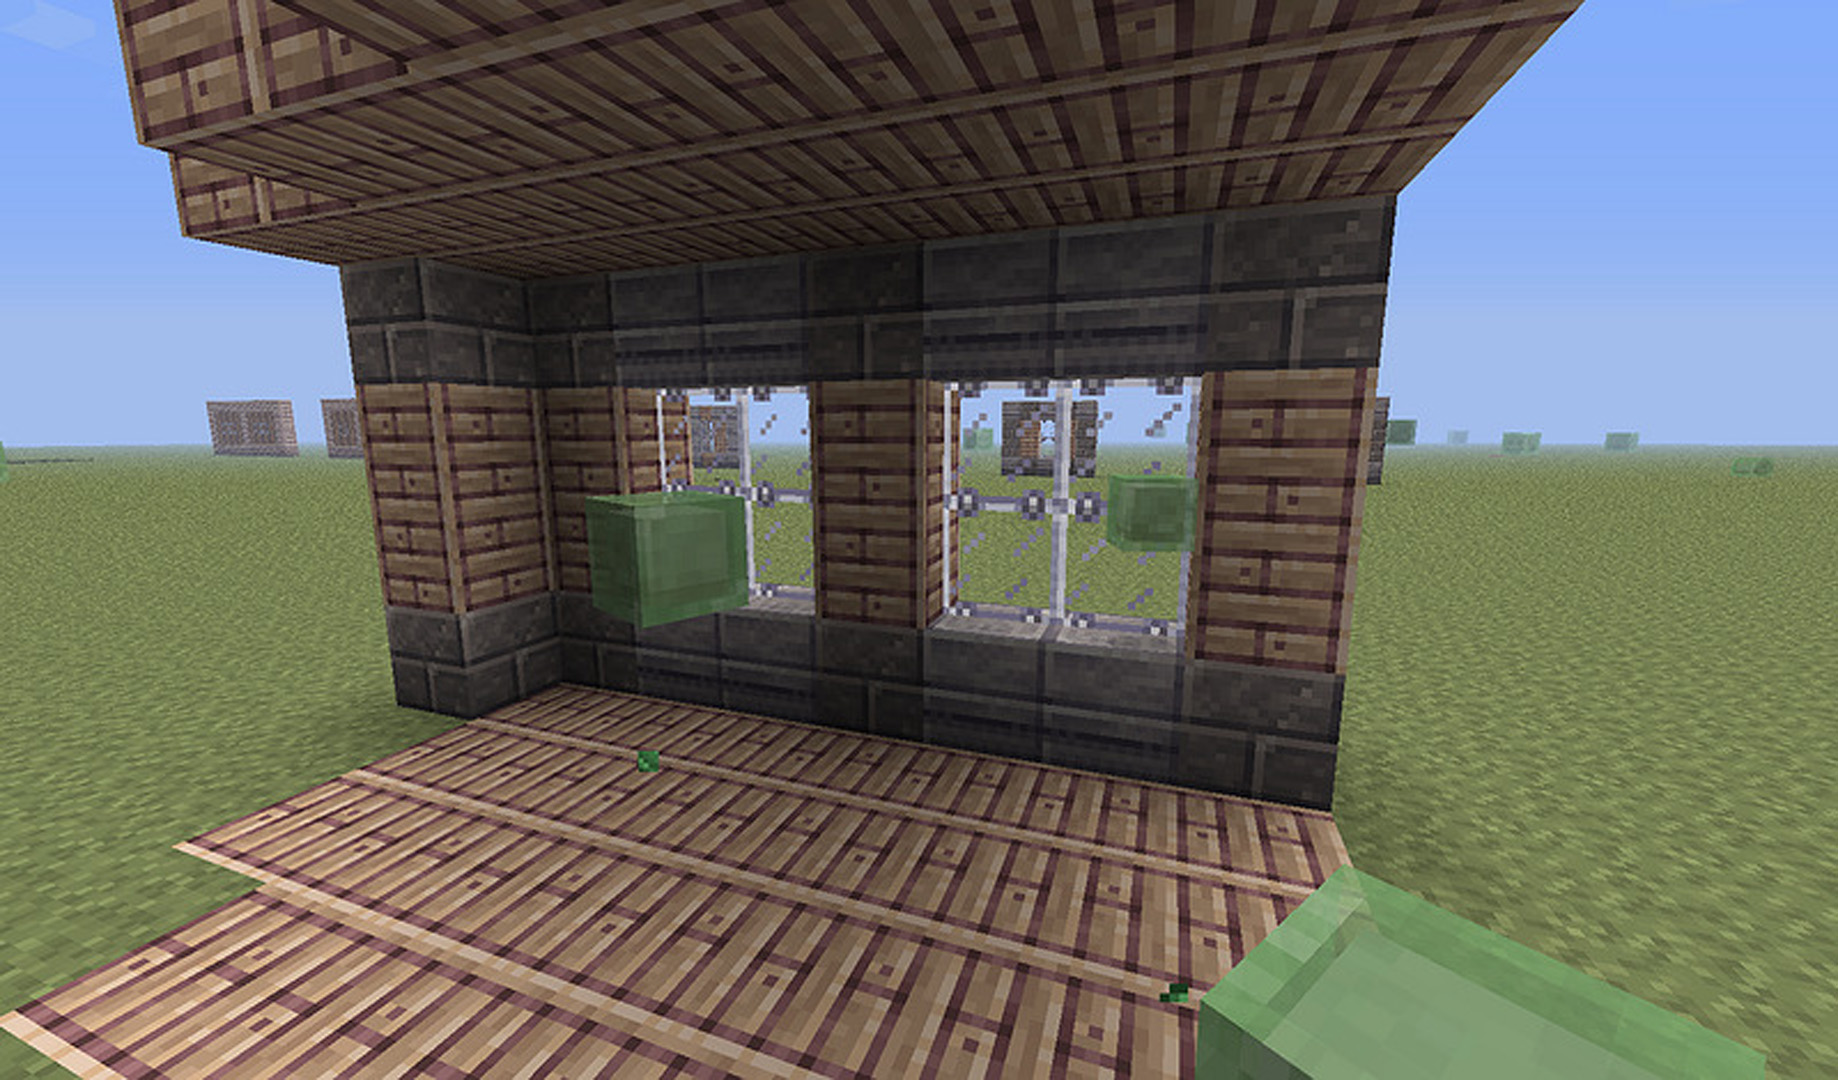
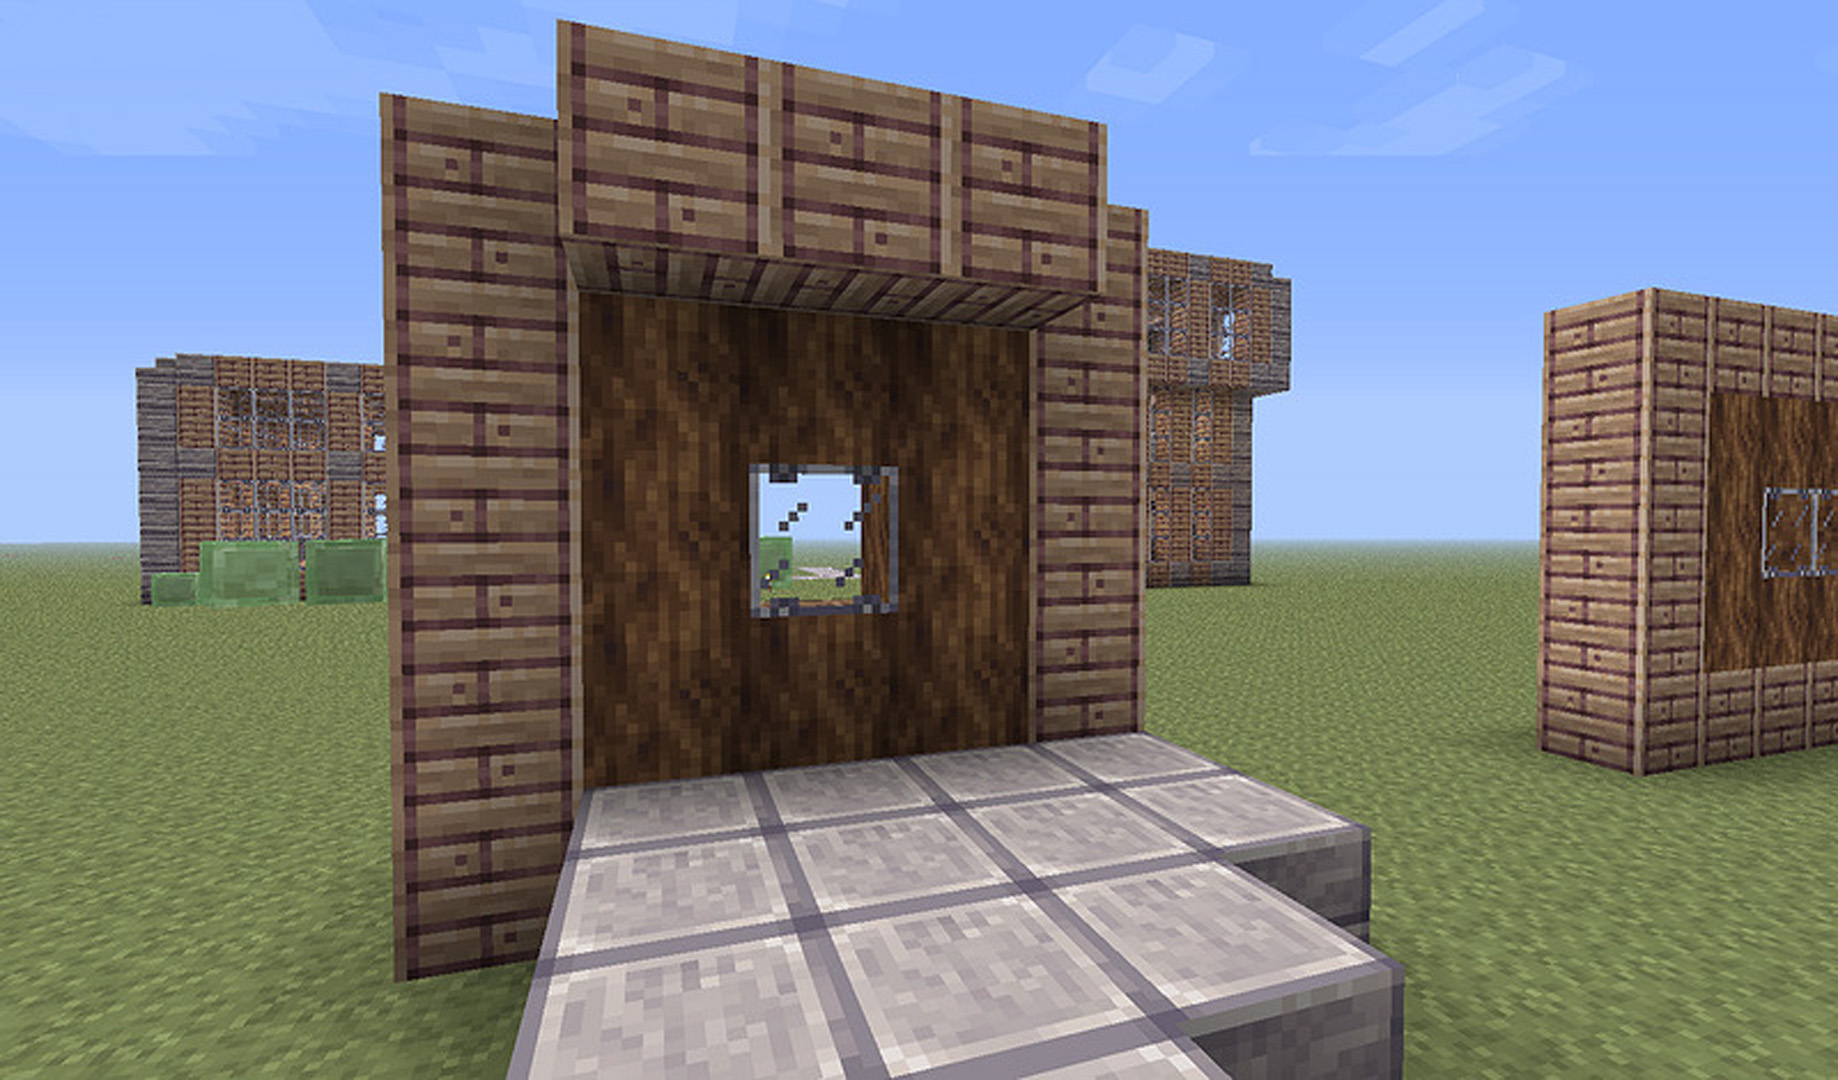
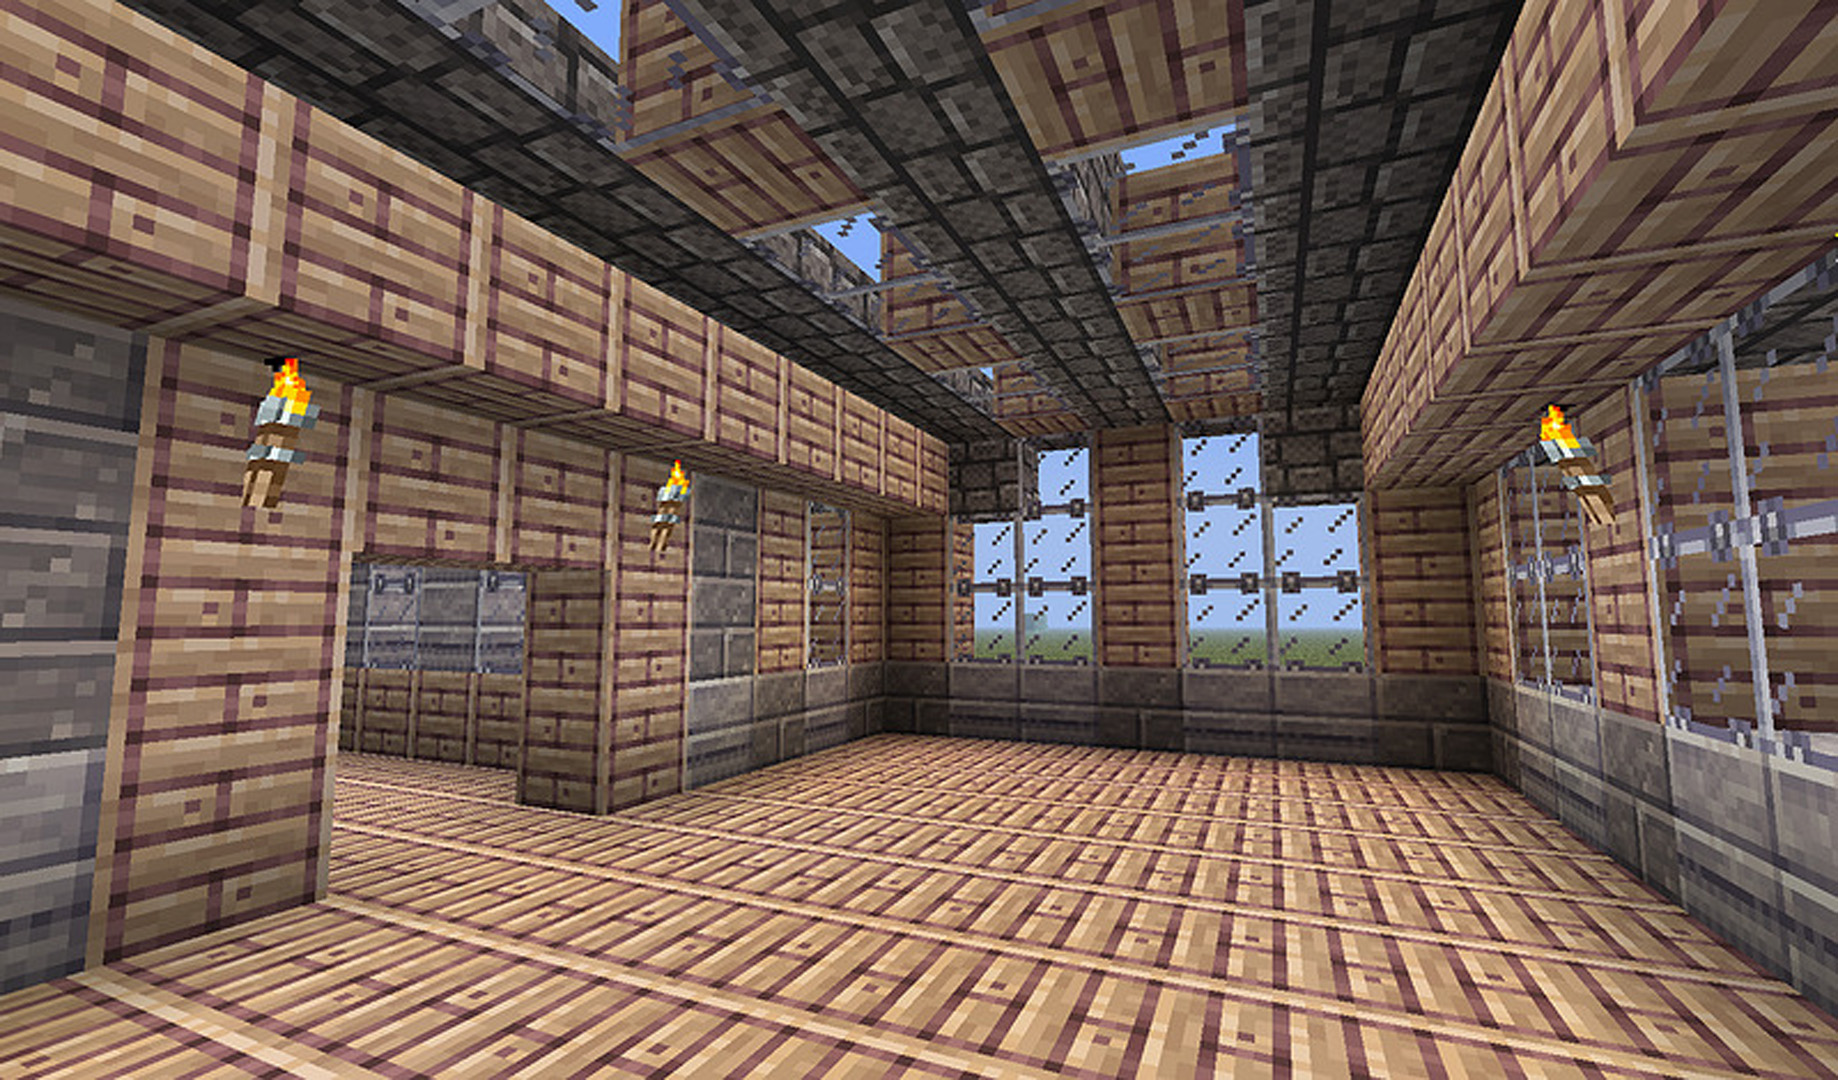
The interior – you can see that both the base and top sections are visible from the inside.
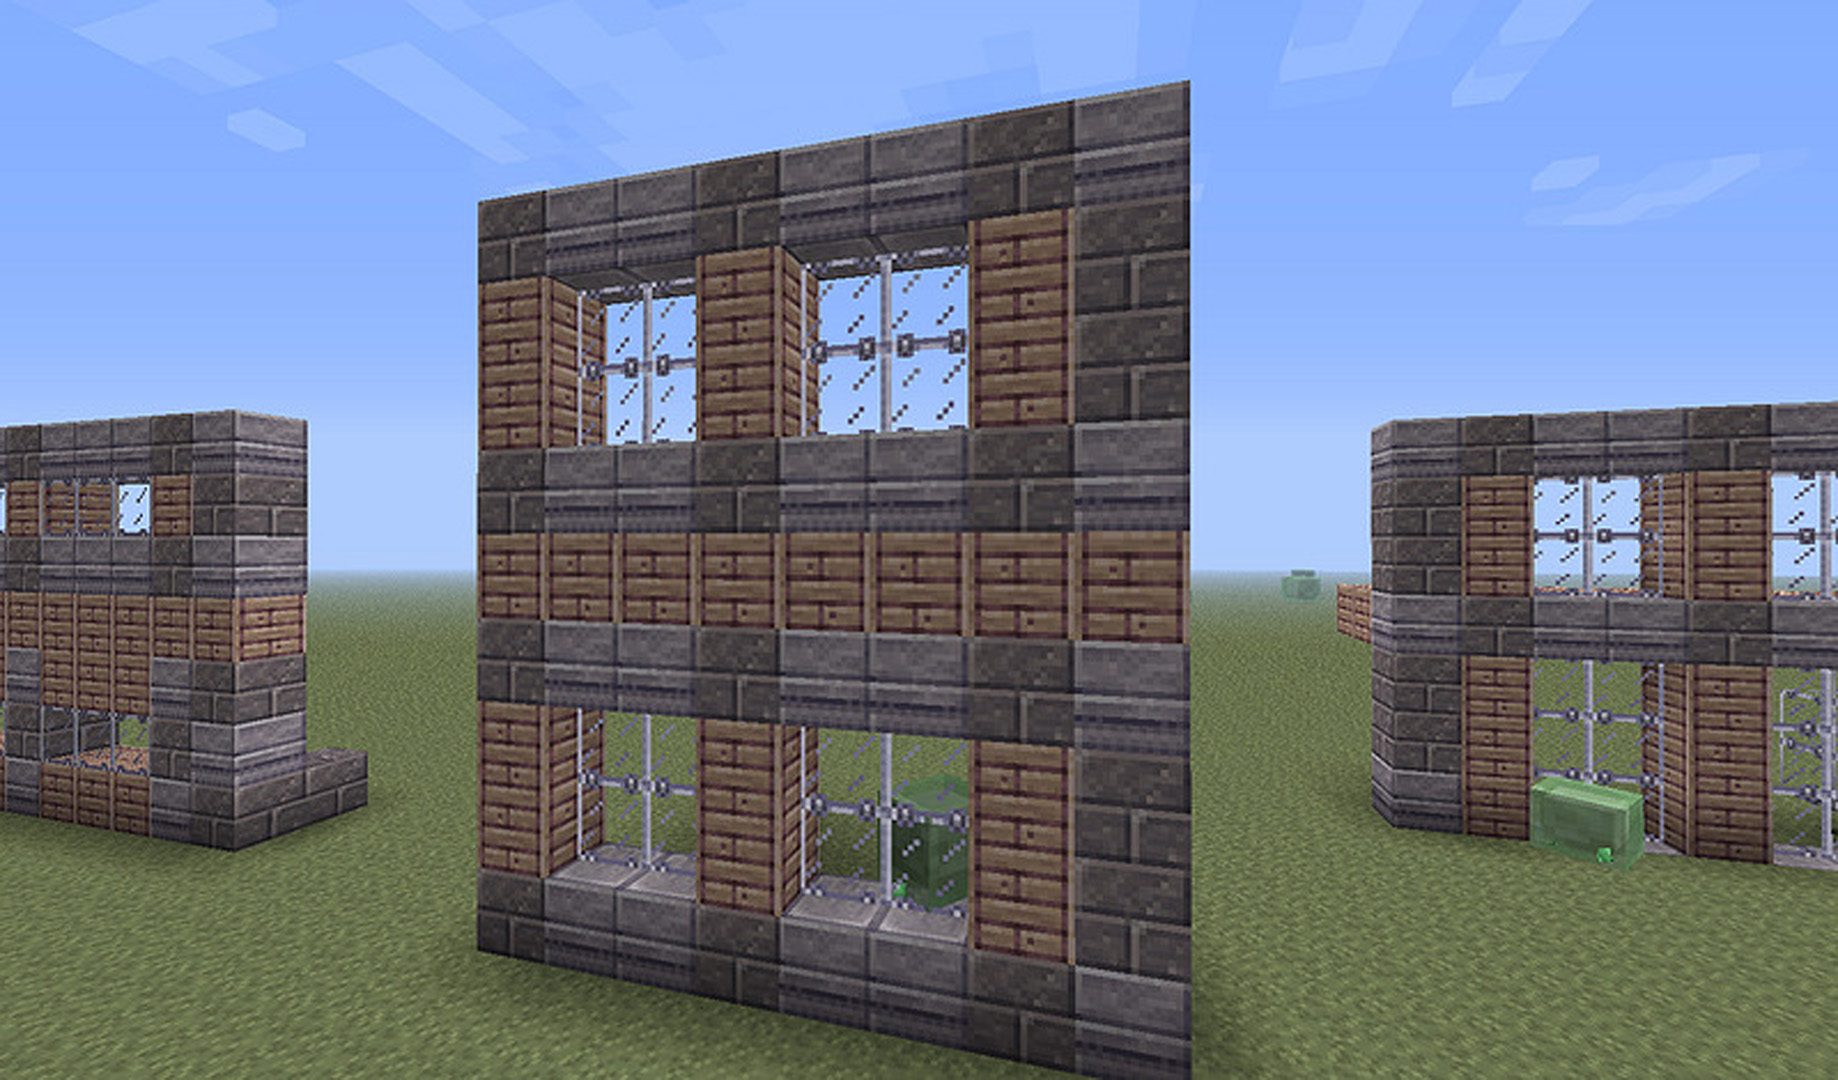
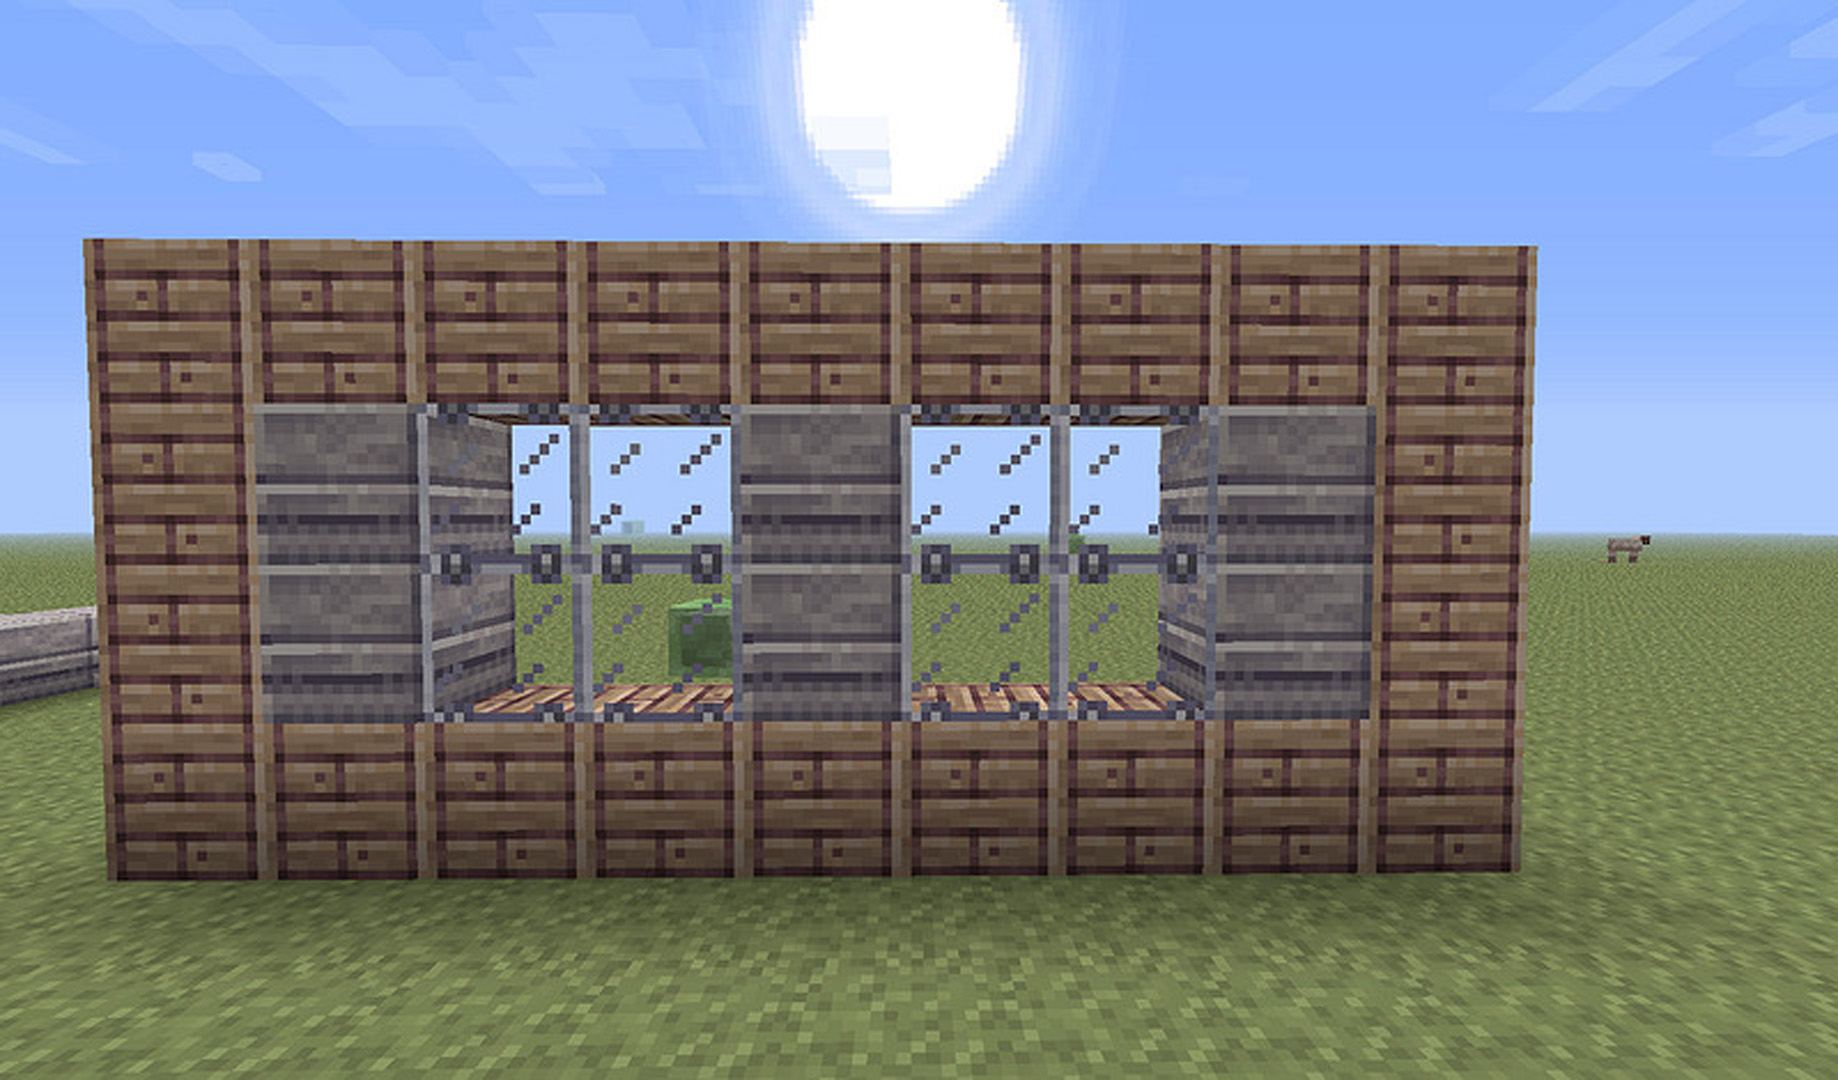
This is a merged design. As the name says, the top section of the first story and the bottom section of the second story are merged together. To compensate for this I’ve extended the middle section to 3 blocks, though this isn’t necessary.
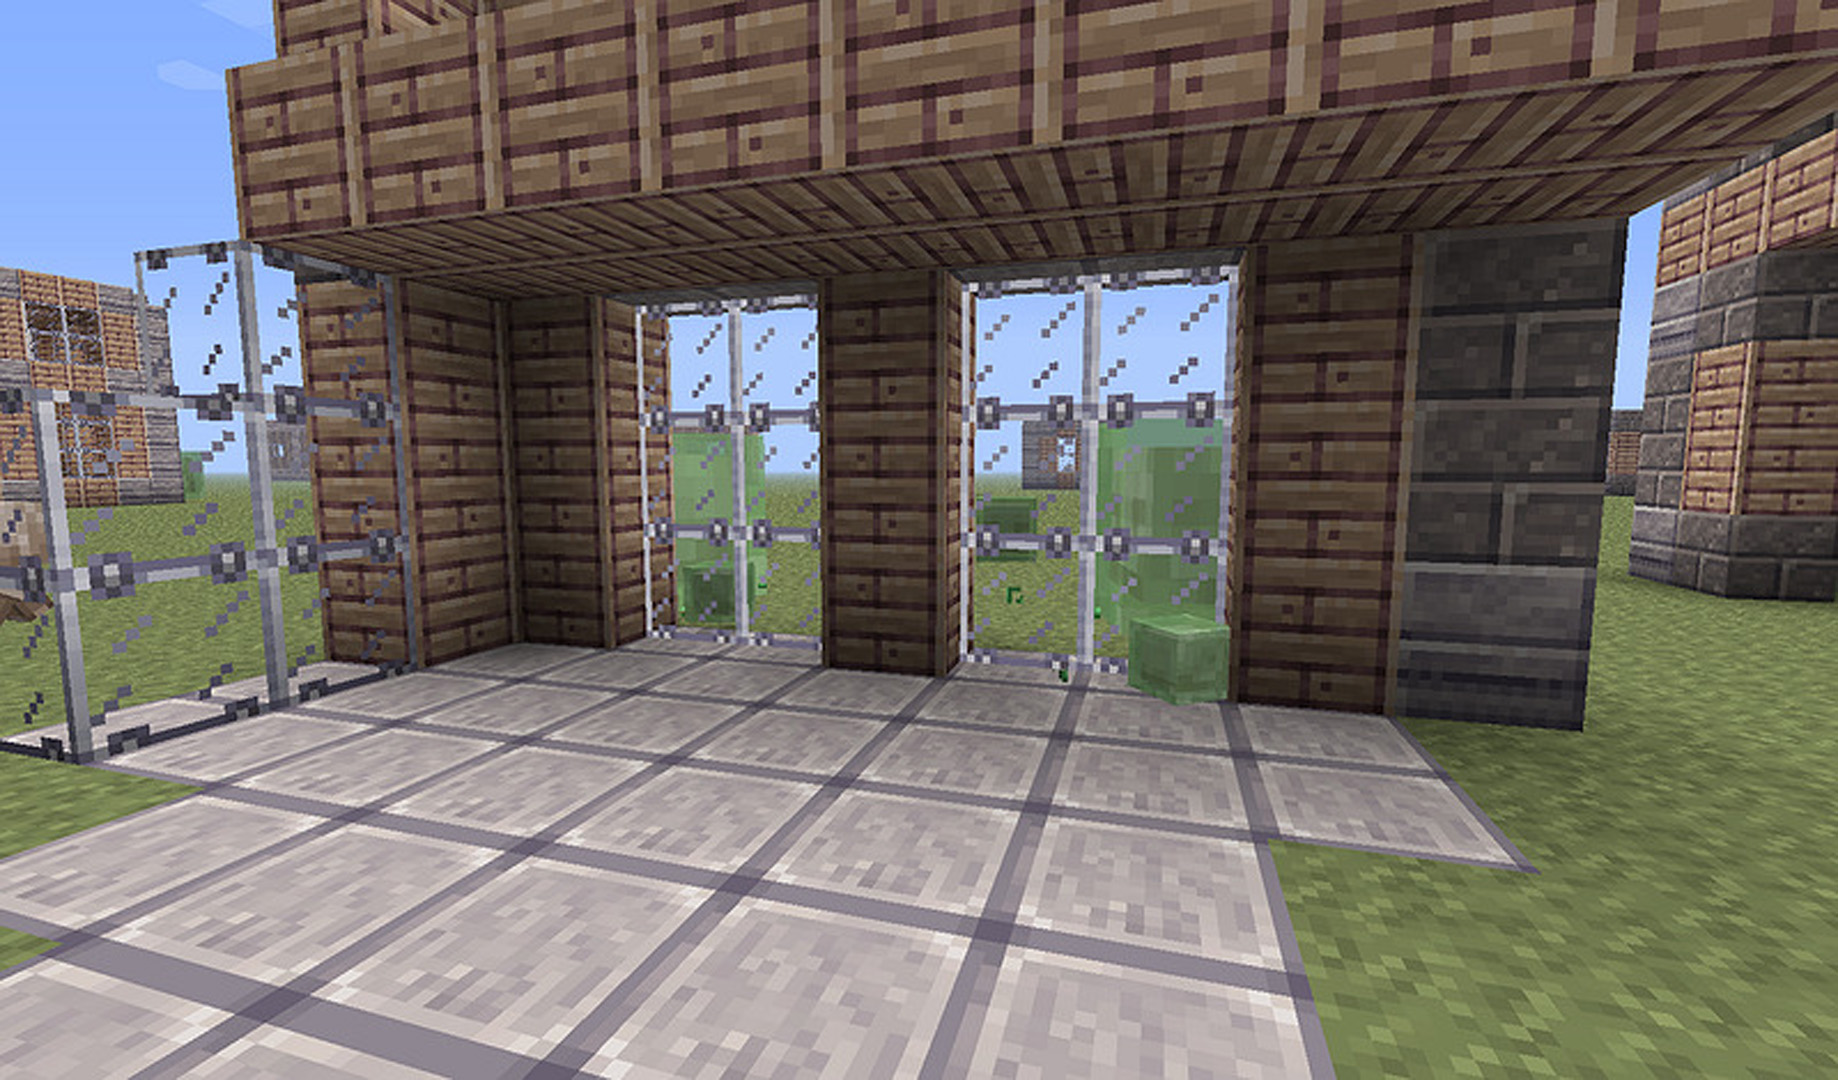
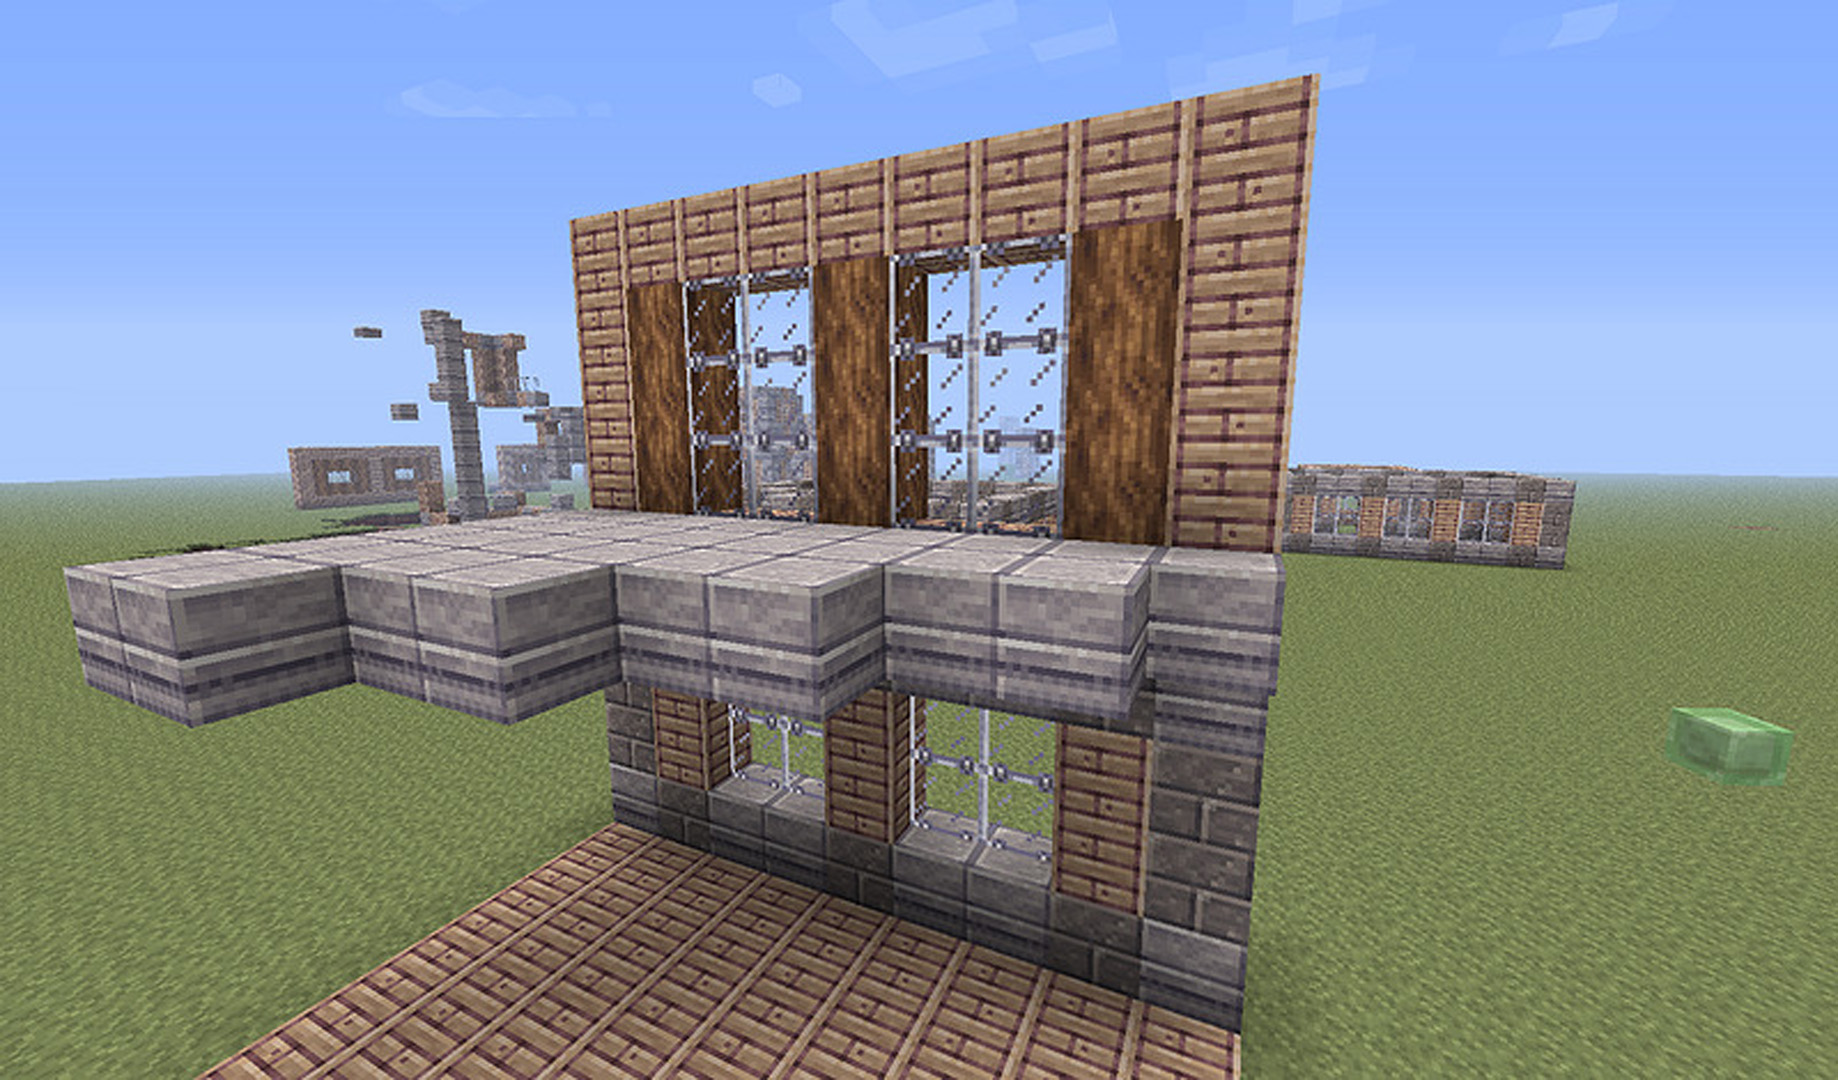
From the inside you can see that now the window section takes up the entirety of the wall from floor to roof, and the base and top aren’t visible. Note that these concepts don’t just apply to multi-story buildings. In a single story merged design, the floor and roof will be flush with the bottom and top sections, while in a stacked design the floor and roof will be one block below and above the bottom and top sections. Here are a few other designs:
If you look at the diagram from before you’ll see that the layout is exactly the same, but I’ve just replaced a few blocks. Let’s extend it:
I decided here to modify the divider section separating the two windows so that the stone extends along the entire length, rather than stone, then two blocks of wood, then stone like the other dividers.
Once again, just changing the blocks. I widened the window section to 2 blocks for this one.
Extended.
This might not look like it, but it’s actually a merged design. The glass would normally be 3 blocks high but I replaced the top and bottom blocks with logs.
This is a bit different. I used a corner section to separate the two ‘windows’. From left to right, the layout here is C,D,W,W,D,C,D,W,W,D,C.
You can see the merged design here – the top and bottom sections are hidden by the roof and floor. How do we make a house out of all this?

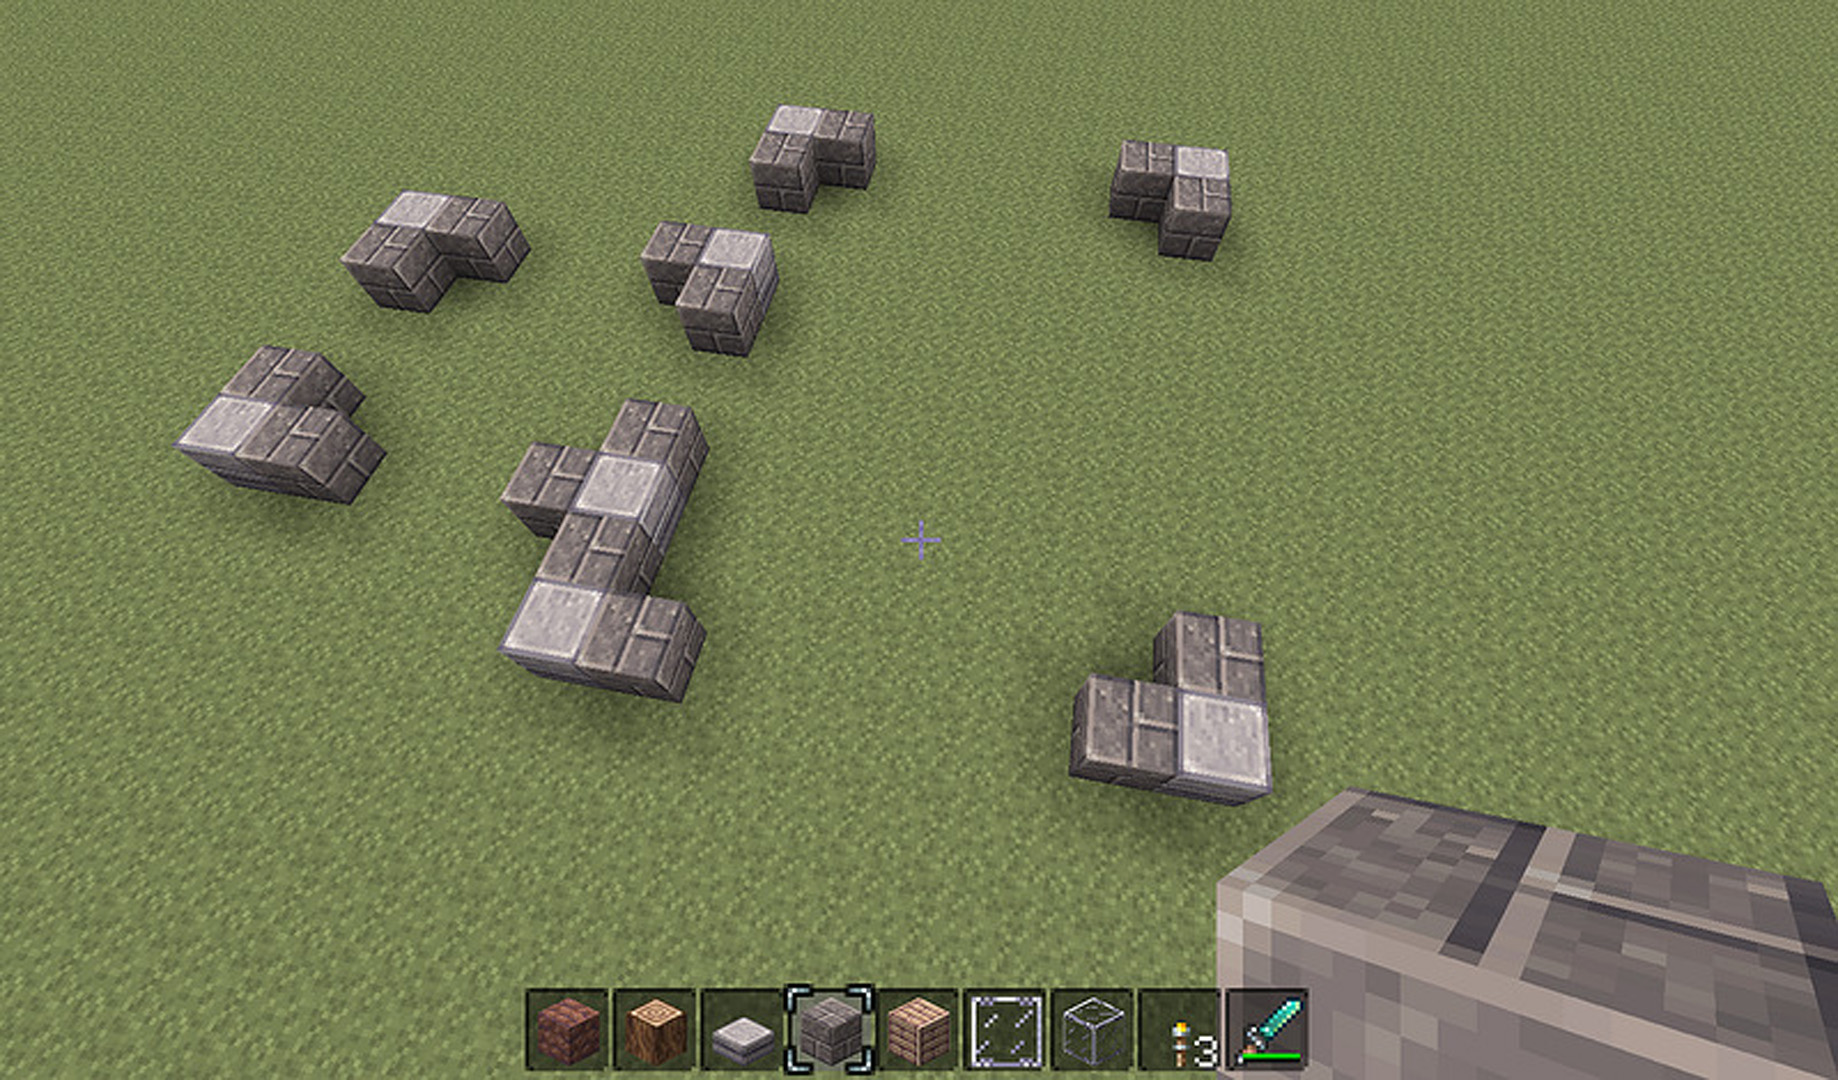
This part is super easy, as we’re just making the base. Place corner bottoms in the corners of the room, and place dividing bottoms on either side. If you want to add a room (like I have), just merge it with the existing base. You can basically place rooms willy nilly, because in the end the design will fall together. I like to have one big room with smaller rooms branching off, but it’s up to you.
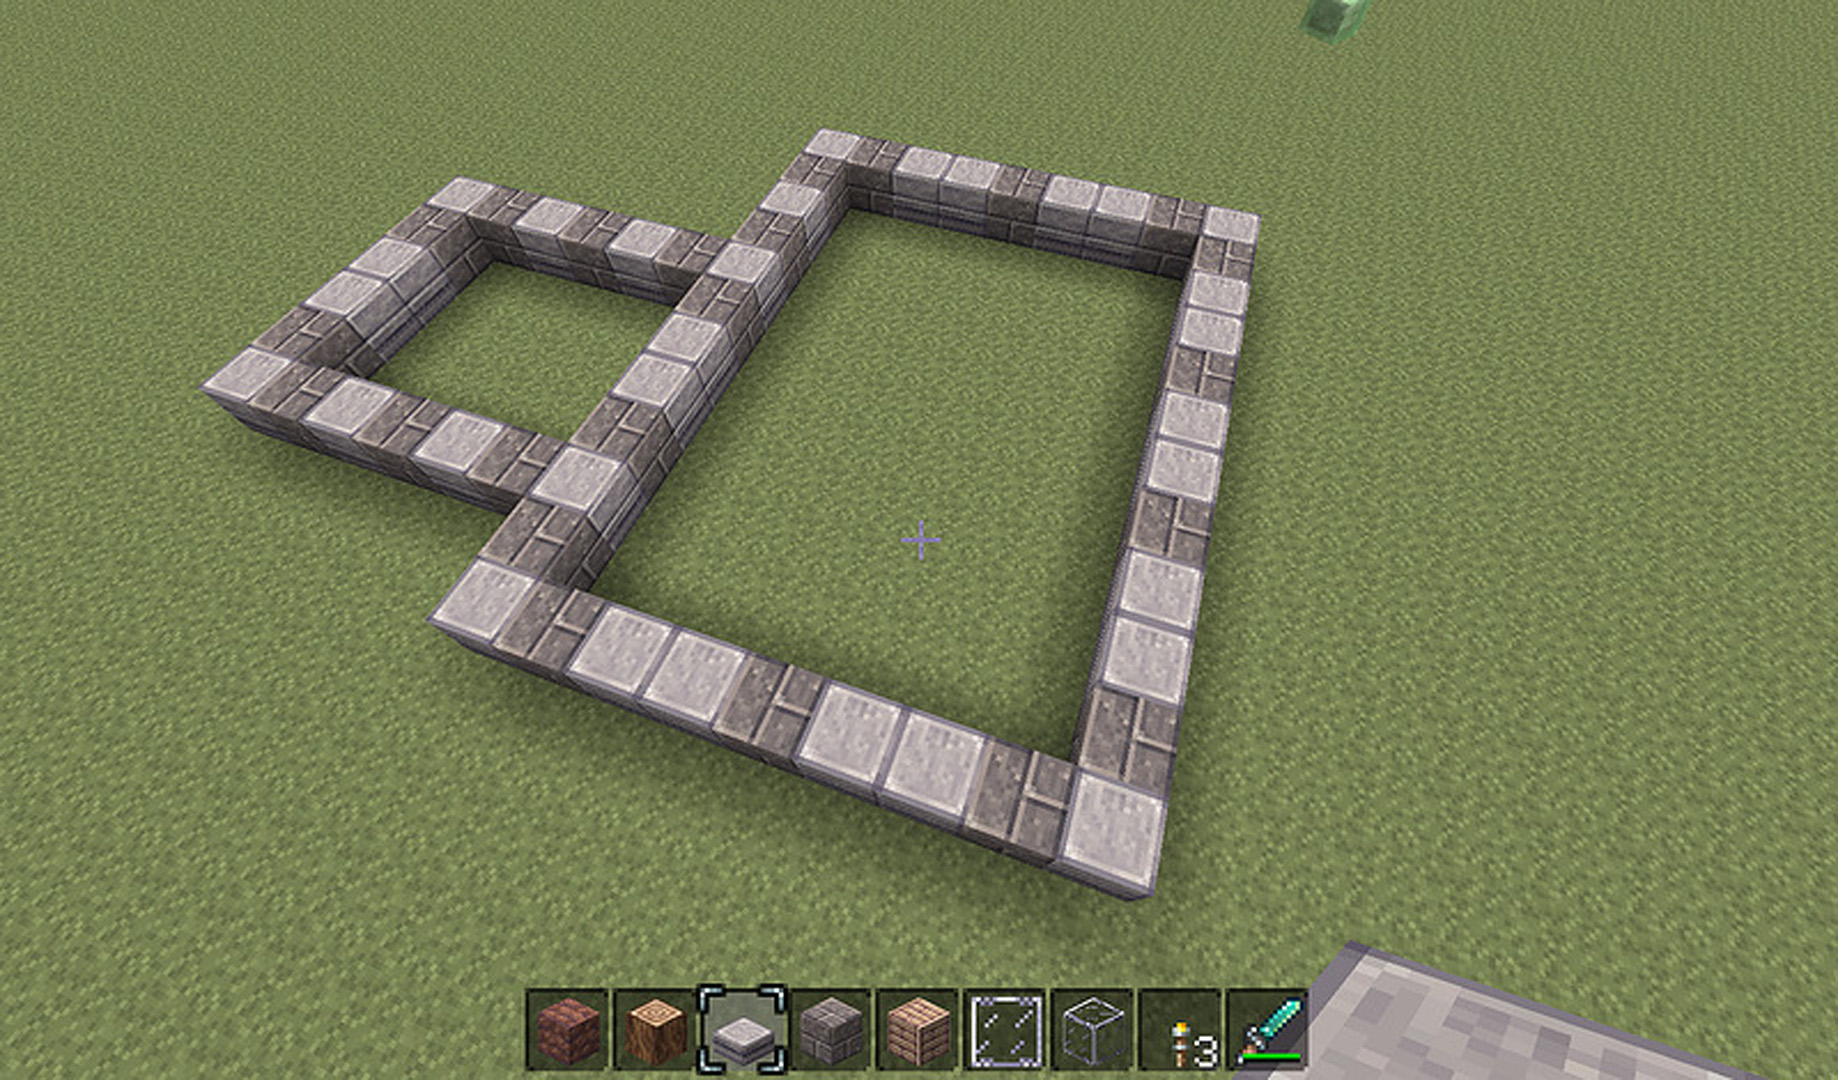
This part is slightly harder. This is where we place the divider bottoms that go between the windows. Make sure that they’re spaced symmetrically, as the windows will look odd otherwise.
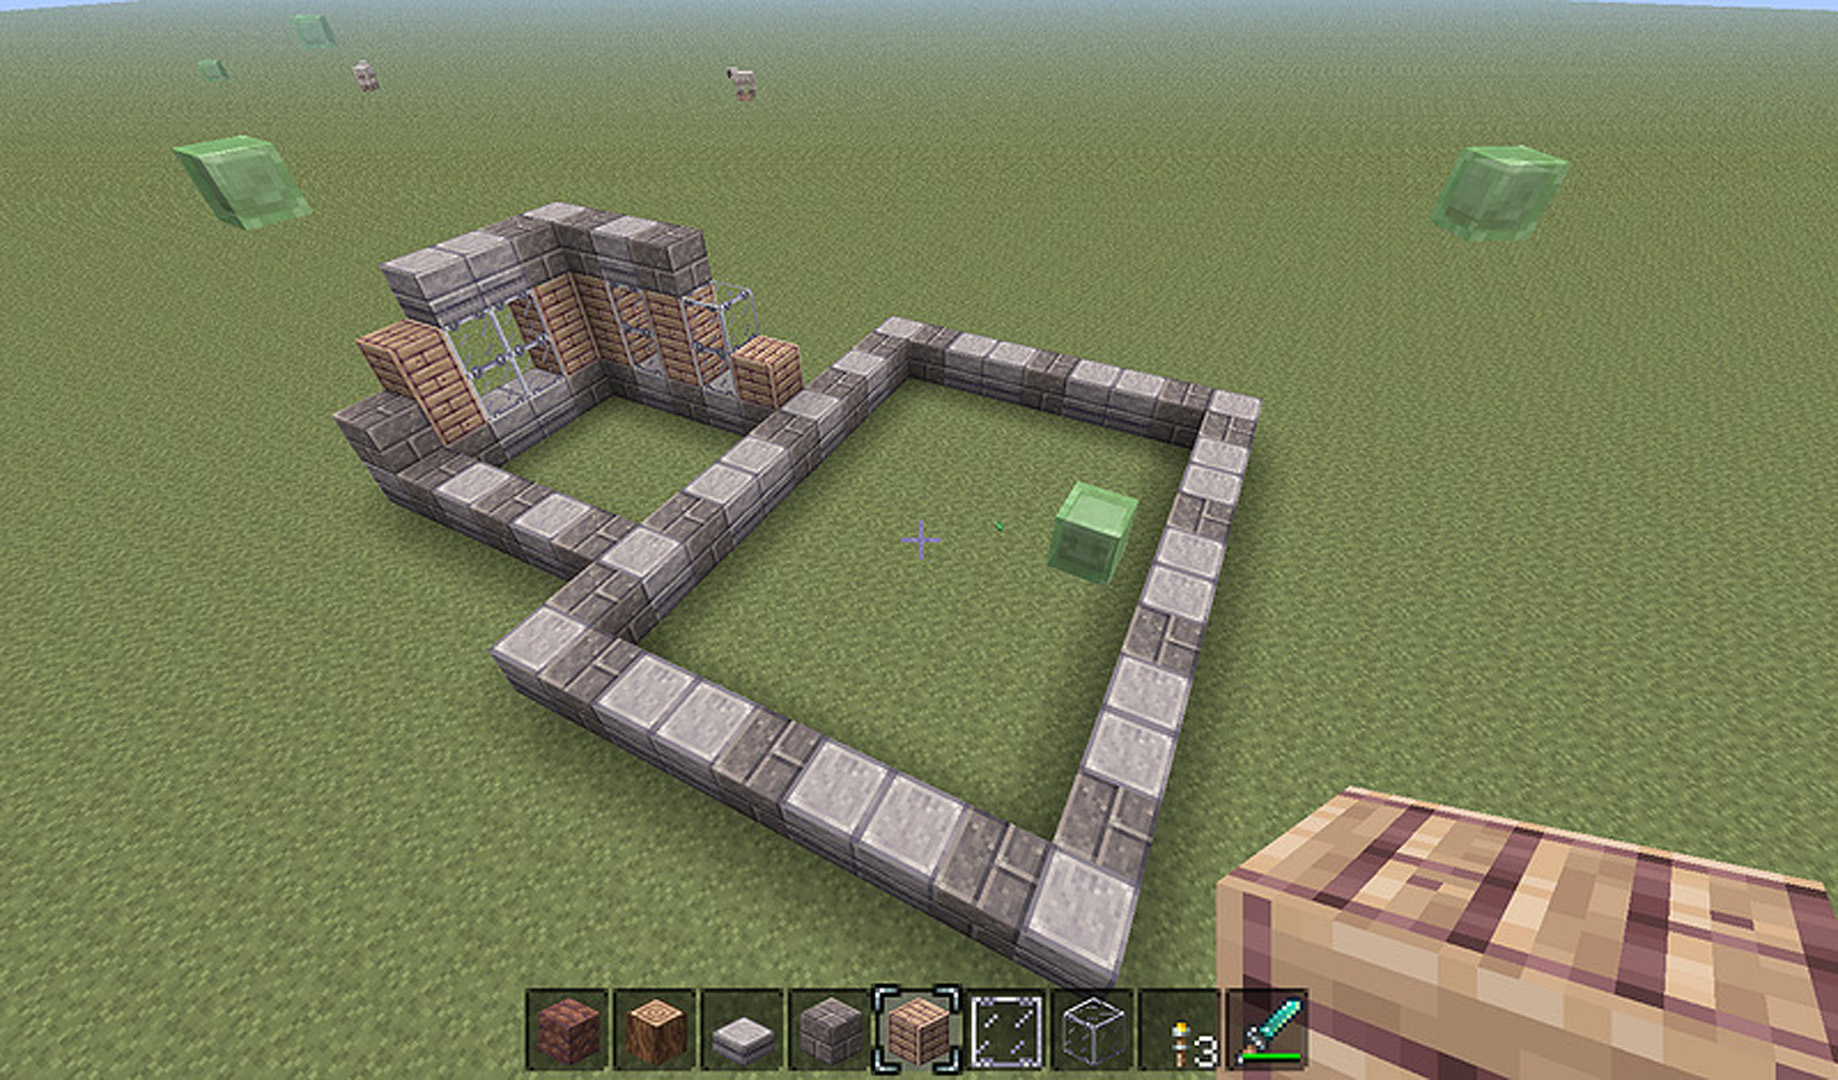
Easy again – just placing the window bottoms in the gaps. Now that the bottom is finished, we can start filling in the middle and top sections
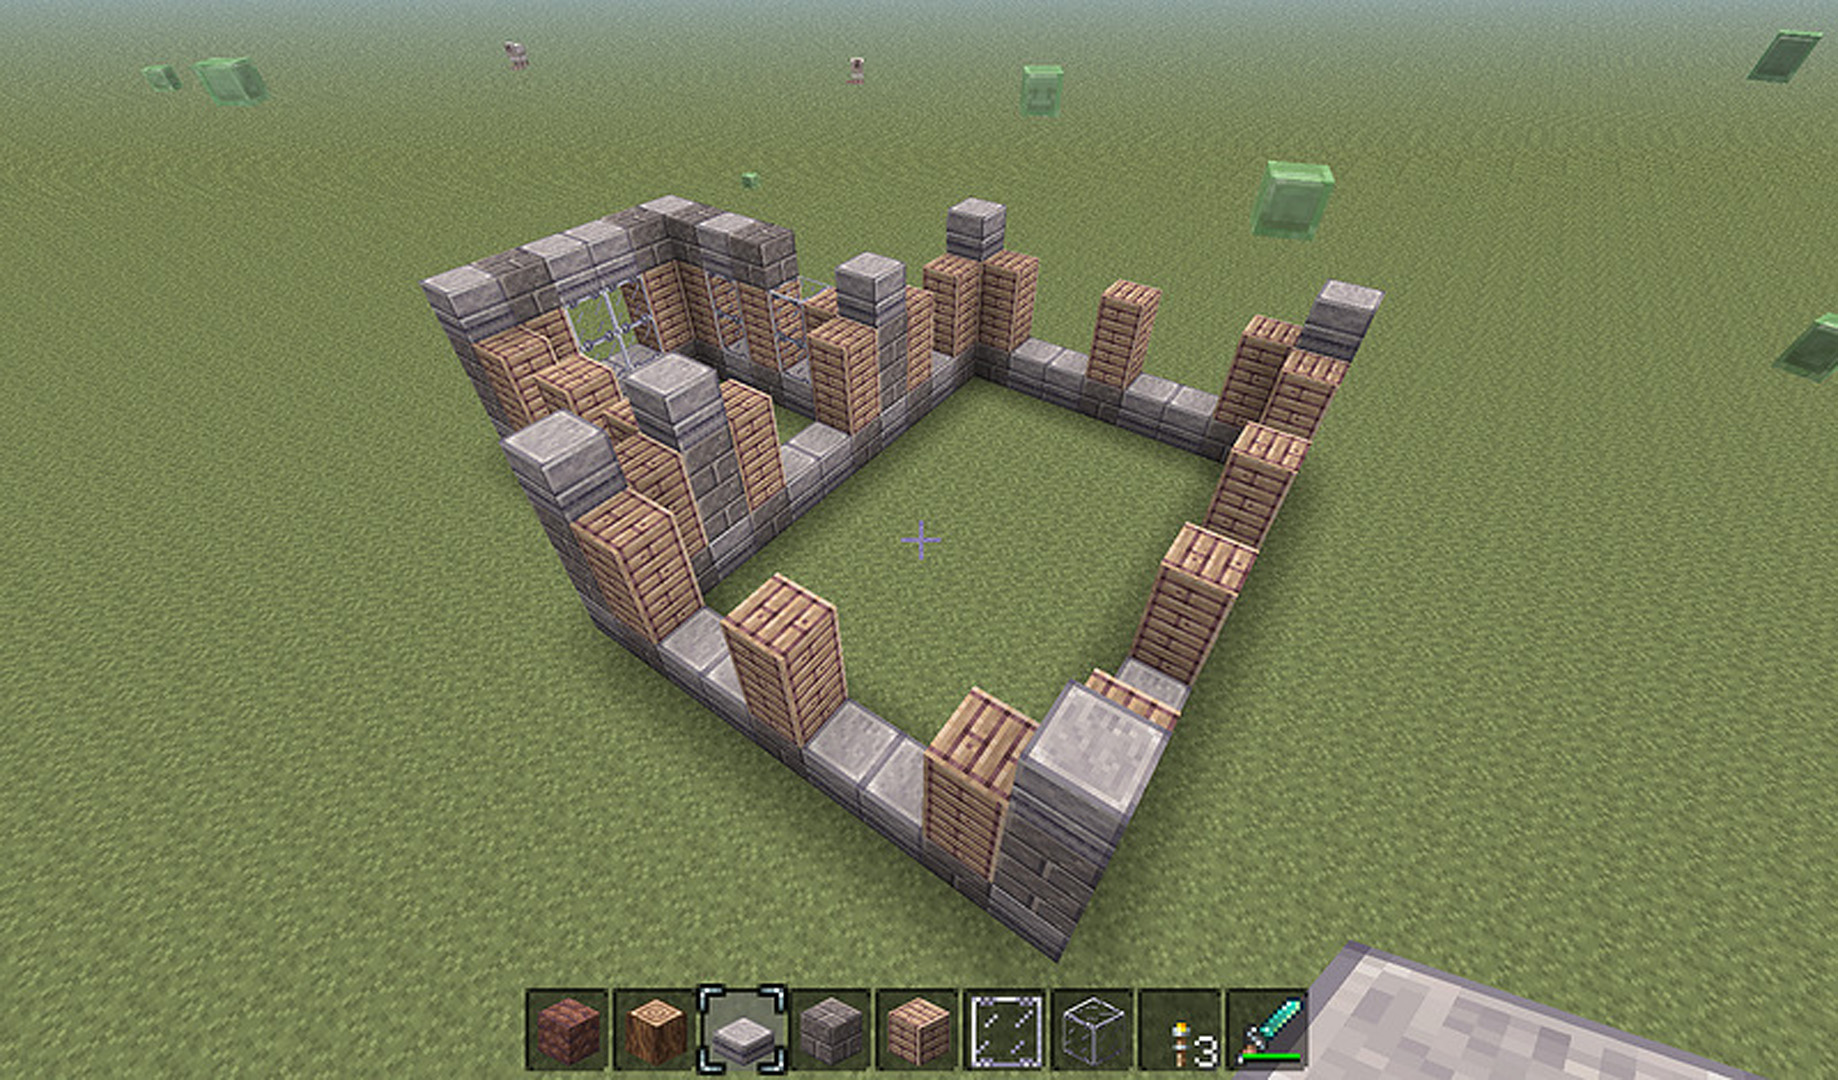
Partially completed.
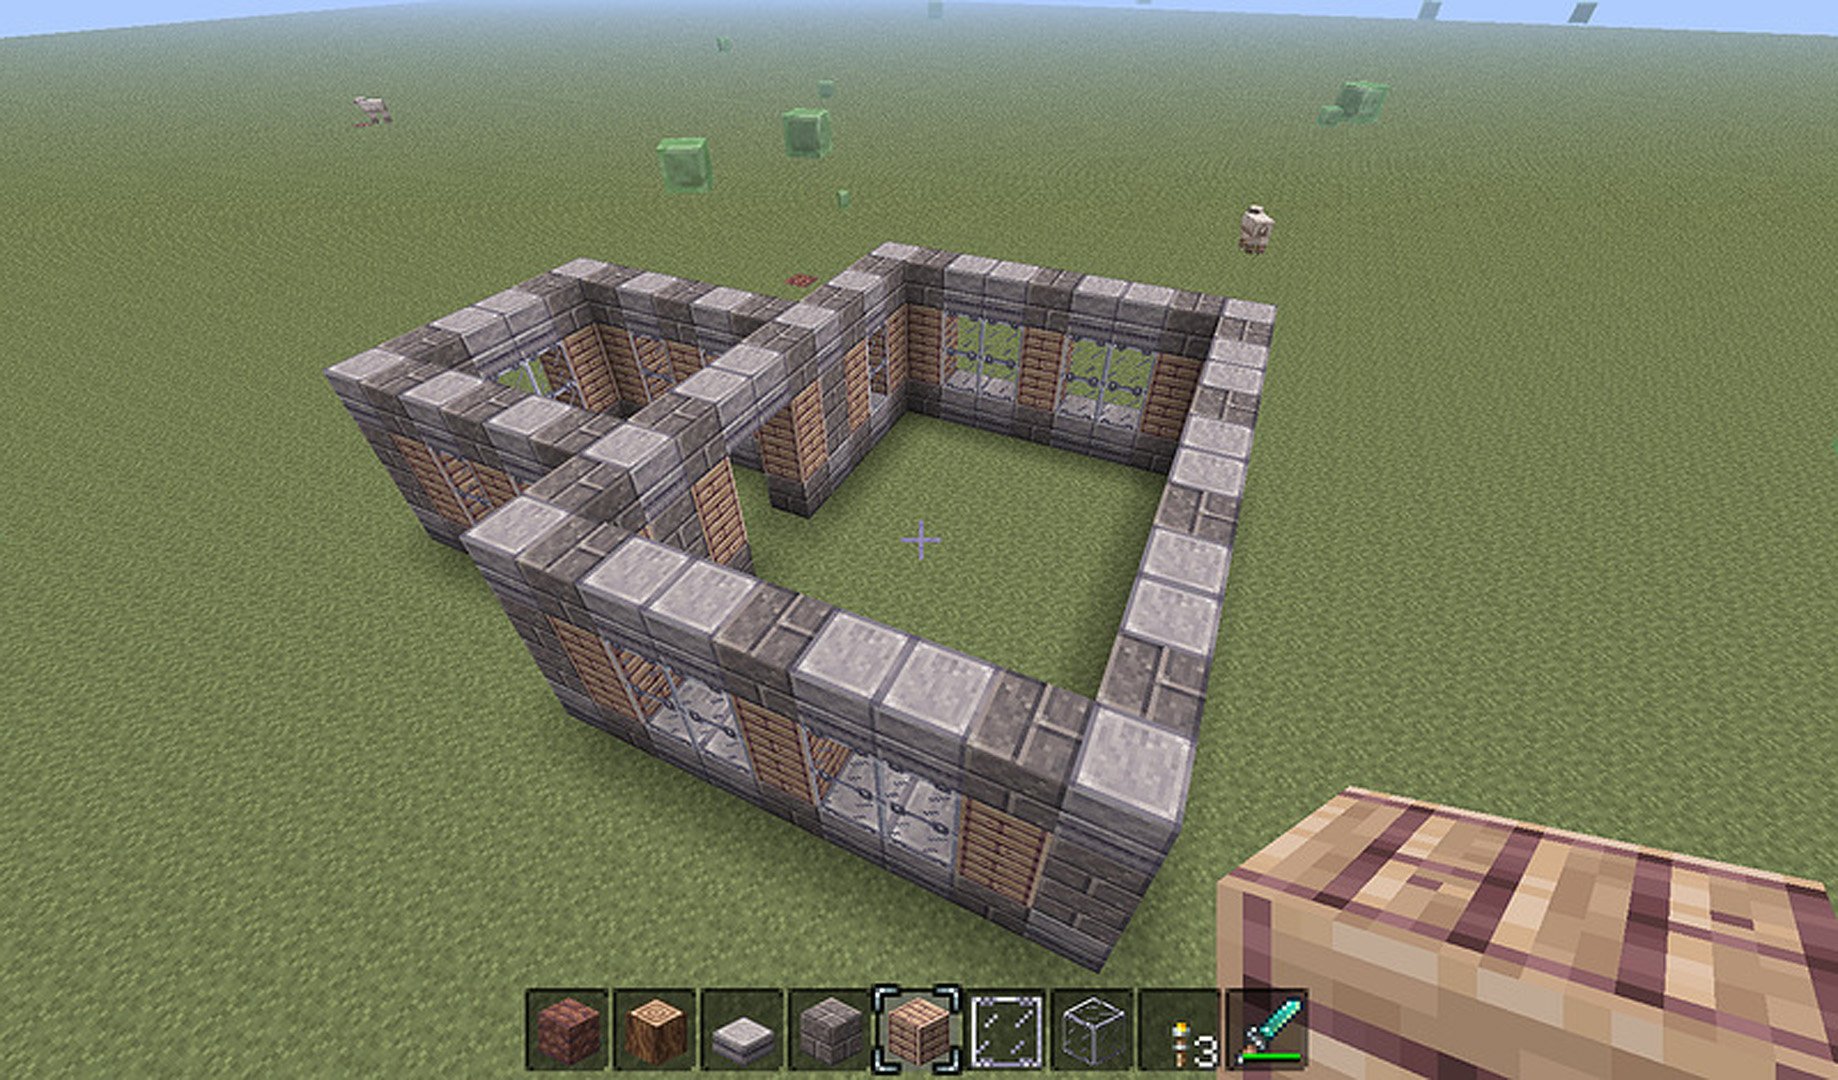
Finally starting to take shape…
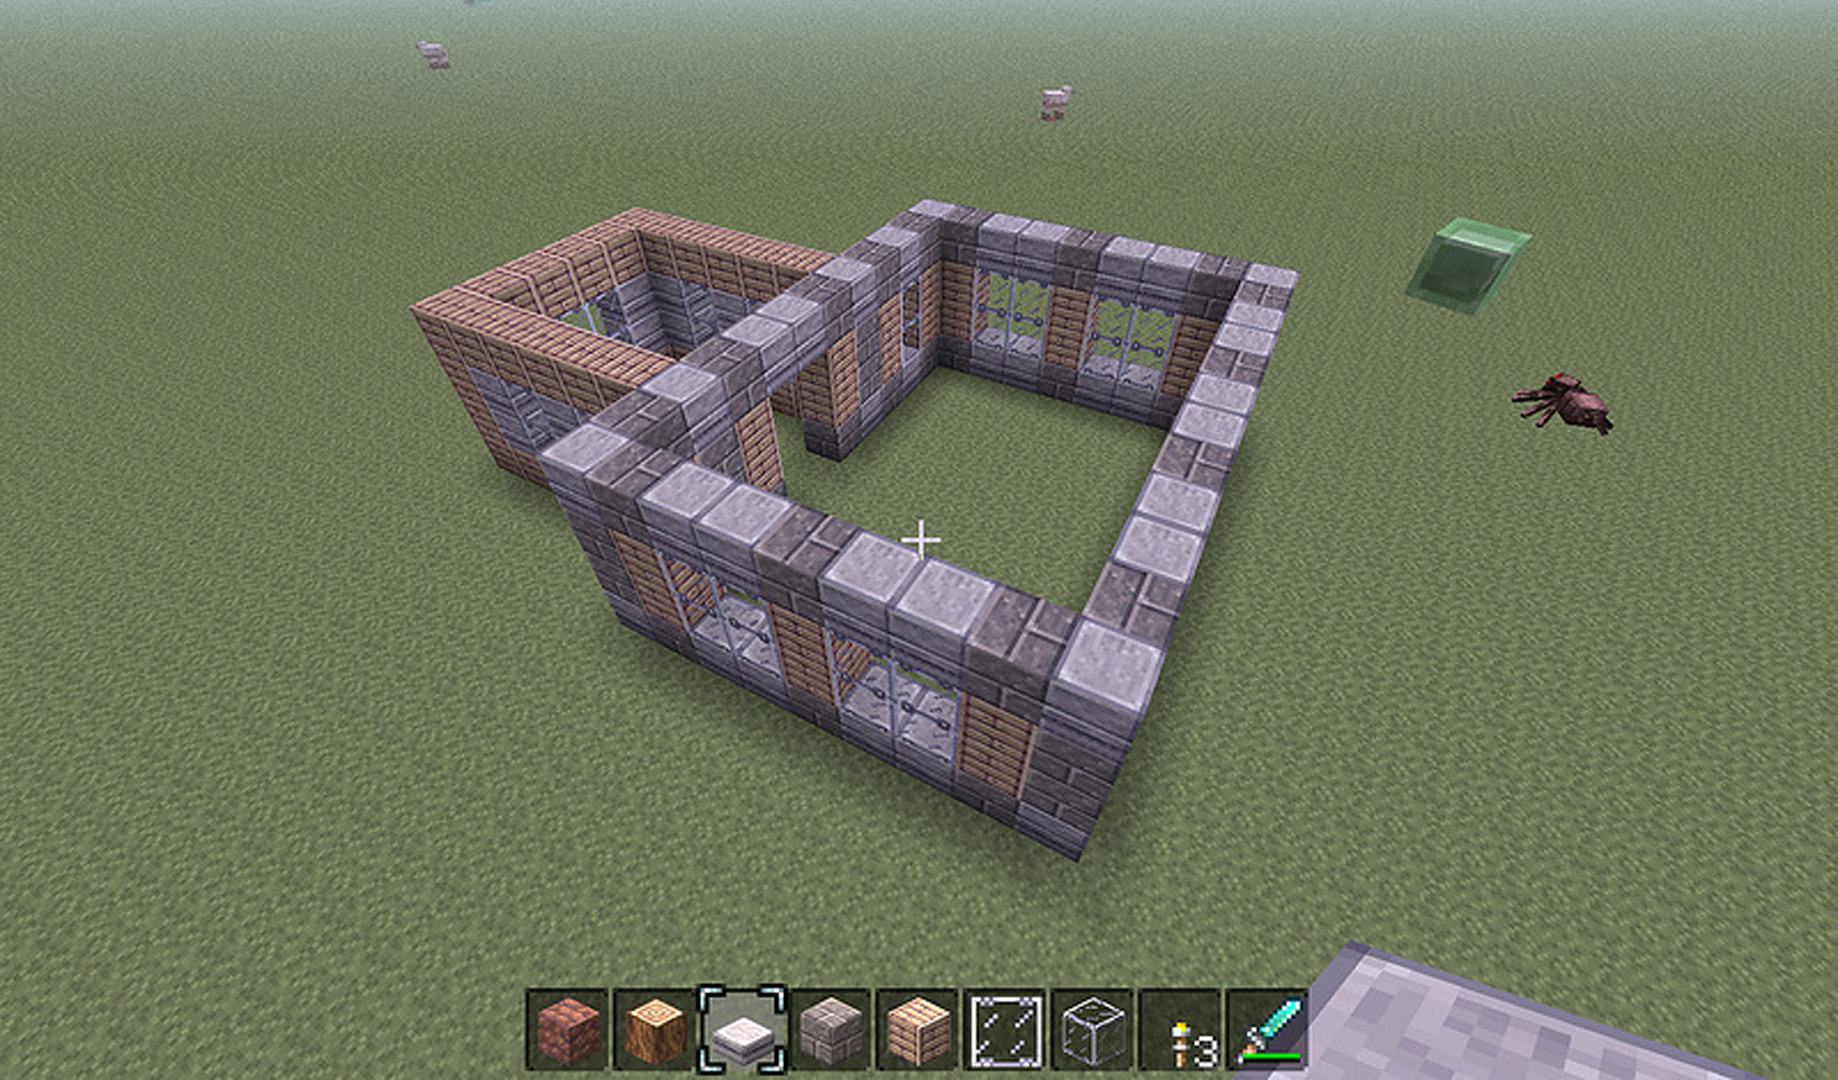
…and now the walls are finished!
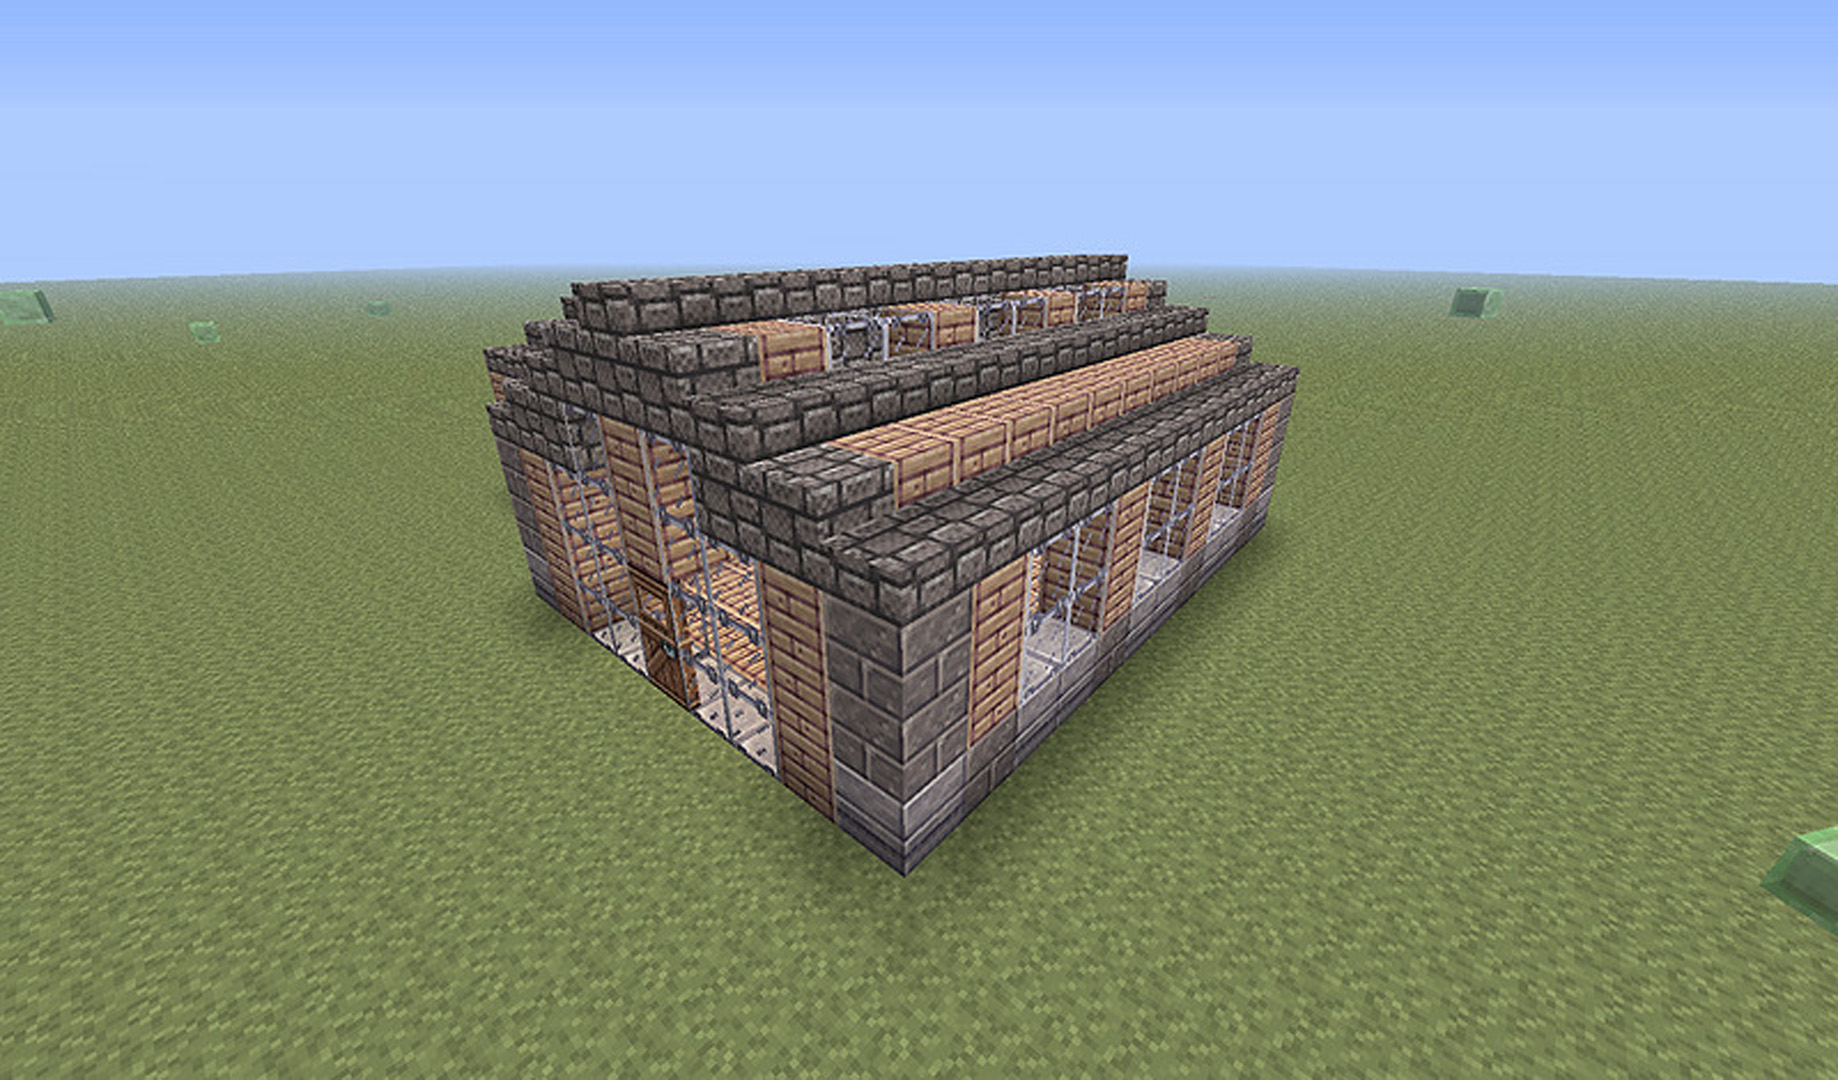
You can use different designs for different rooms – or even different walls – to add some variation. The roof is up to you, but I went for a simple half-sloped design. I found it looked better if I removed the top section entirely, and built the roof directly atop the middle section. Here’s what it looked like after adding the roof and door:

From the front/right side. The roof design is a bit messy – if you want to build it yourself I’d just use cobblestone here and leave out the wooden strips.
View from behind, showing second room.
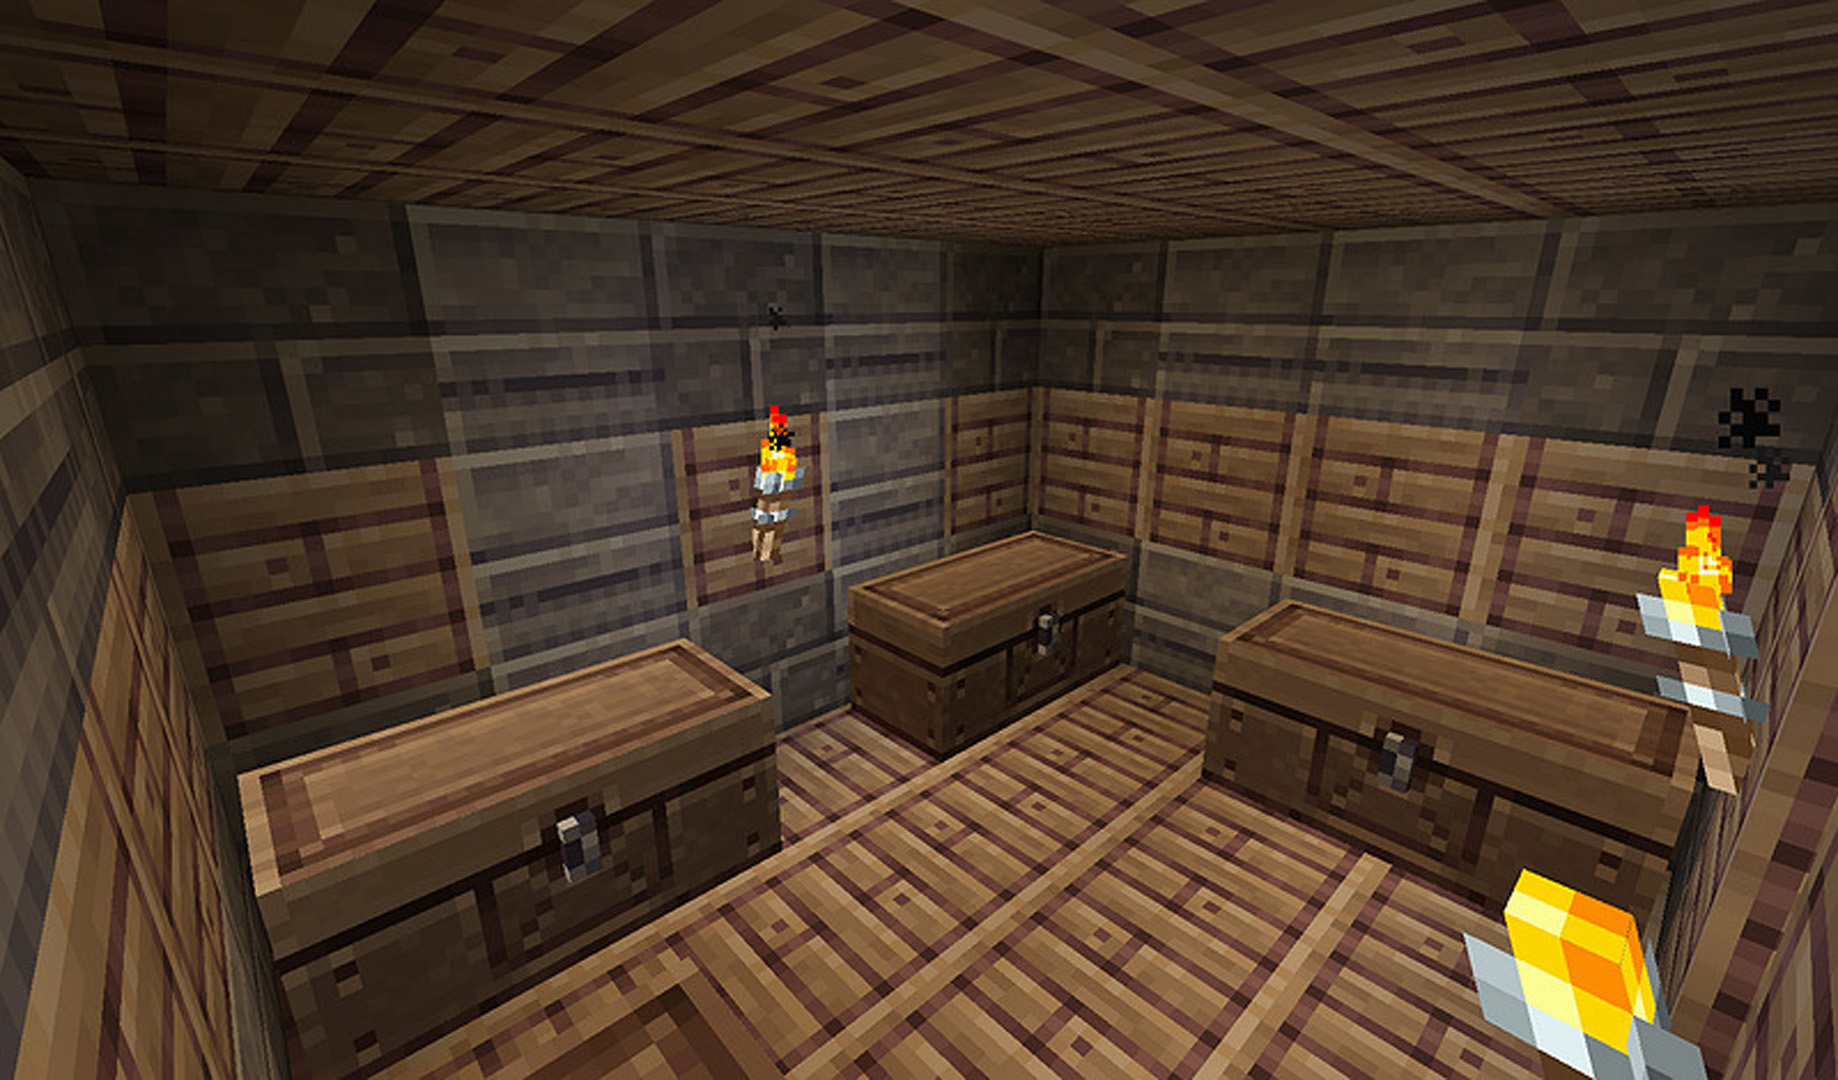
The interior. Finally, don’t be afraid to experiment with different styles/types:
Combination of stacked and merged, with 2 separate designs.
You can even use it underground!


Discussion about this post