

This tutorial takes you through multiple steps on how to improve and take beautiful screenshots of your Minecraft builds. Make your simple dirt house look like a fancy mansion using this quick tutorial. Did you use this tutorial to take a screenshot in your Minecraft world? Show us below, link your screenshot in the comments!
Step One: Resolution
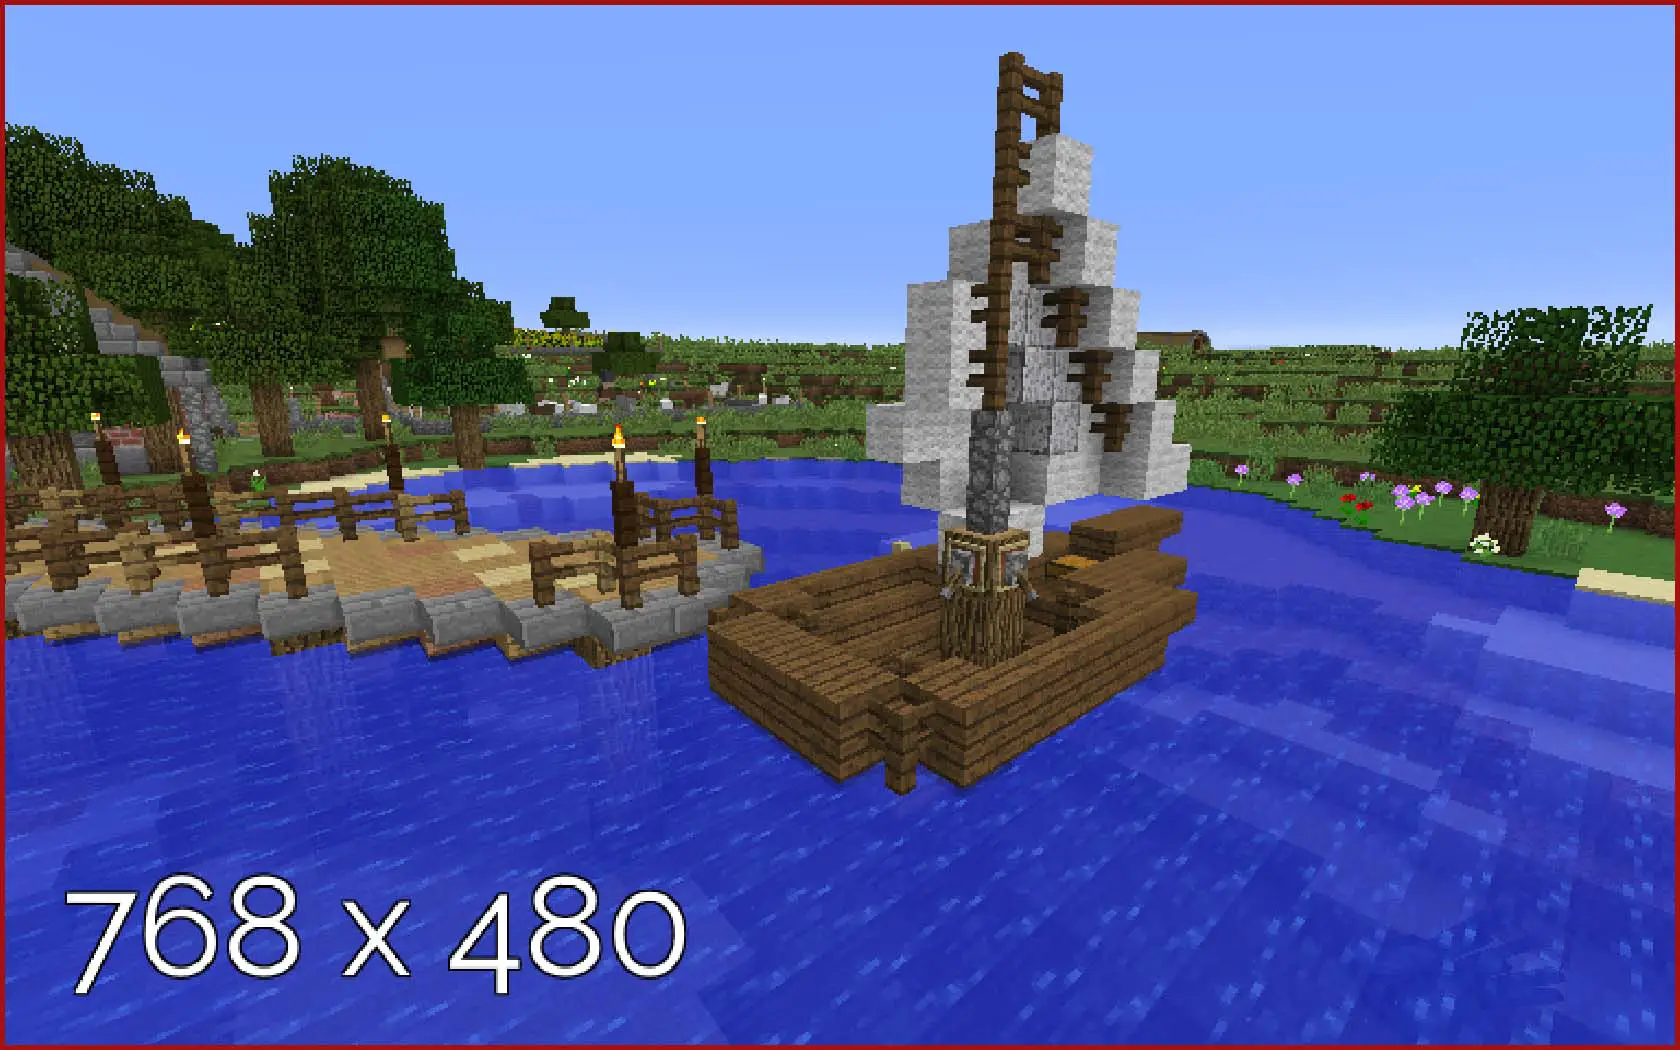
(Click image to zoom in) Low resolution images are hard on the eyes and do not show detail in textures. This screenshot was taken in windowed mode.


This screenshot was taken in fullscreen – it is much clearer than the lower resolution.
Step Two: Aspect Ratio and FOV
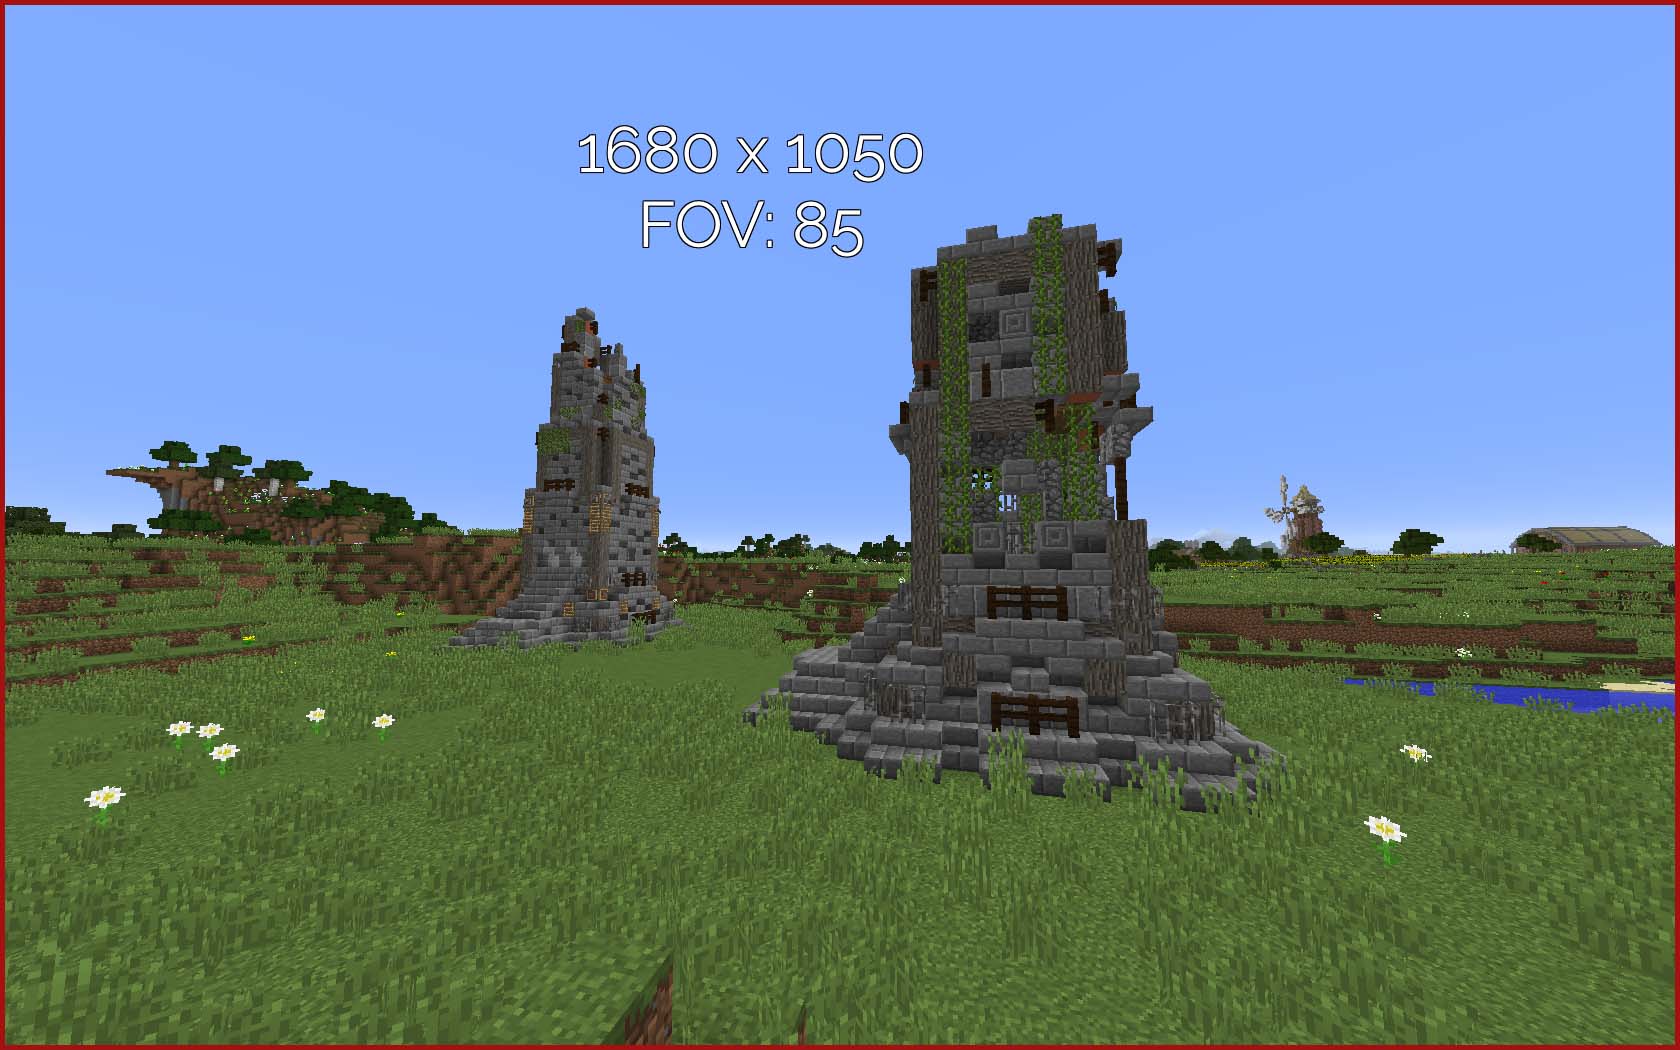
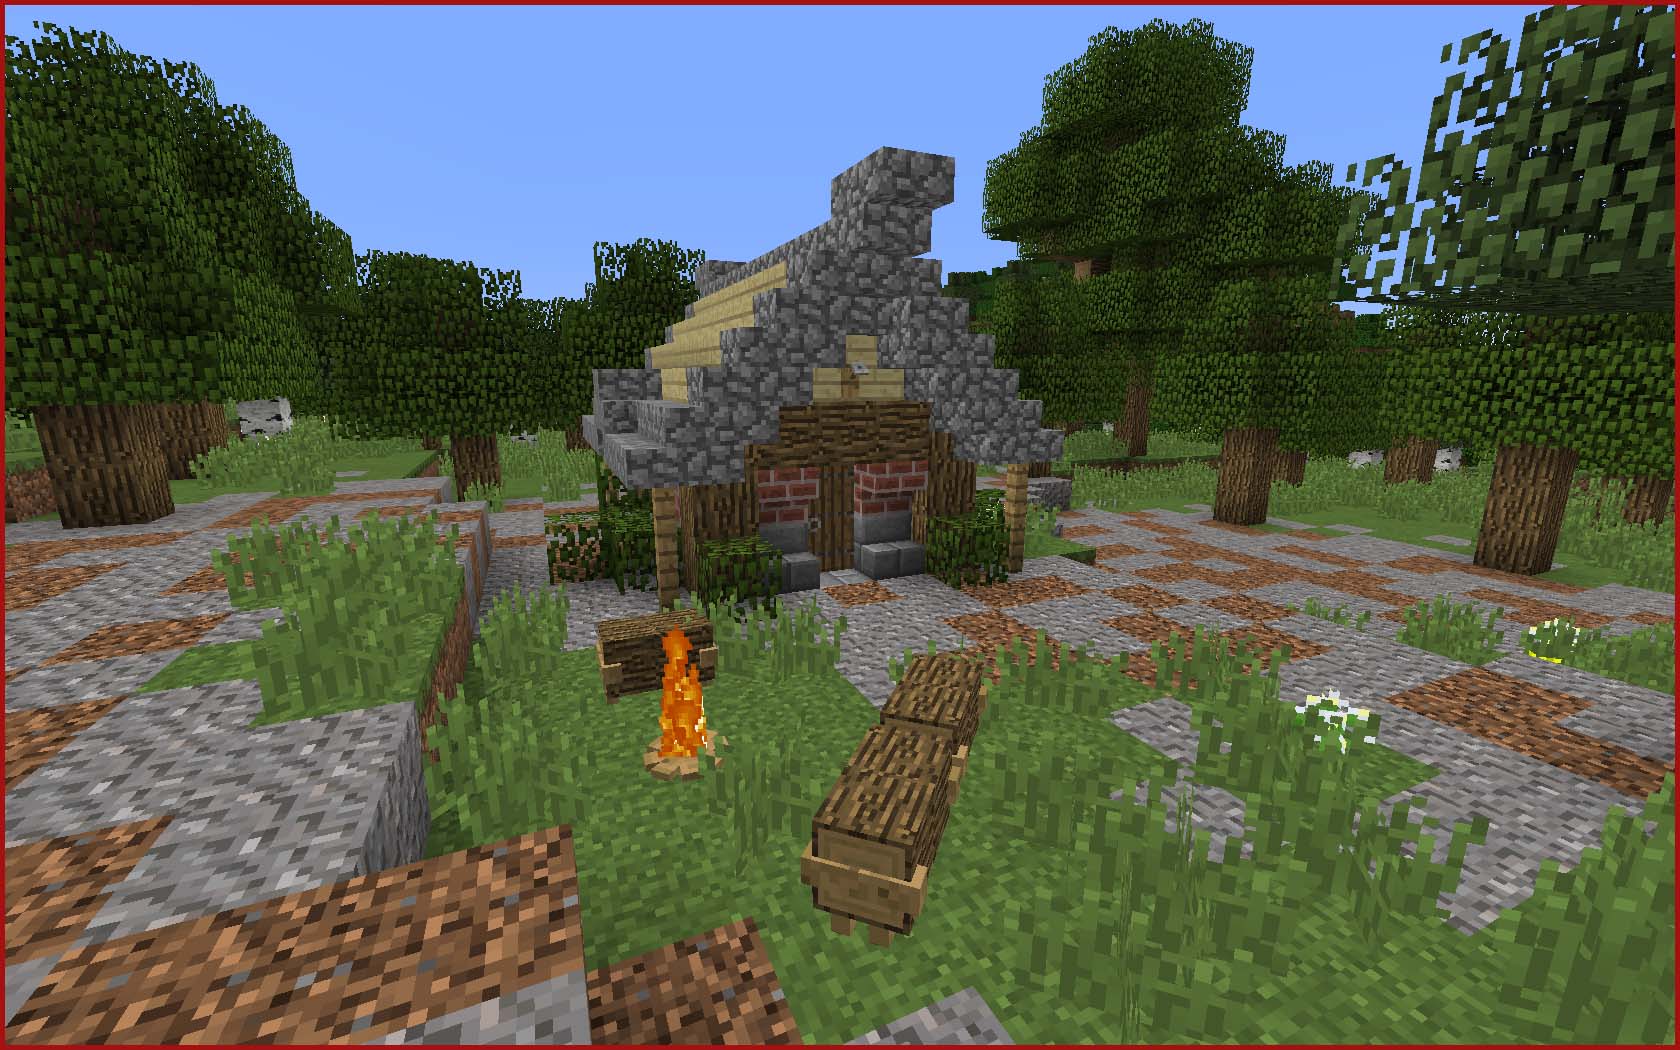
This screenshot uses 16:10 aspect ratio and an FOV of 85. While aspect ratio isn’t usually a problem, it can greatly improve a screenshot by using a wider ratio. Using a high FOV for screenshots is a big no-no! Play around with what setting looks best for a particular shot but try not to go above 70/normal.
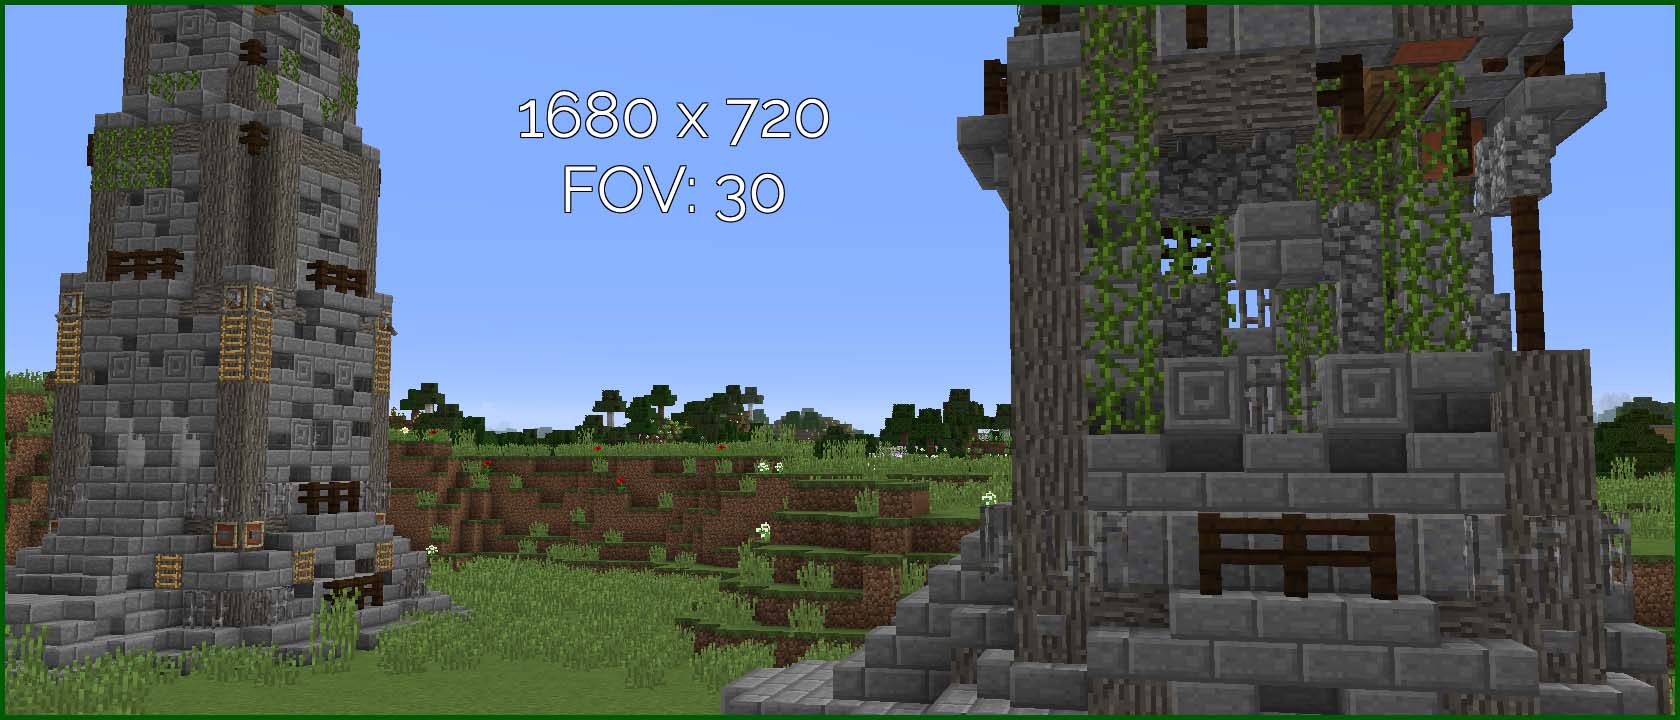
This shot was taken from the exact same position as the previous one. This is a bit extreme but shows how using a wider aspect ratio (21:9 in this case) and a lower FOV (30) can produce a more cinematic and dramatic image.
Step Three: Positioning and focus
This is a screenshot of the “Airship Floatie”. From this position you can see almost nothing of the build and it does not do it justice.
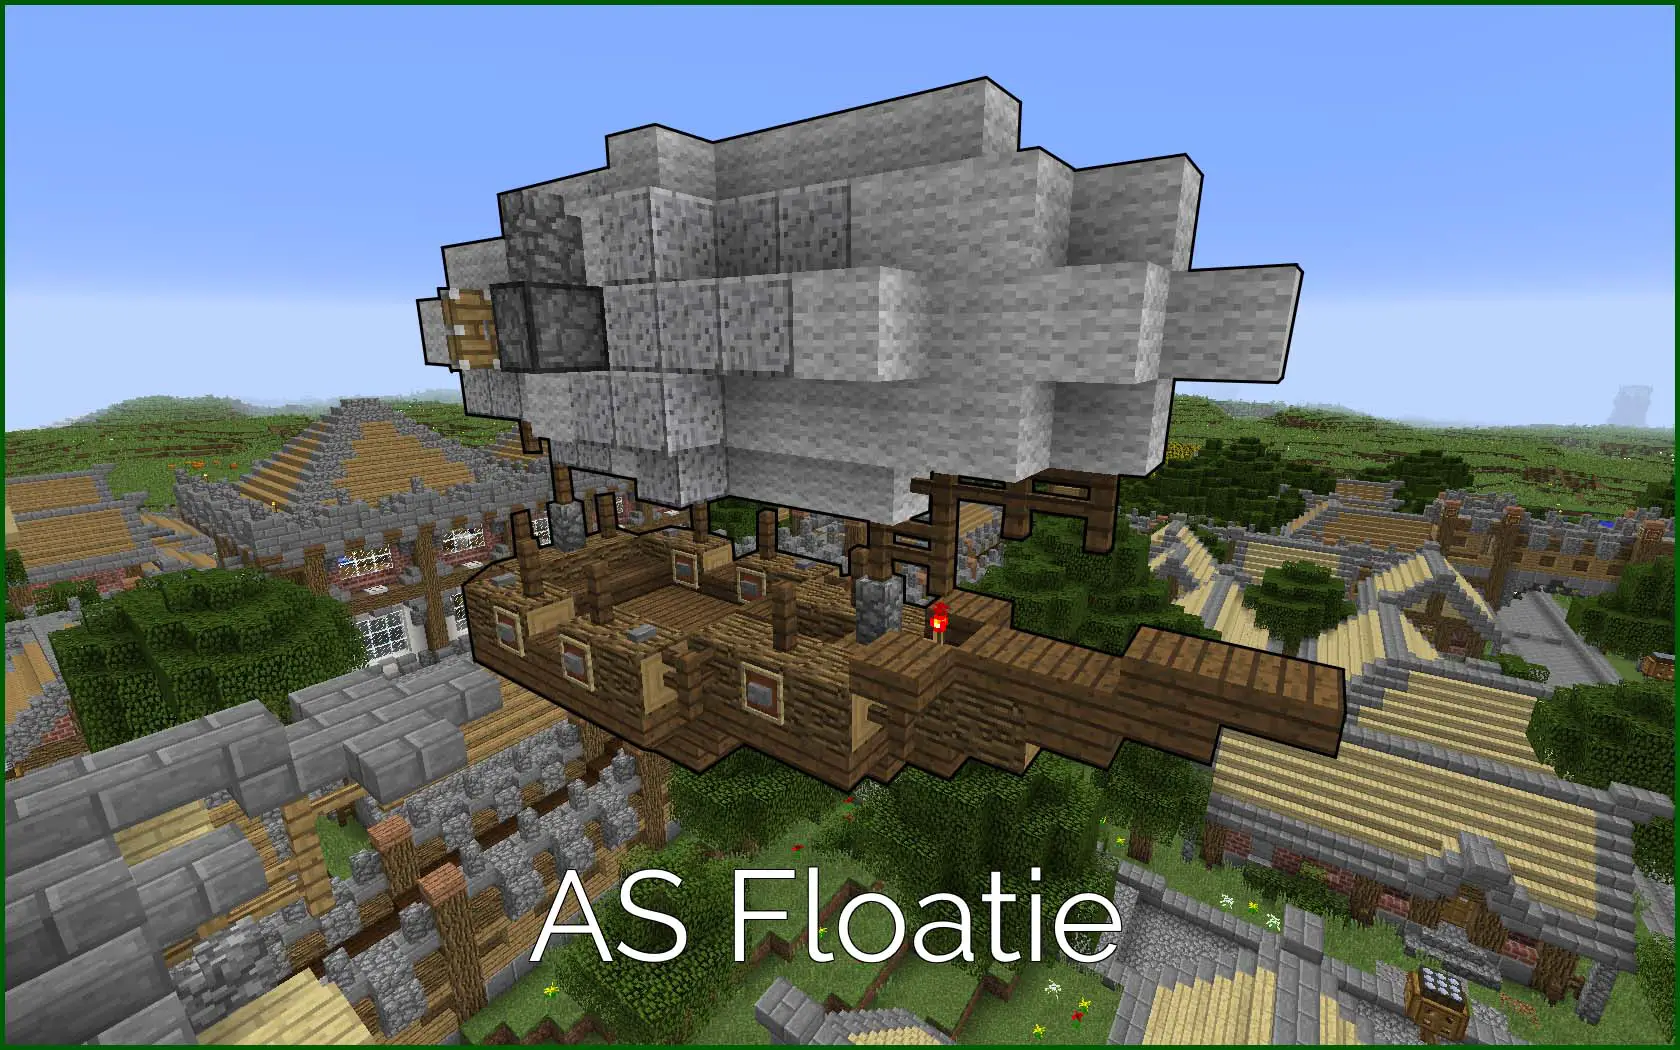
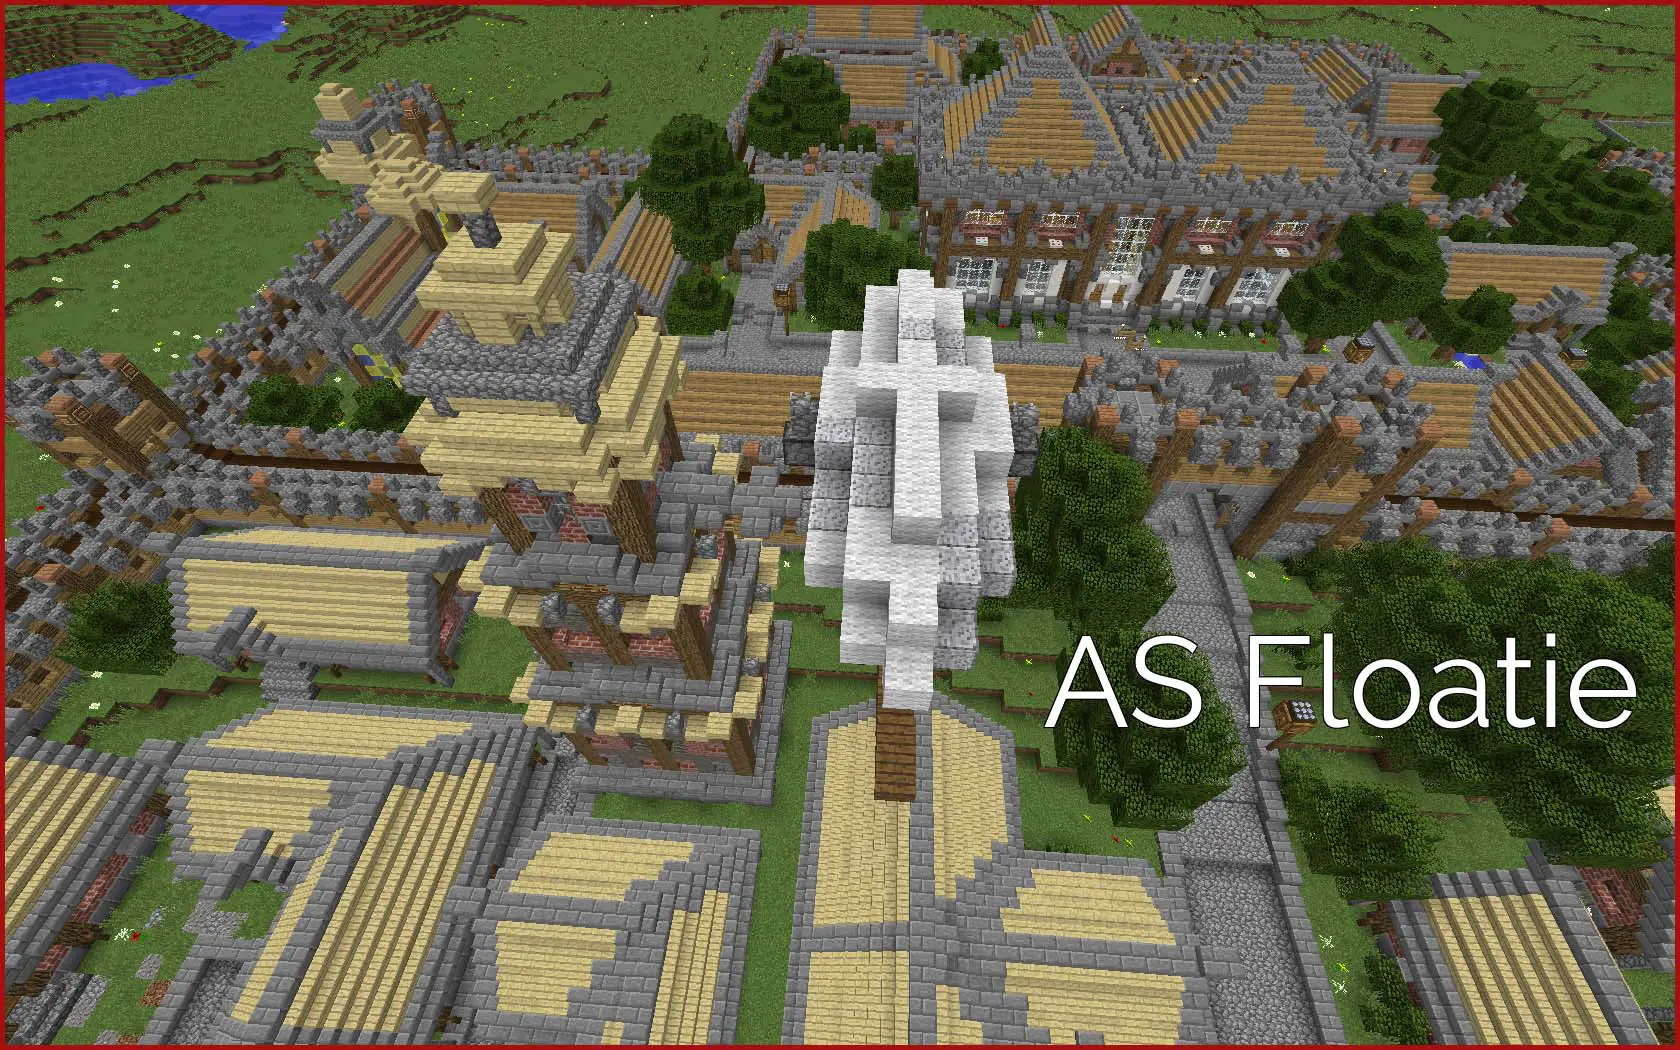
This second shot shows the airship in all its glory. You can see each part of the build and enough detail to see mostly how it was constructed. By outlining the build, focus is drawn from the surroundings to the object in question and makes it stand out a lot better. (NOTE: this was very time consuming. I would not usually do this unless I thought it was absolutely necessary. In this case, the build is very much the same colour as the background and so it helps give focus.)
Step Four: Render Distance and Graphics
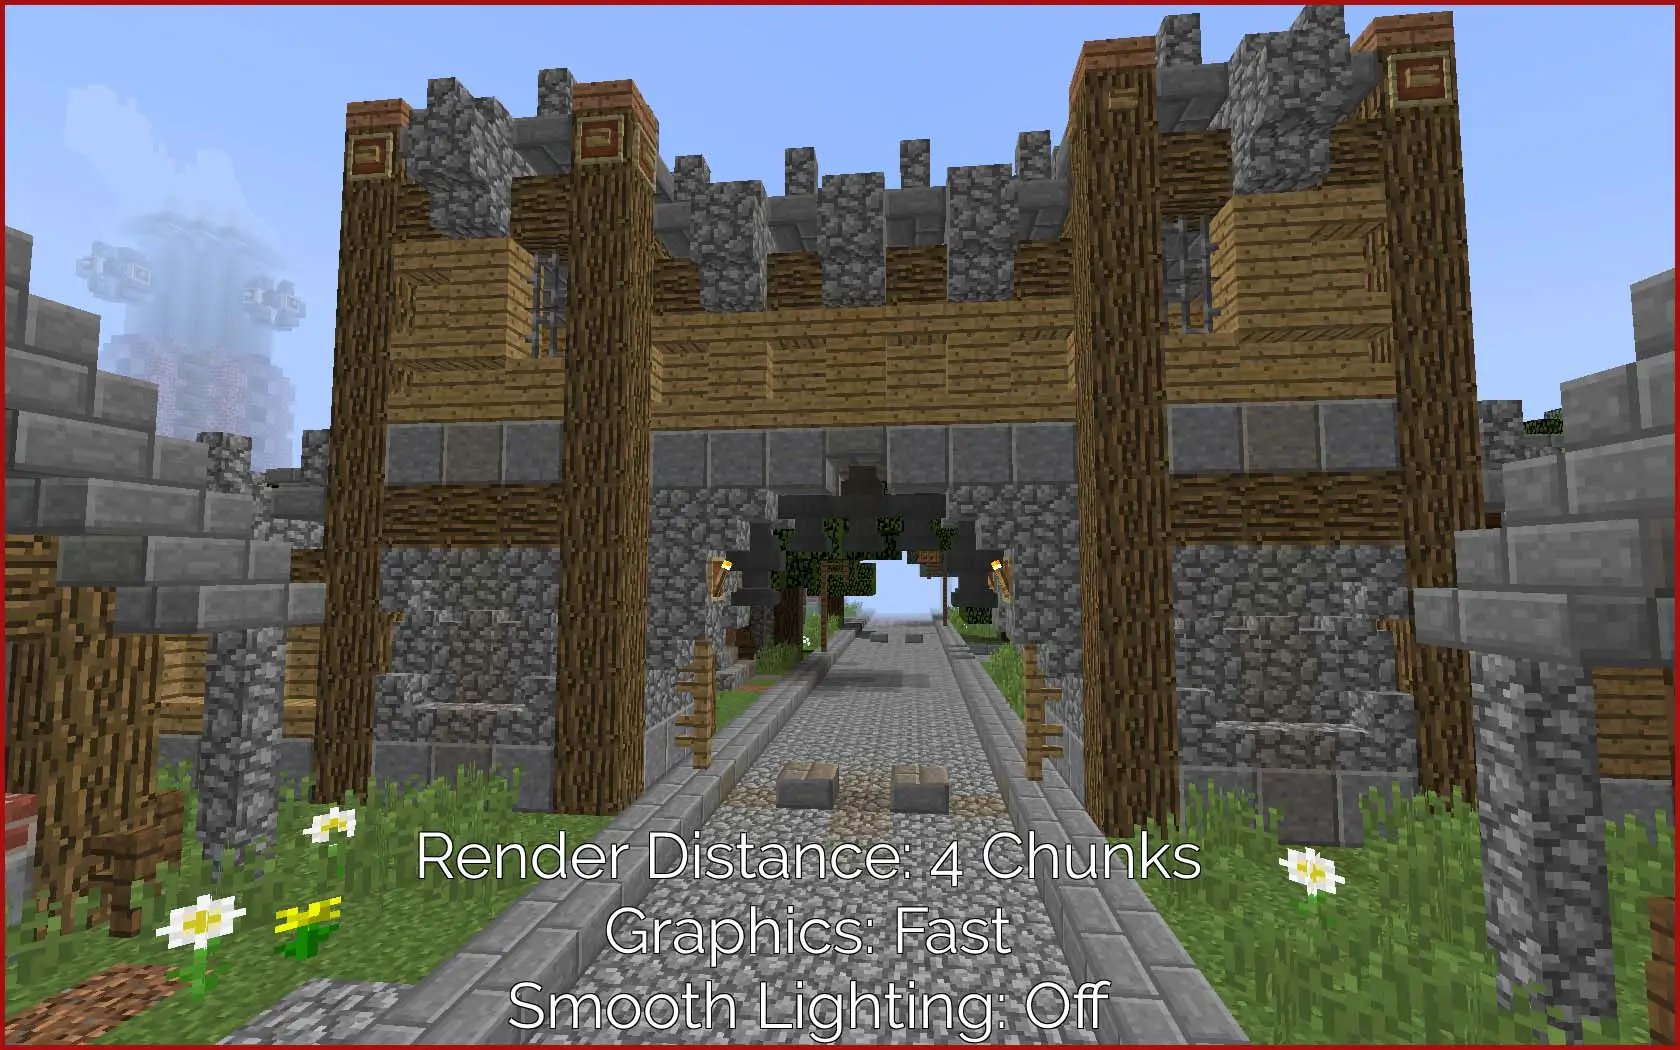
When taking screenshots, there is no requirement for high FPS. You should set your graphics settings to be as high as you can without your game crashing, even if you’re only getting <10 FPS.
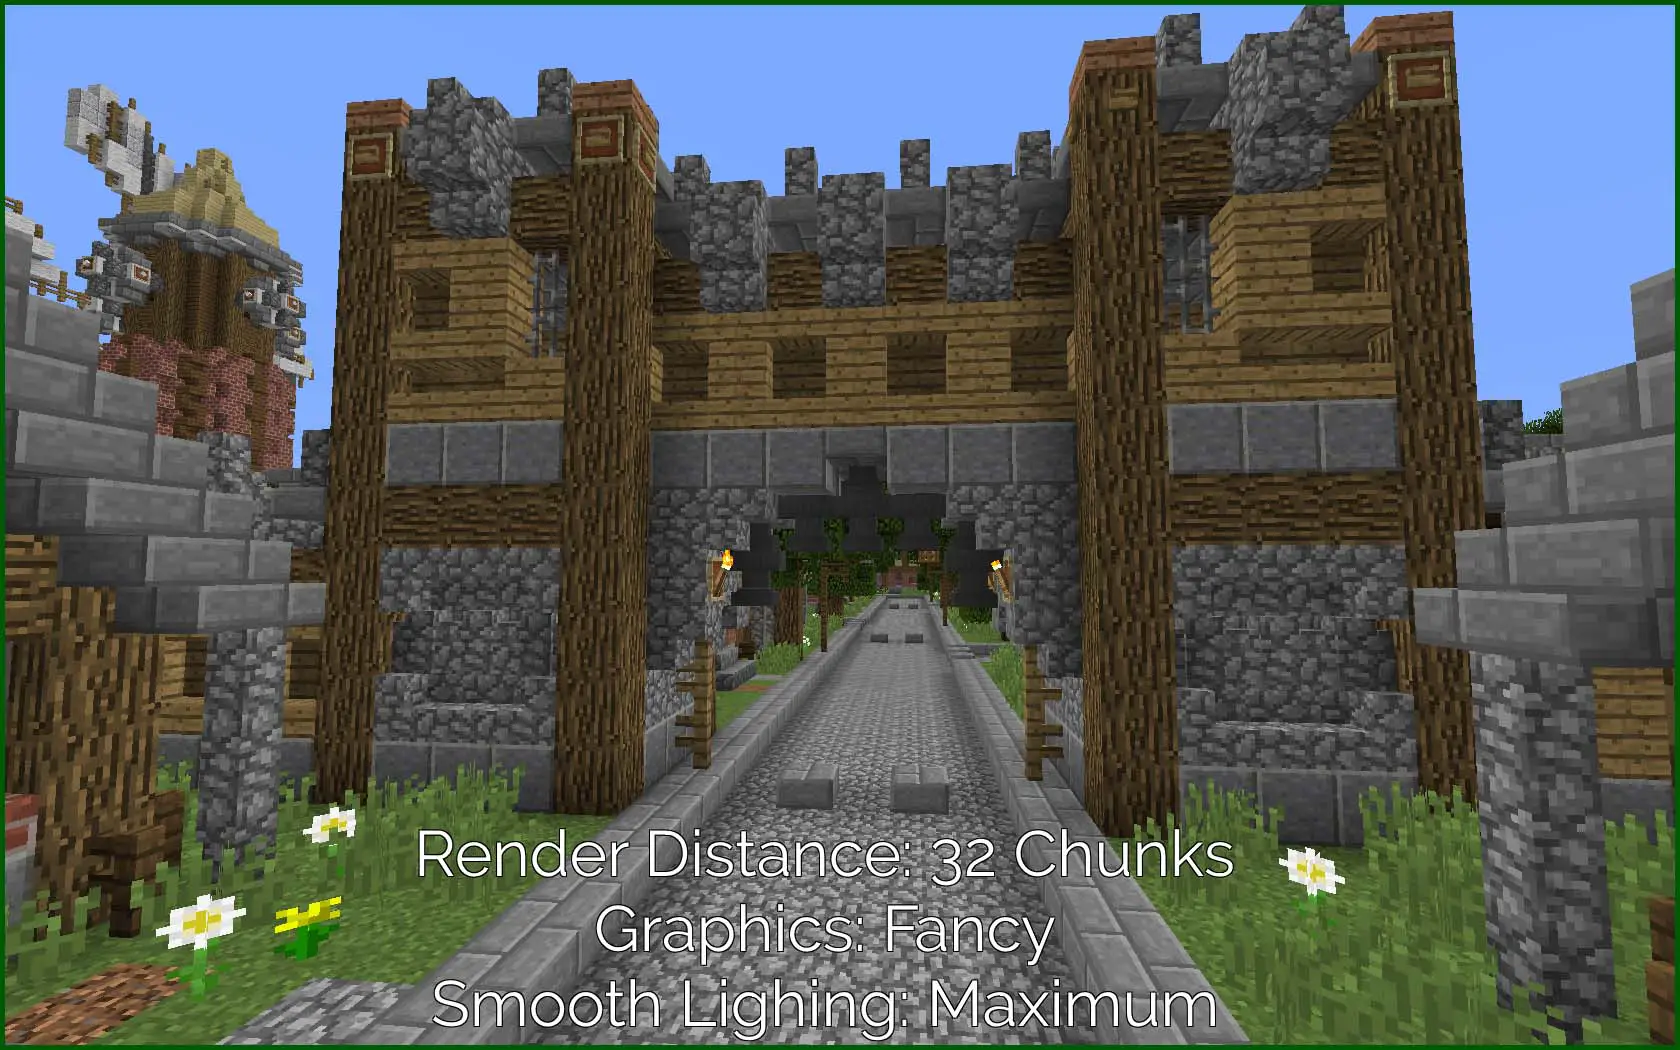
This shot gives a lot more depth to the build and simply makes it a lot more pleasing to look at. You should ALWAYS use smooth lighting and fancy graphics when taking screenshots.
Step Five: Texturepacks
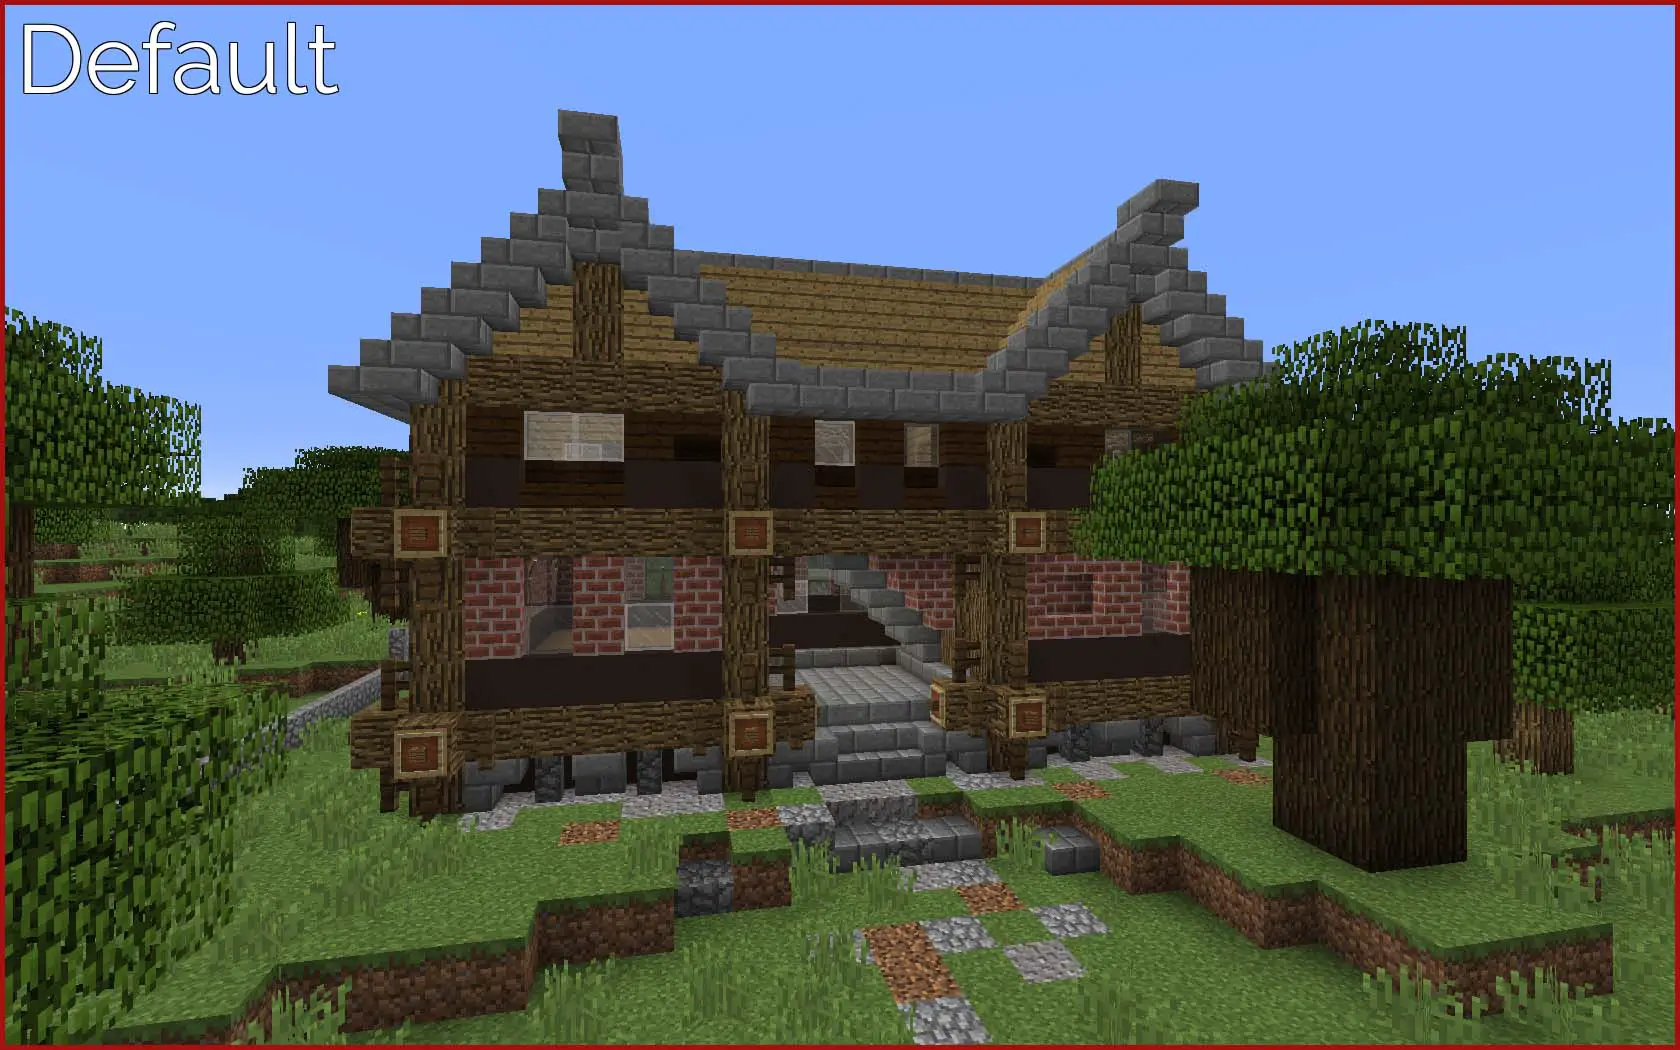
Texturepacks can completely change the look of a build without having to touch a single block. Finding the right texturepack is key! (Don’t overlook the default textures, sometimes they will be better than any texturepack)
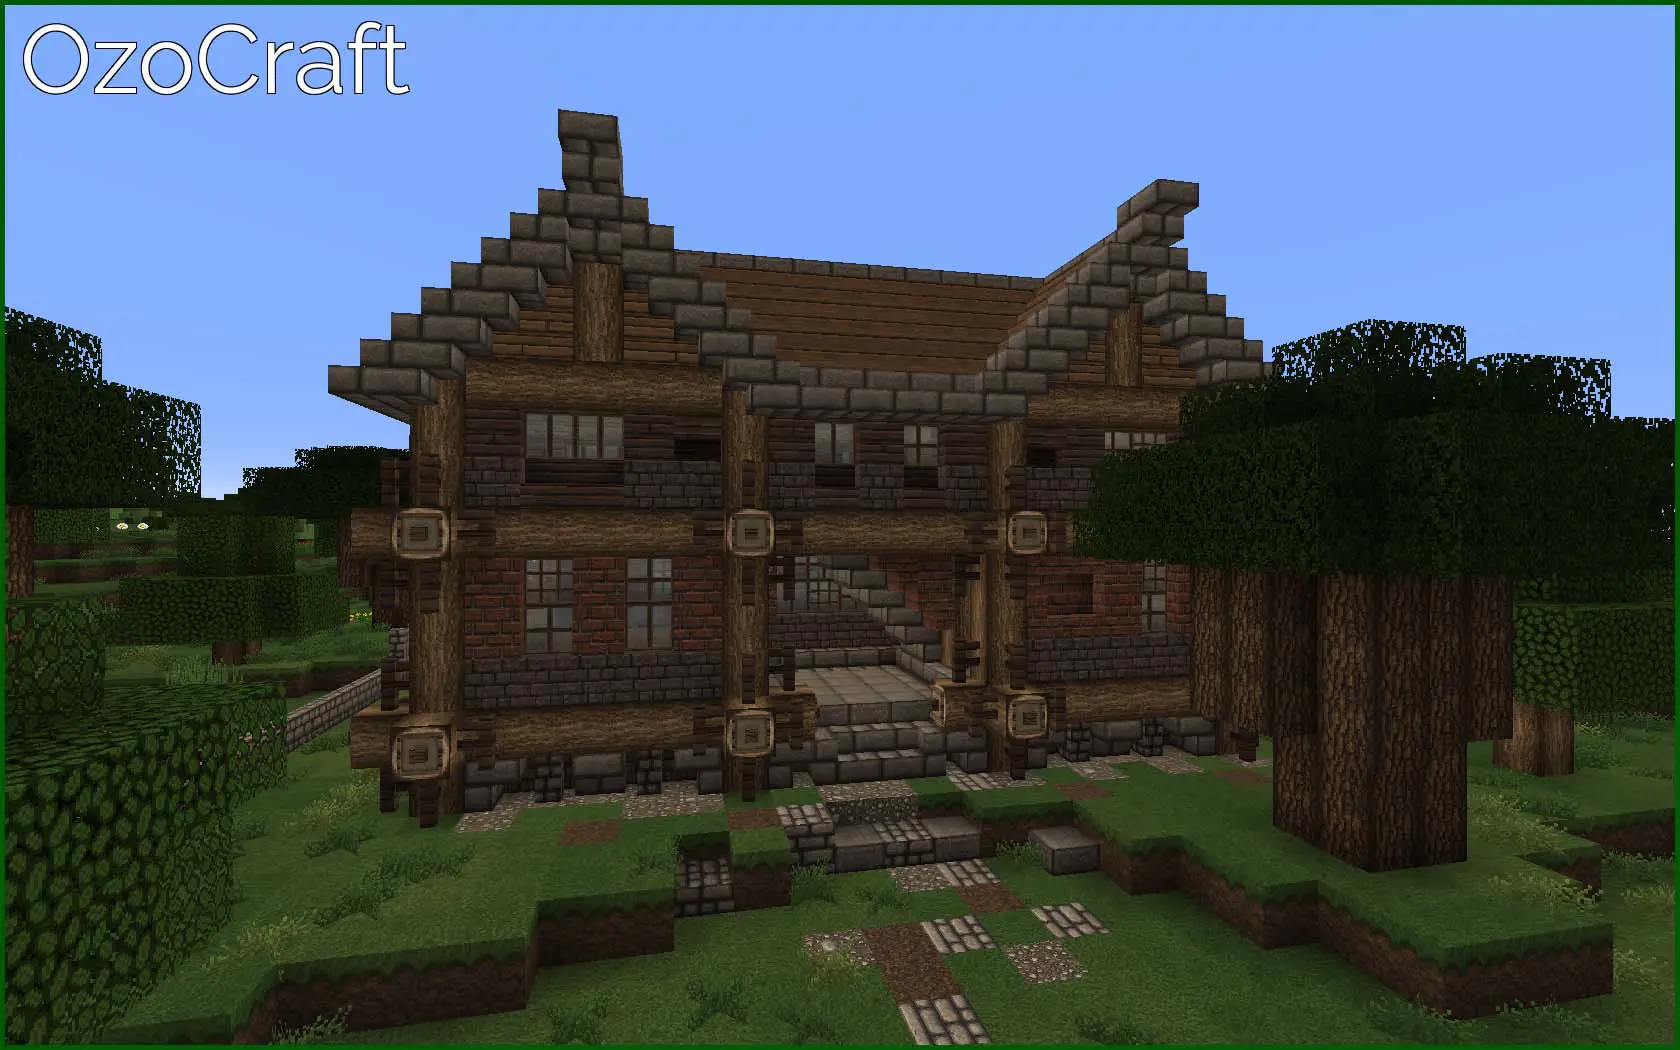
This building was built and designed using OzoCraft and so it is the obvious choice for the screenshot. Notice how the stained clay looks a lot better with this texture than with the default.

Some texturepacks just will not work. These textures make the build look rubbish (even though the texturepack itself is very nice)
Step Six: Adding Focus With Light
This is a trick used in movies to draw the viewer’s eye to a characters face. We can use the same trick to draw focus to a particular area of the image.
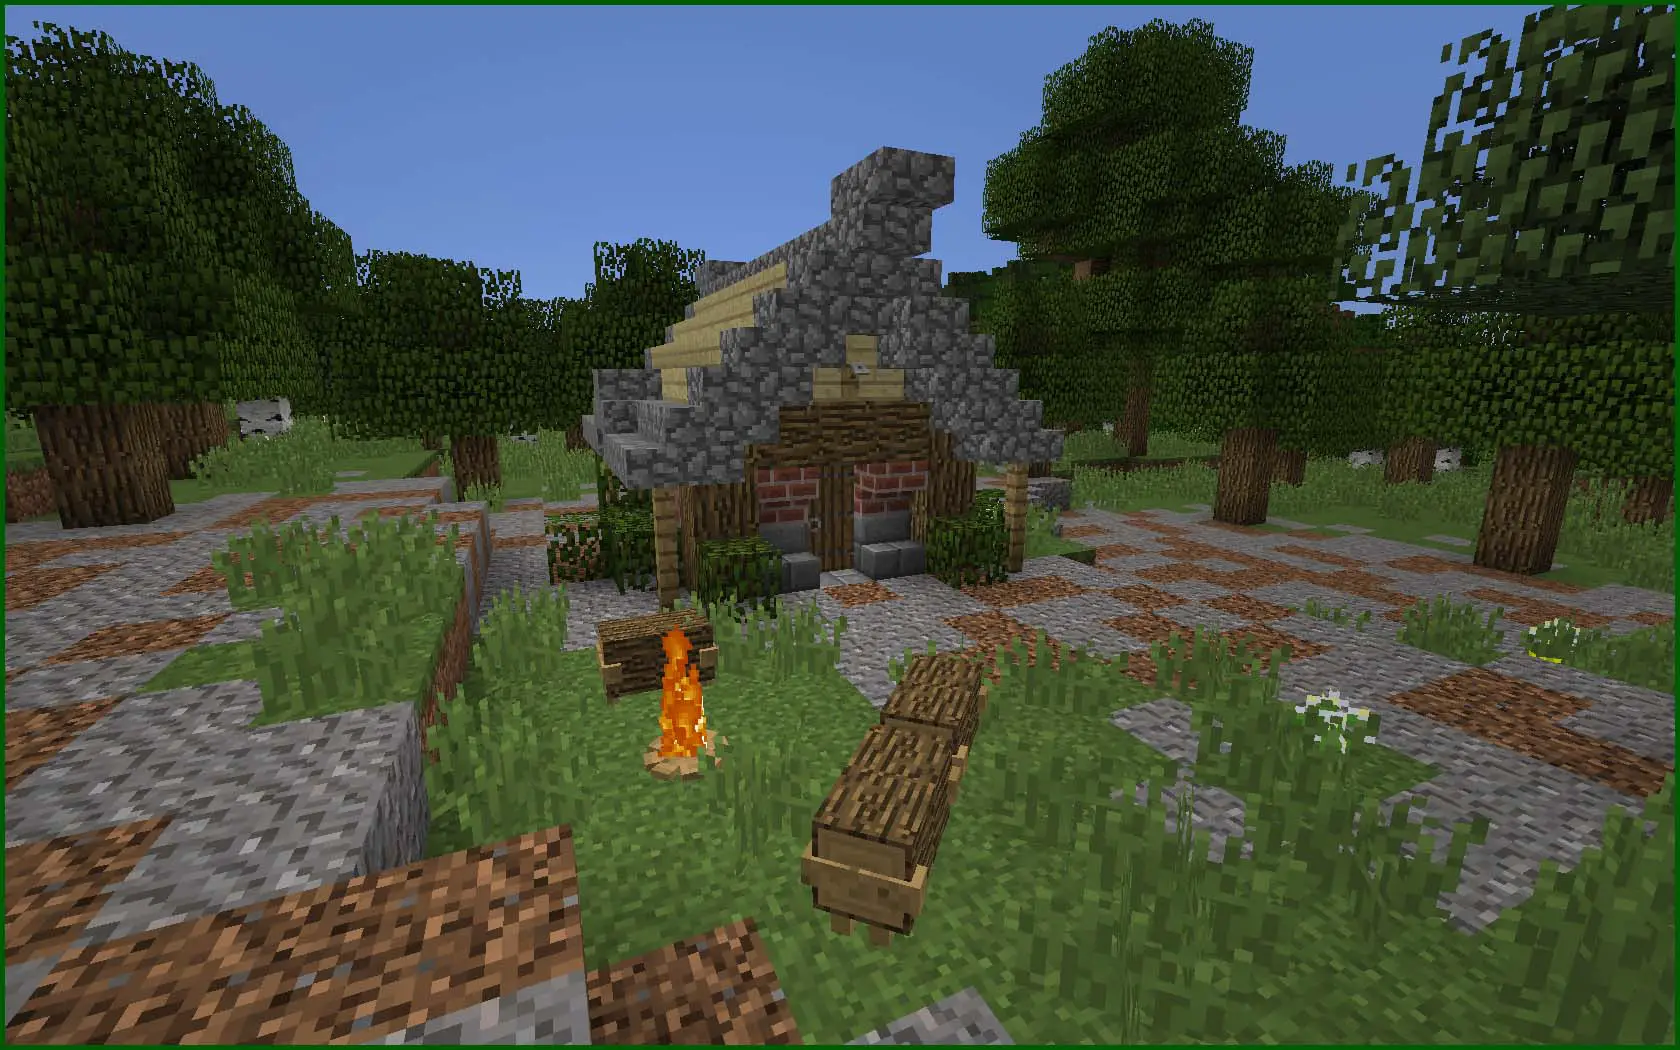
This shot subtly adds a dark area around the image so that the camp site area is lighter than the rest. This helps draw focus to what we want the viewer to be looking at.
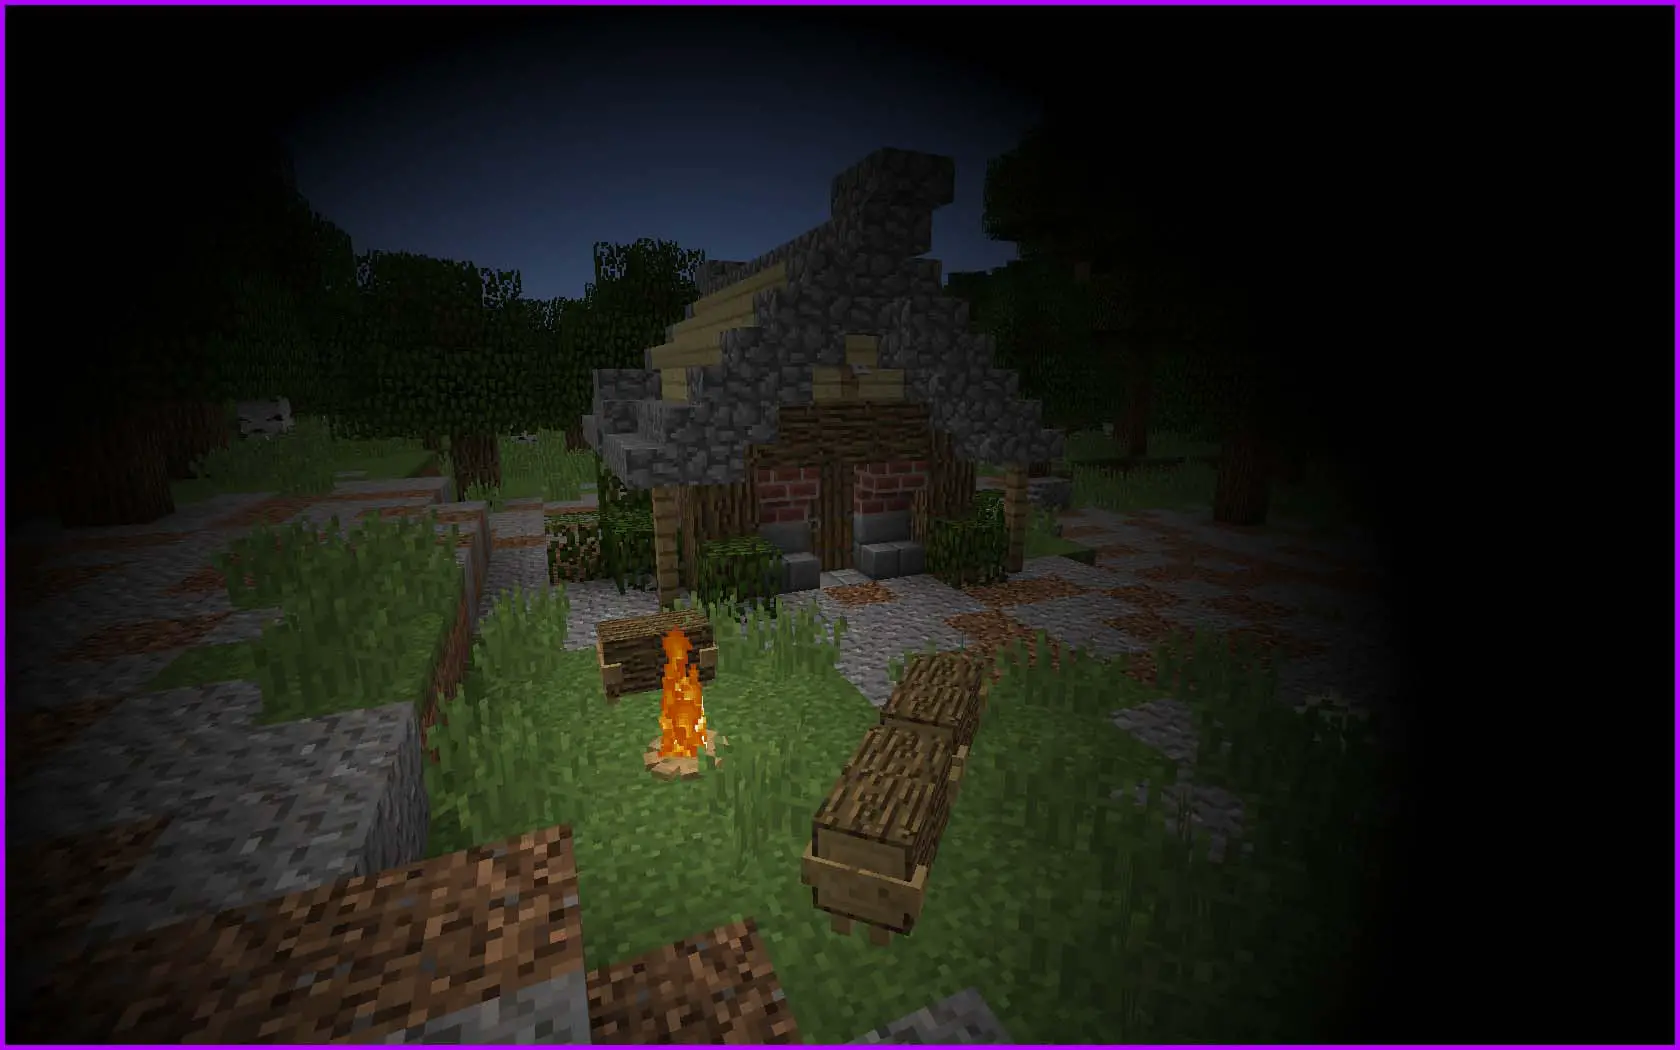
This is an exaggeration of the previous shot showing the darker area around the camp site.
Step Seven: Annotations
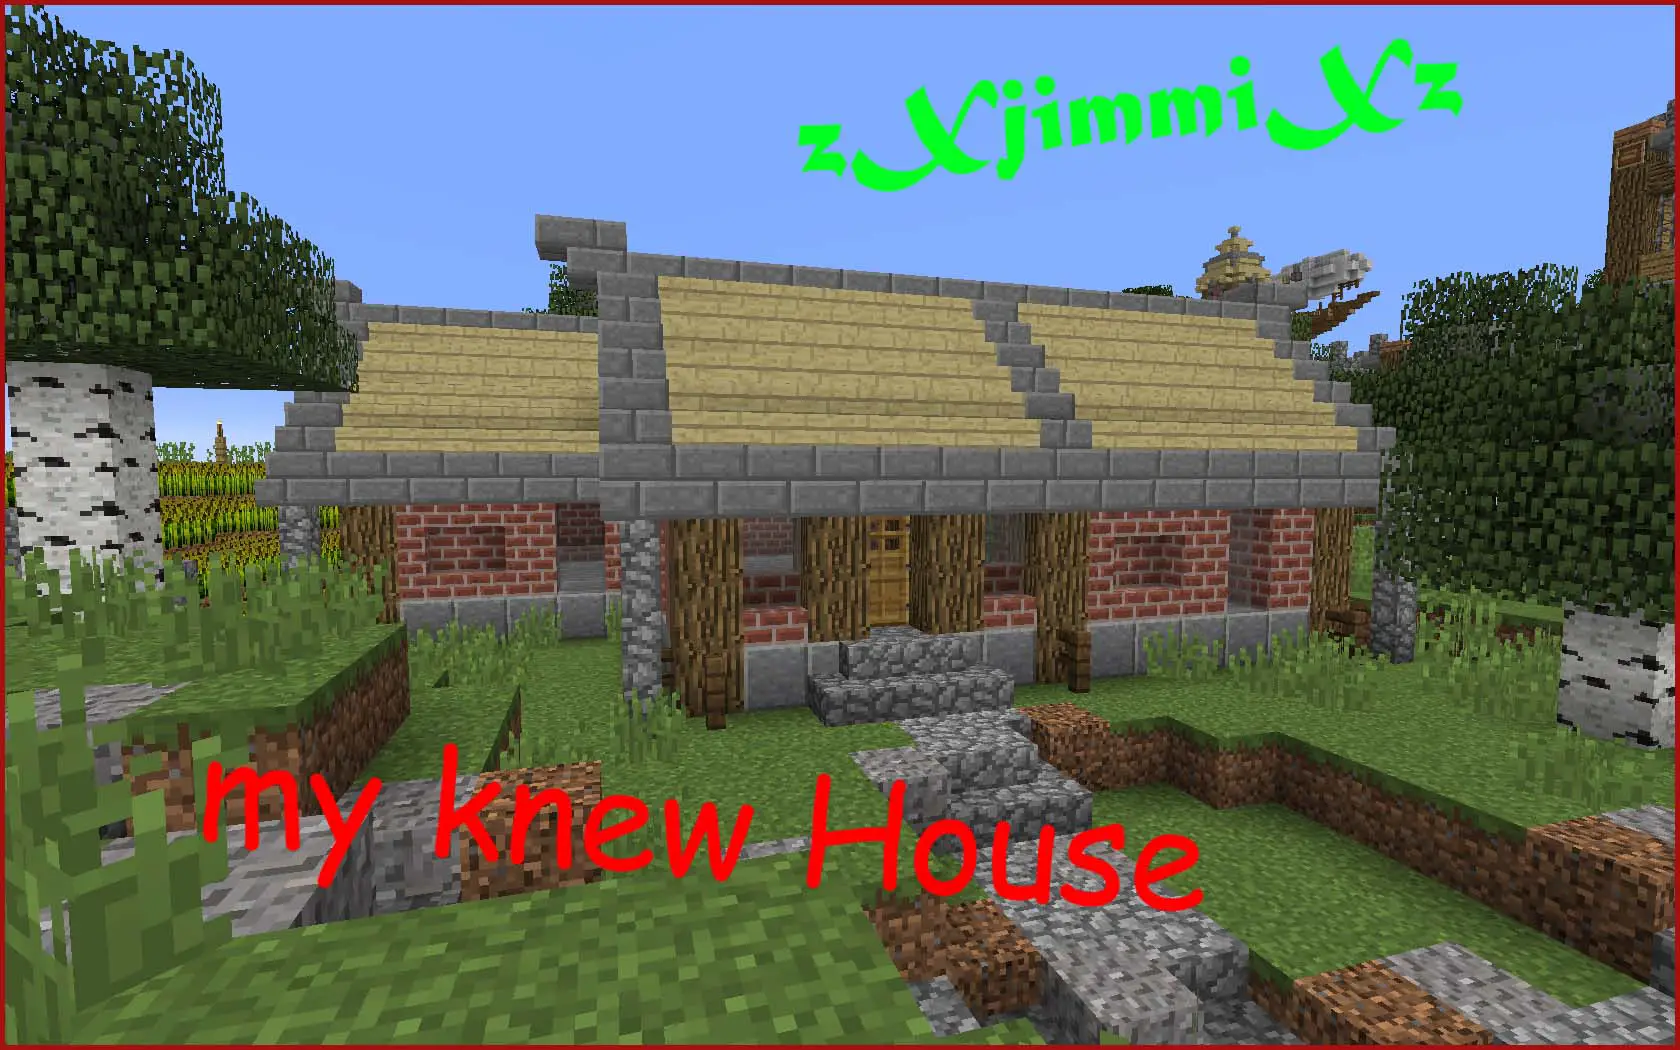
Annotations are a great way to explain what an image is all about. It also allows you to add your signature to an image. You should always try a few different fonts when adding annotations – find one that suits the theme of the build. DO NOT UNDER ANY CIRCUMSTANCES USE COMIC SANS.
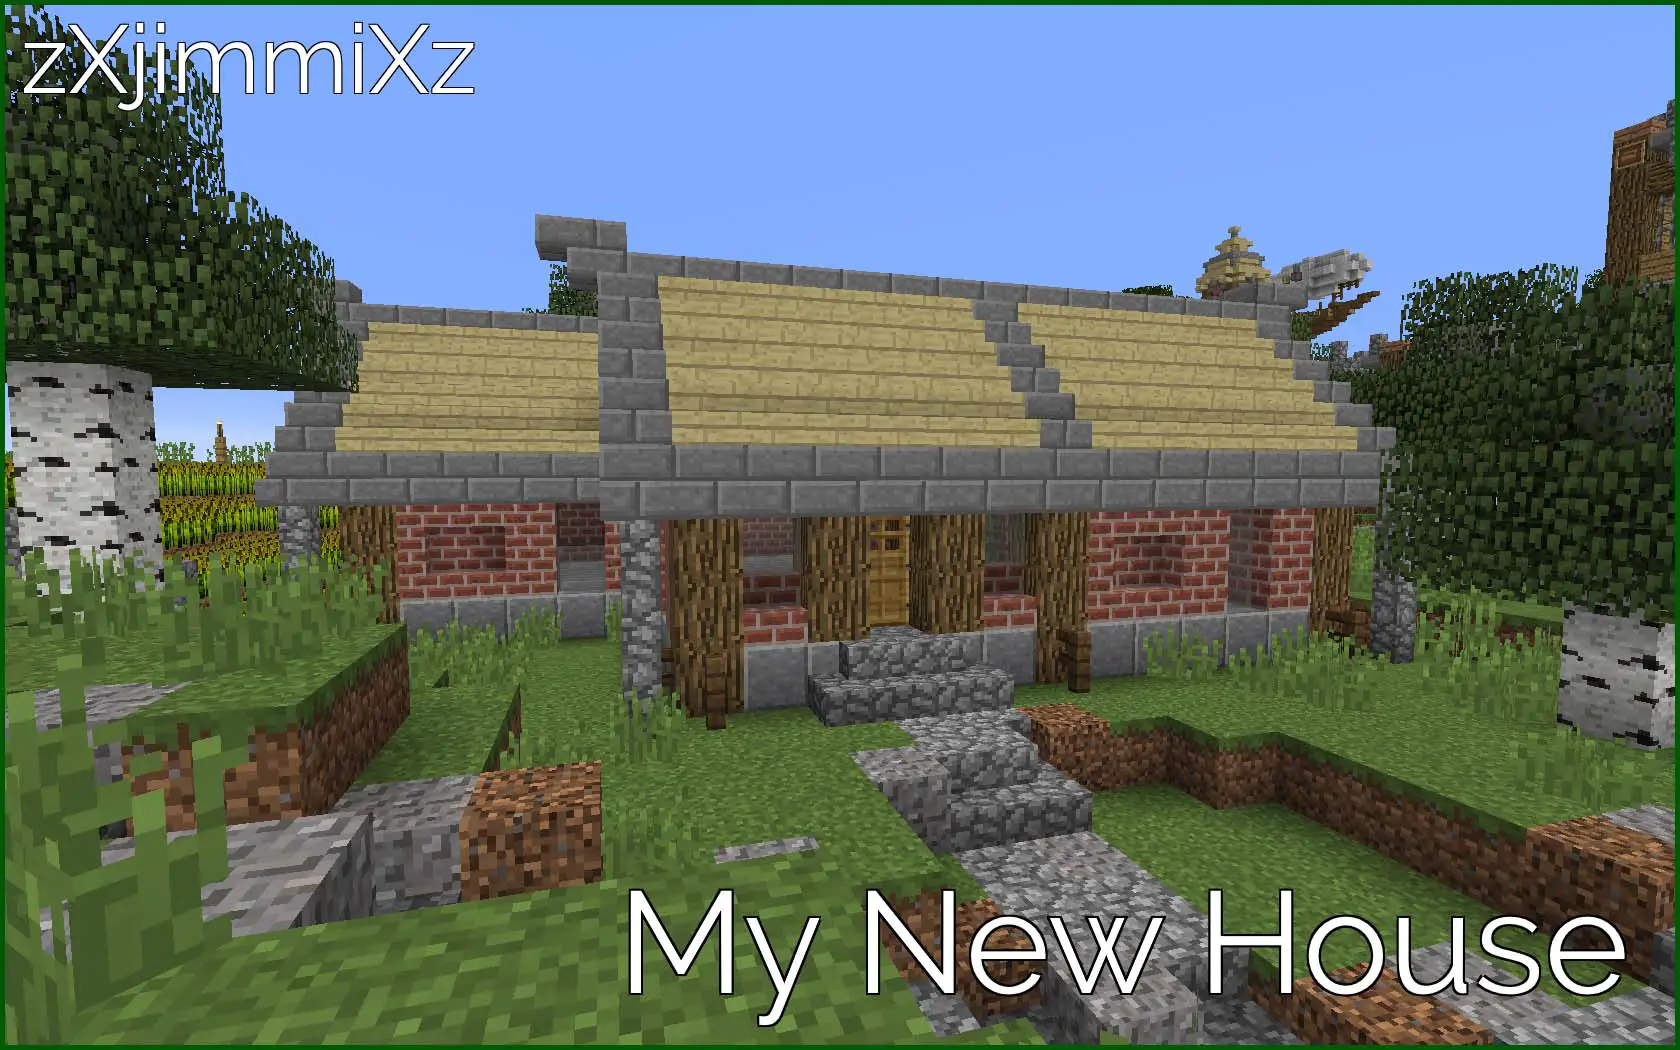
These annotations use a much smarter font (Raleway). They also use white text with a black border which is a lot easier to read and stands out against any background. (There’s a reason I’ve been using this combination of font and colour for all of the annotations in this tutorial)


Discussion about this post