
This is a Minecraft gold farm tutorial using portals and zombie pig men, you will also get a lot of zombie flesh from this, but that’s just an added bonus, right?!
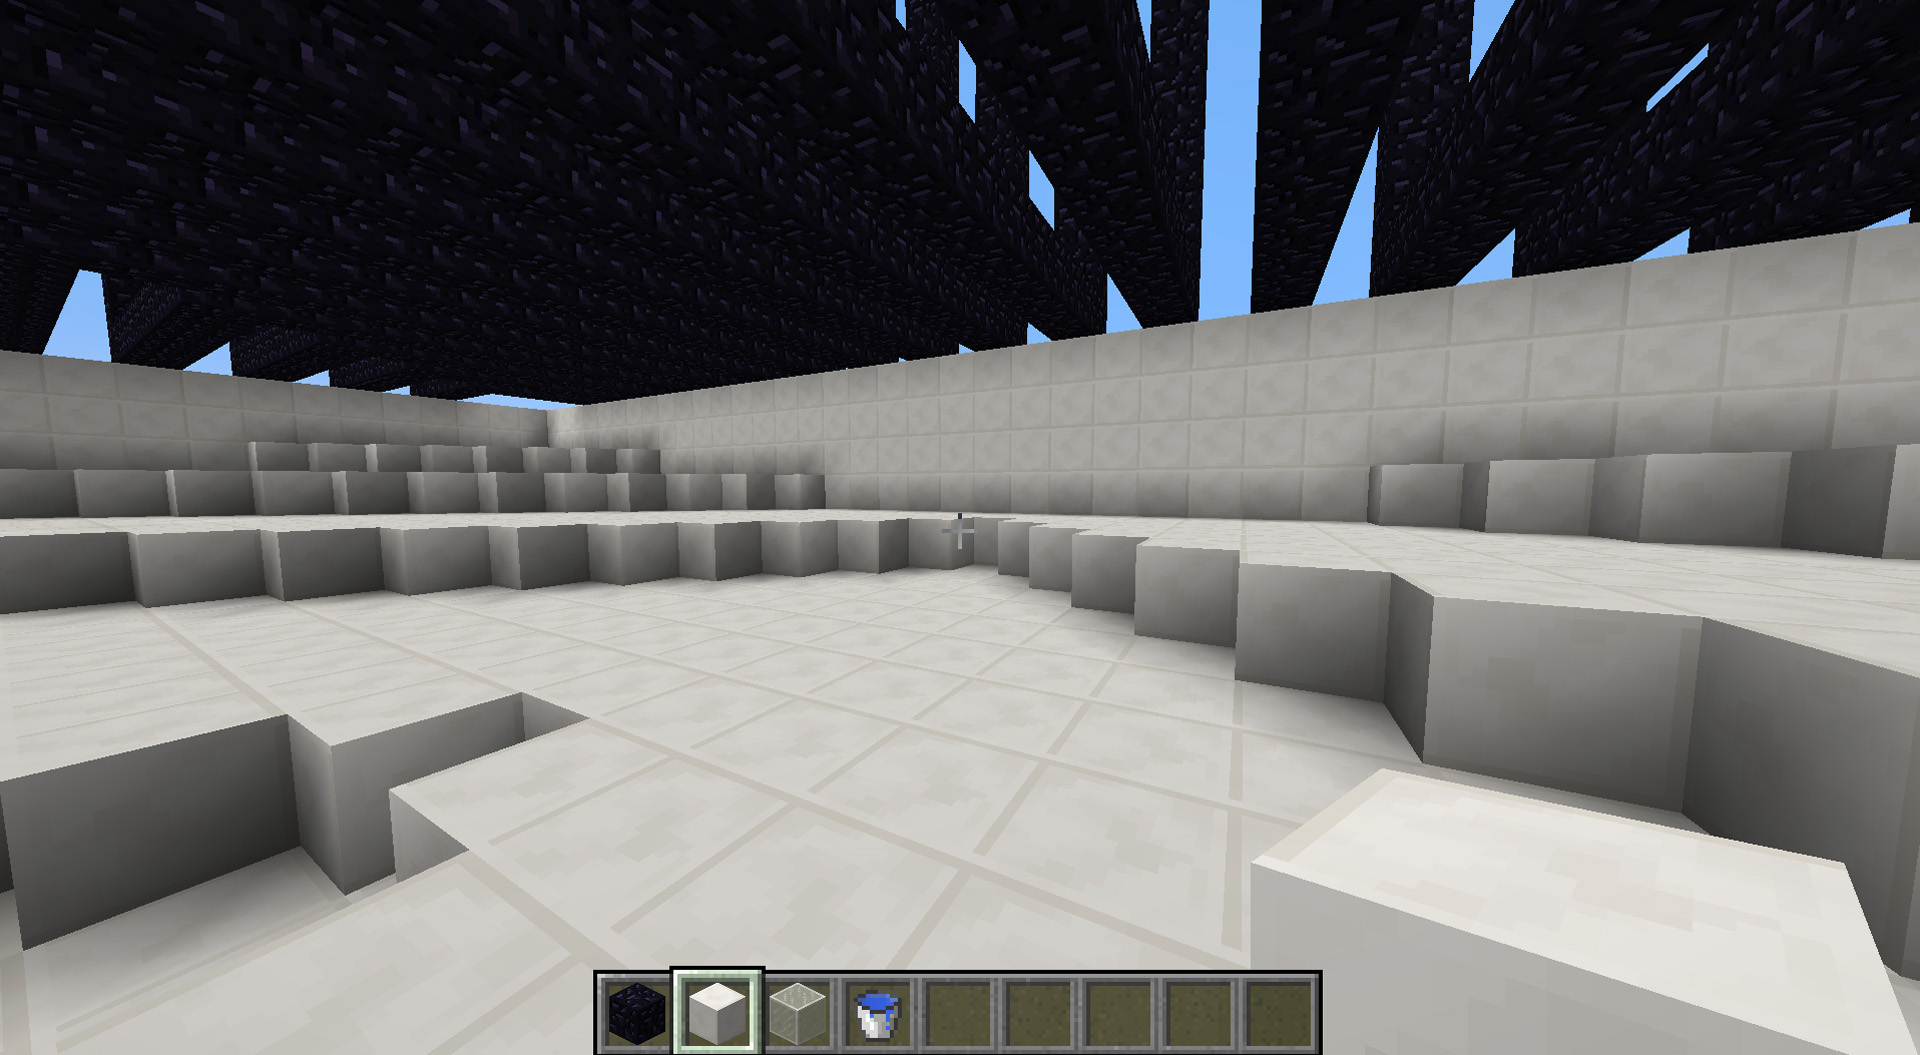
The Grinder – Part 1
Start out with a hollow 3×3 circle of hoppers, with one of them leading into a chest.
The Grinder – Part 2

Place a circle of any building block around the hoppers.
The Grinder – Part 3
Place another ring of blocks above the first circle, with one block in between and missing the corners.
The Grinder – Part 4
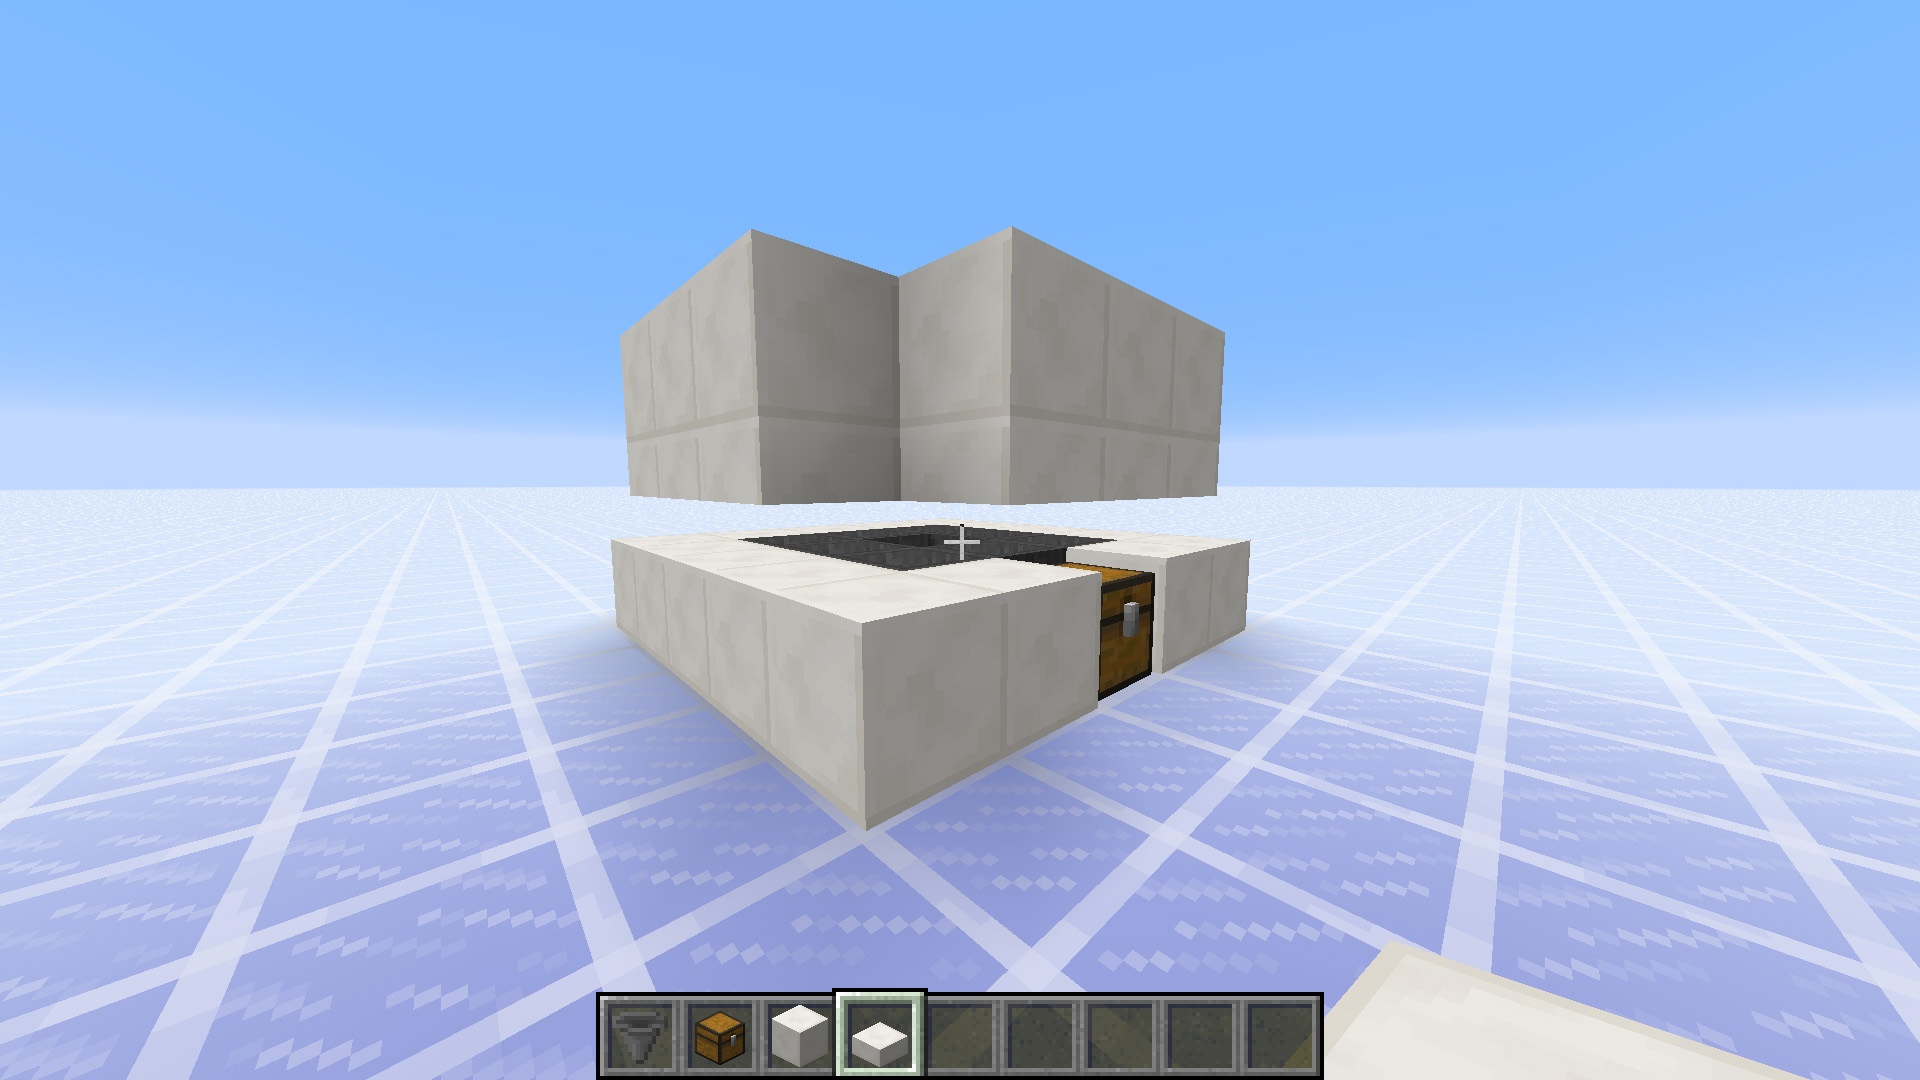
Place half slabs underneath the circle you just placed.
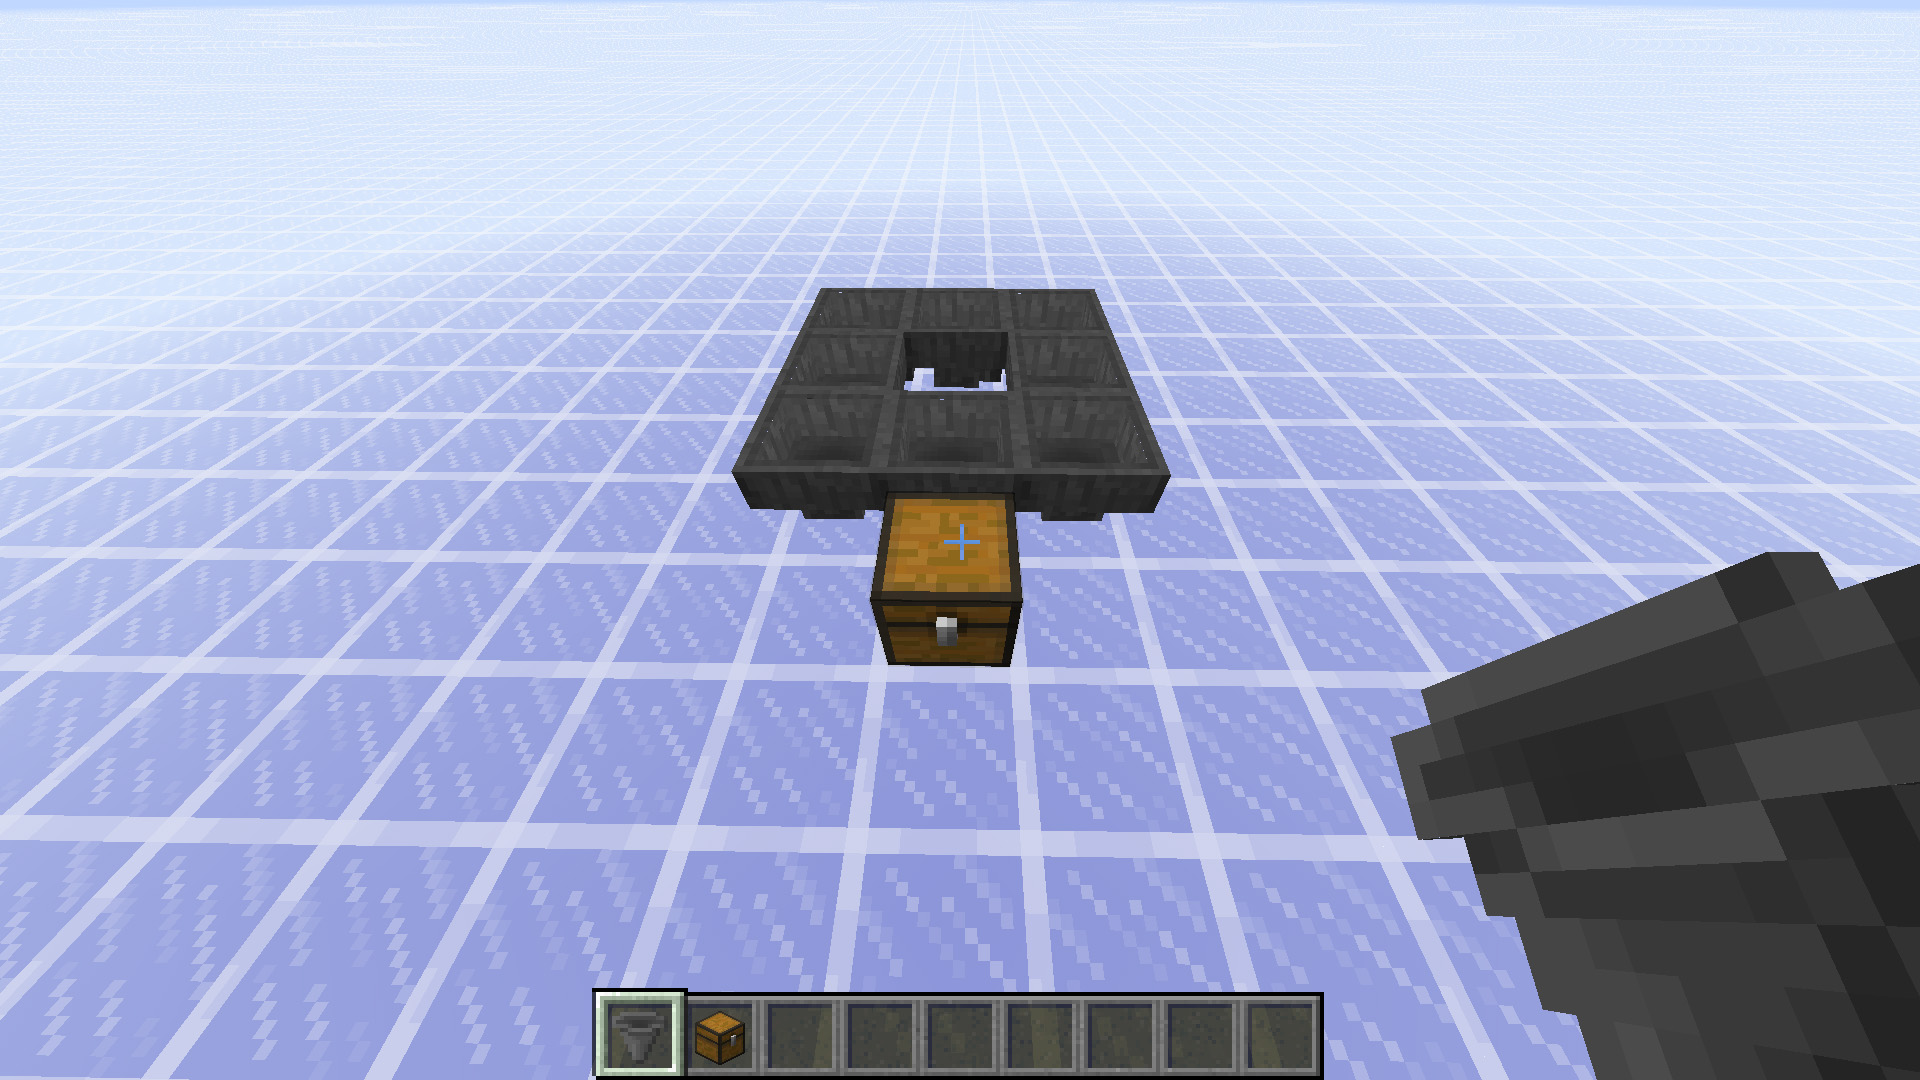
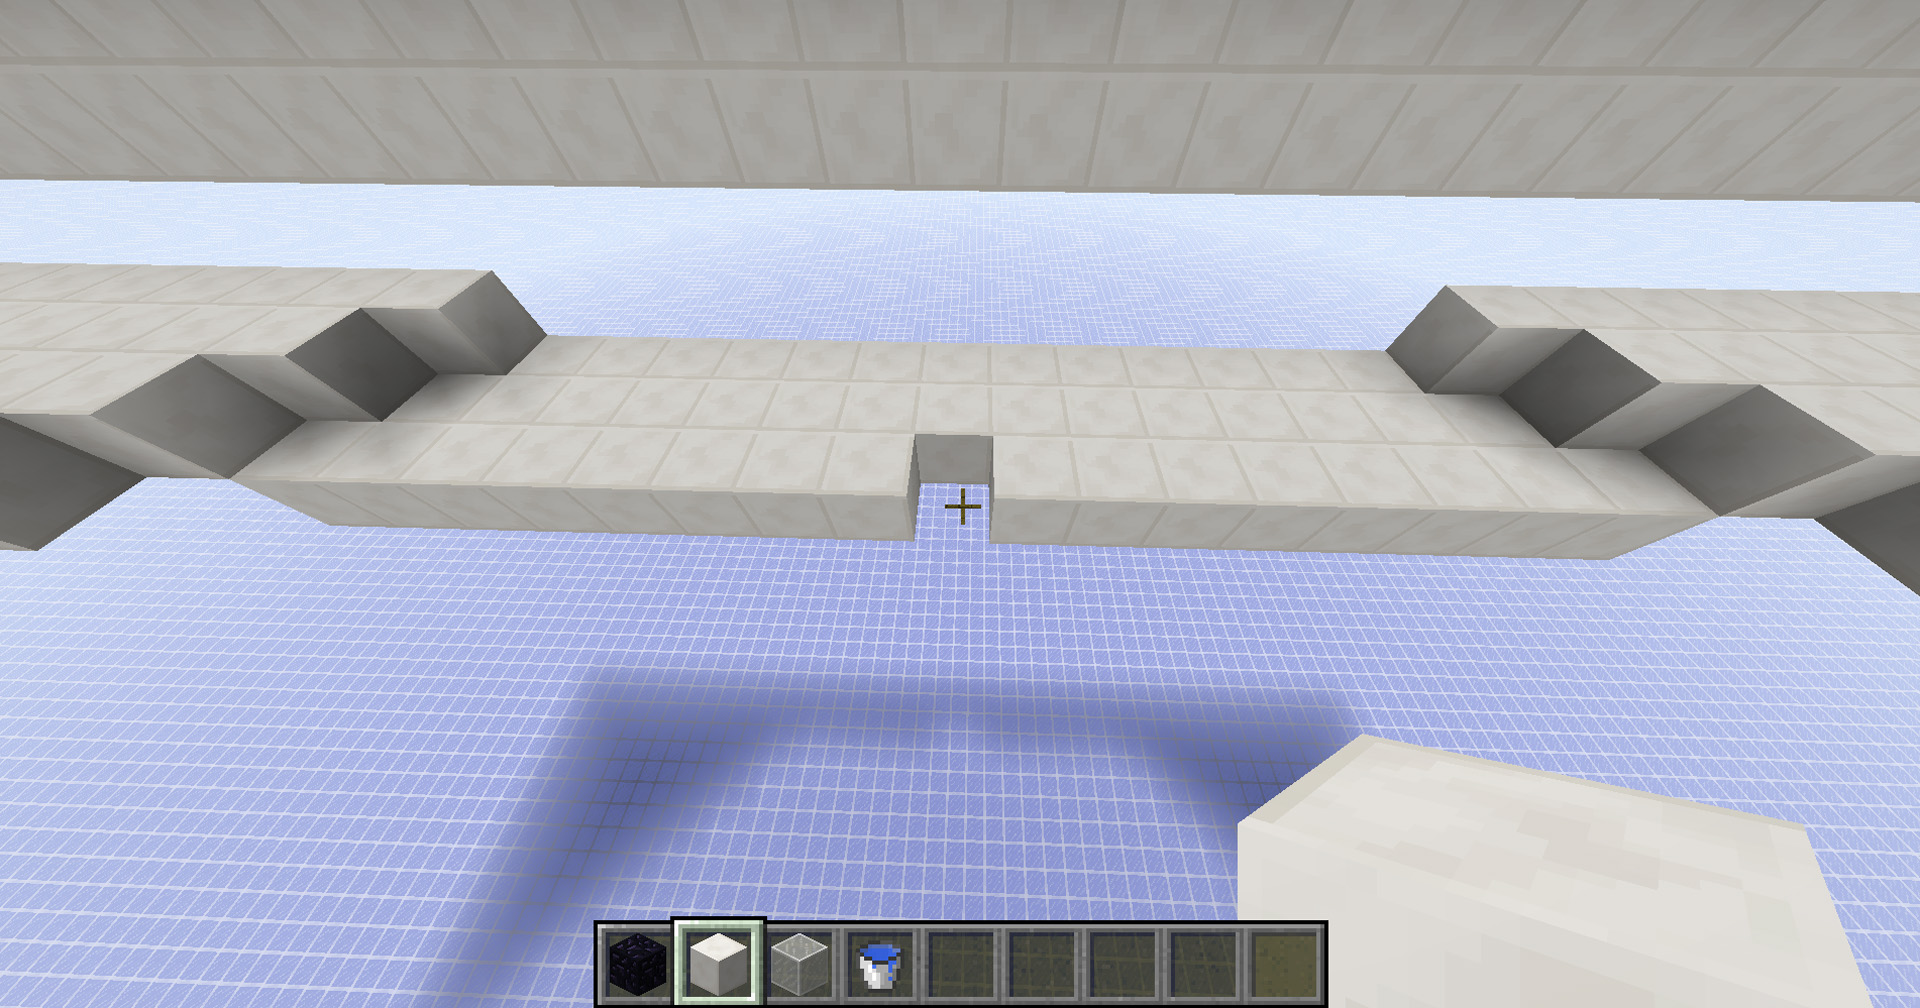
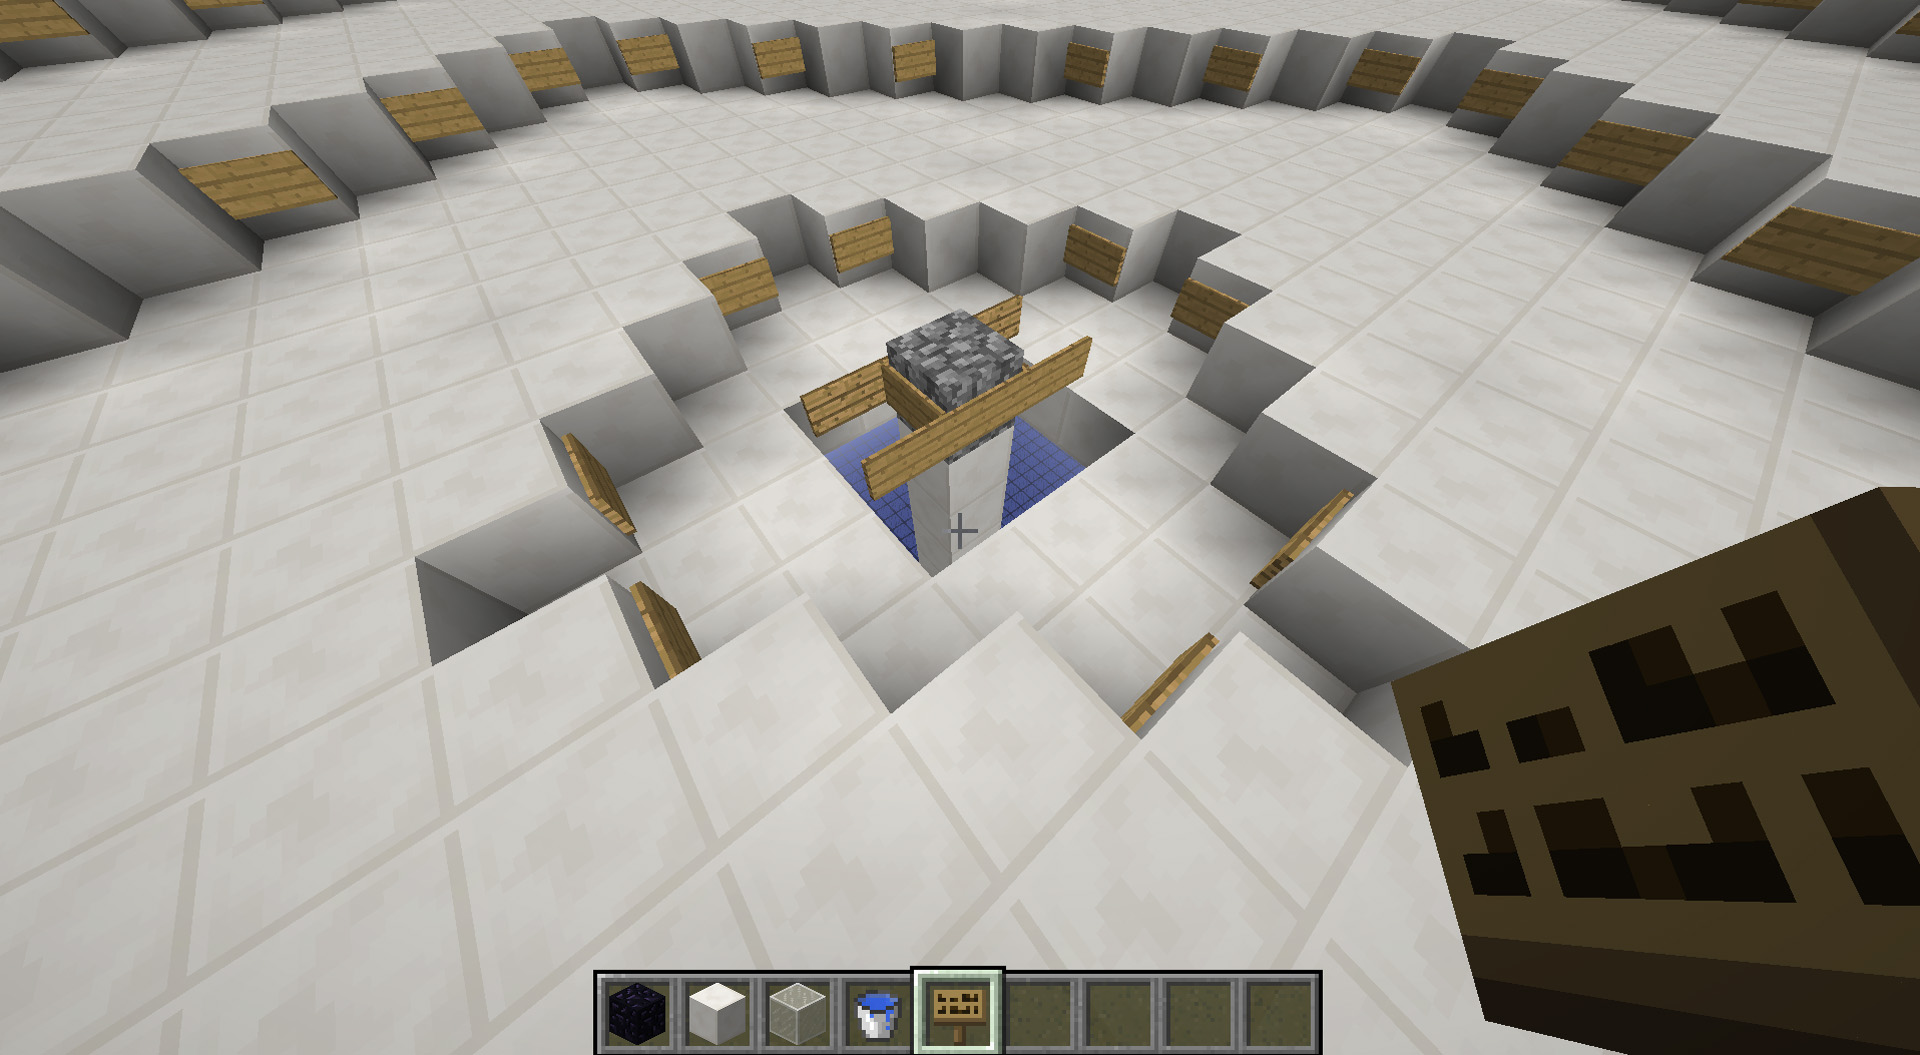
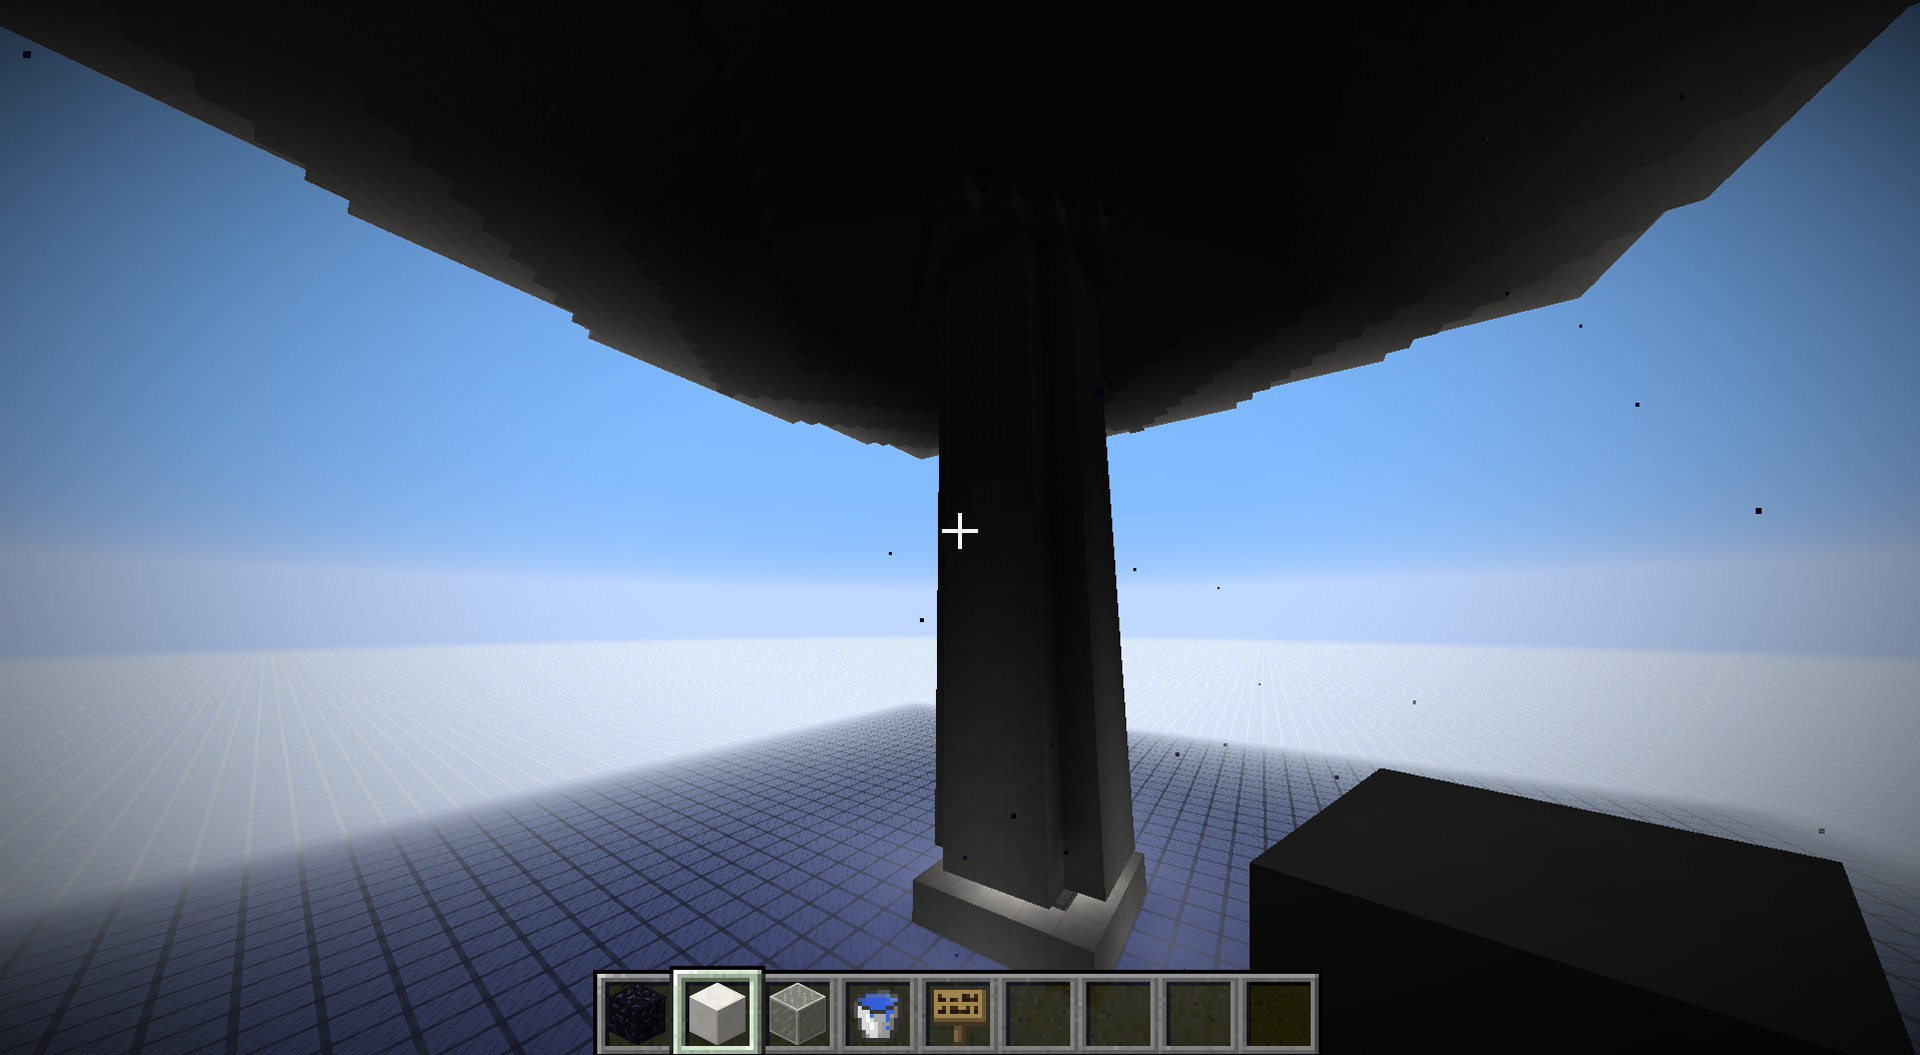
The Tube – Part 1
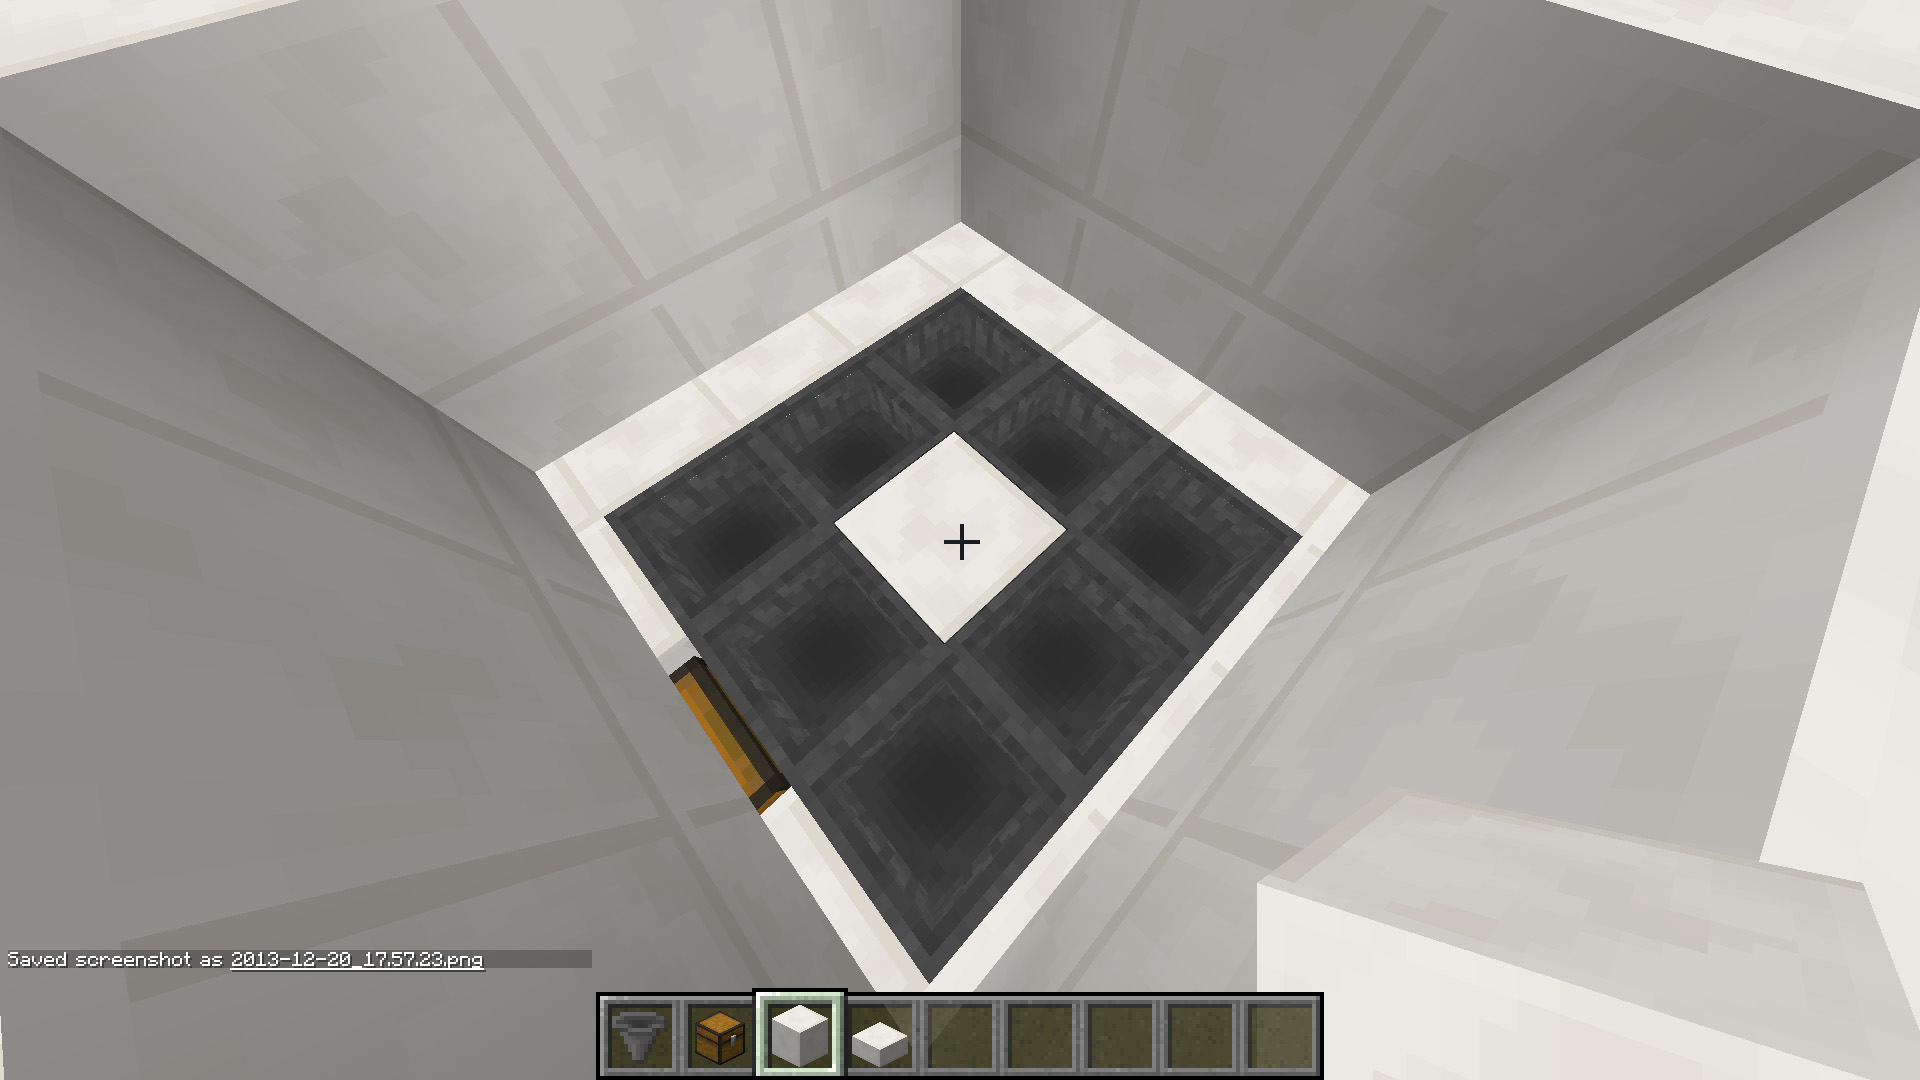
Put a block in the middle of the hoppers.
The Tube – Part 2
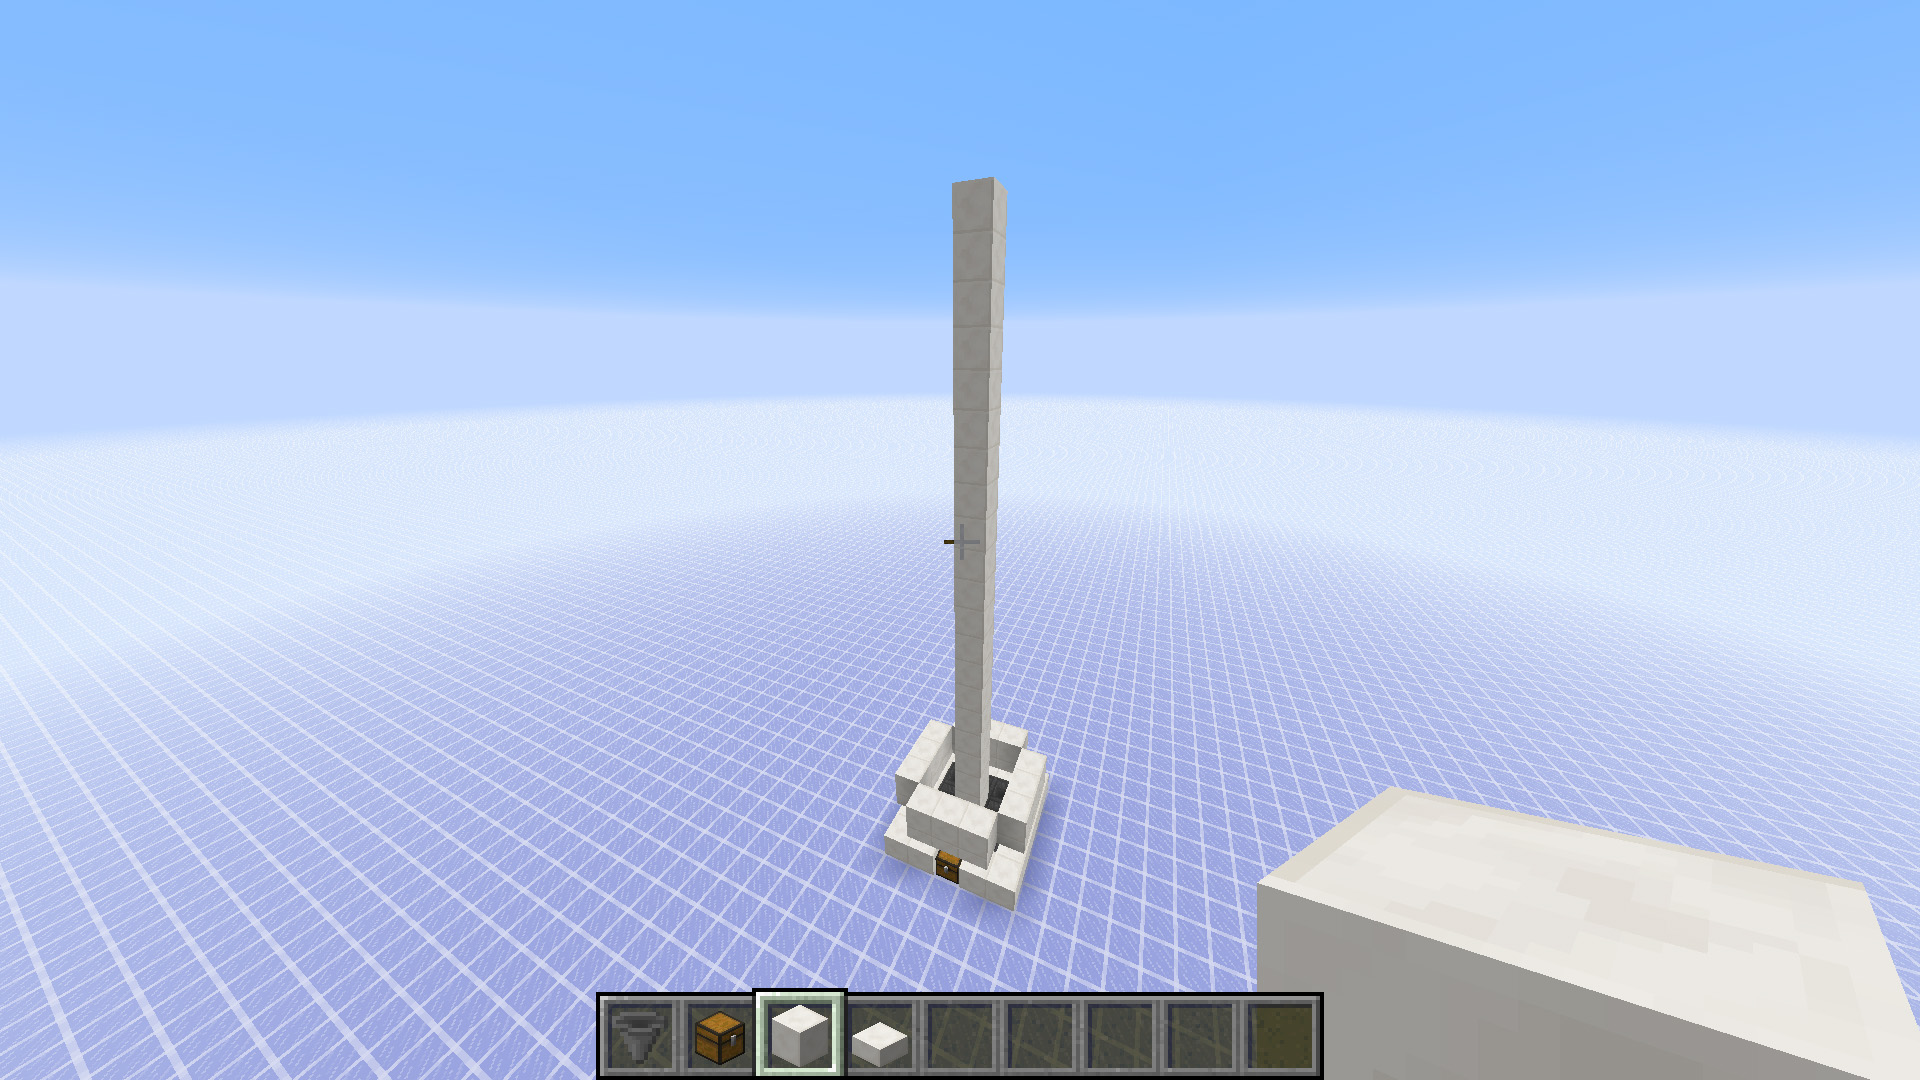
Put 20 blocks in a column on top of the block you just placed.
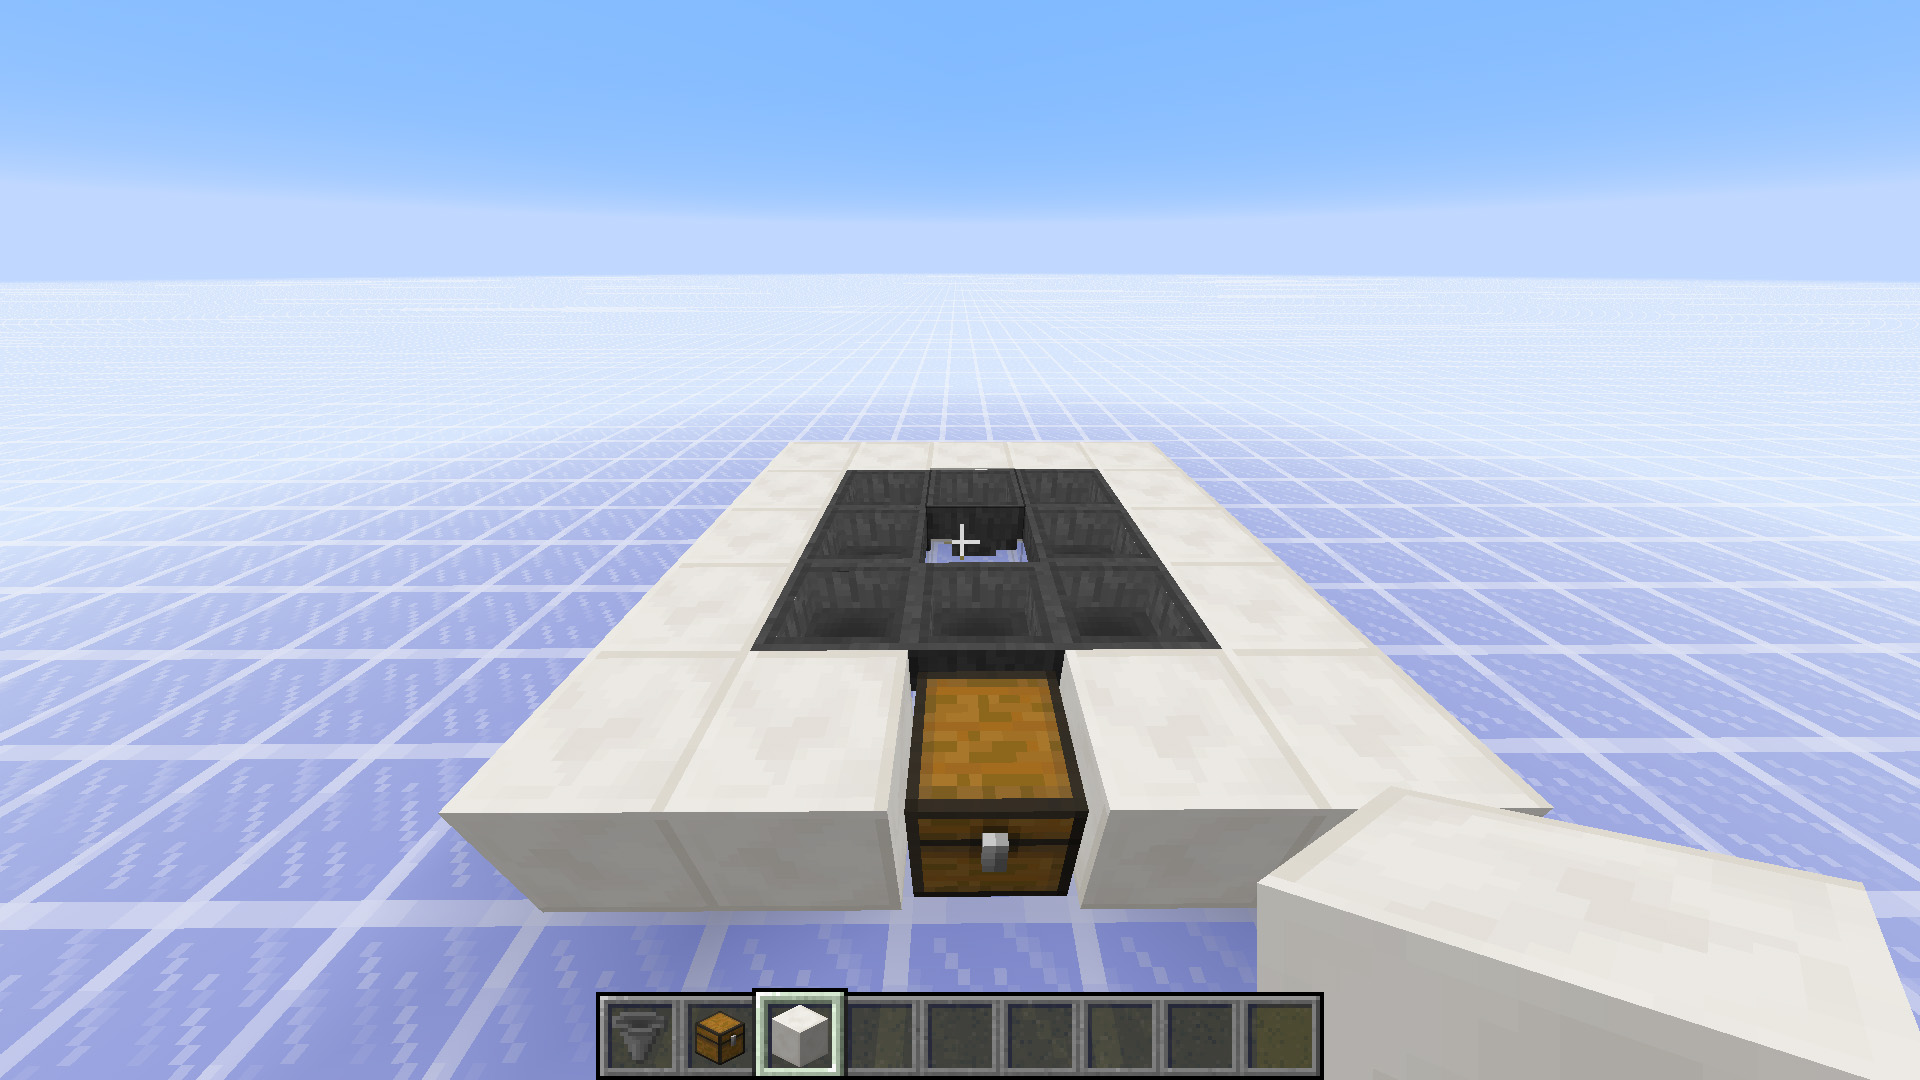
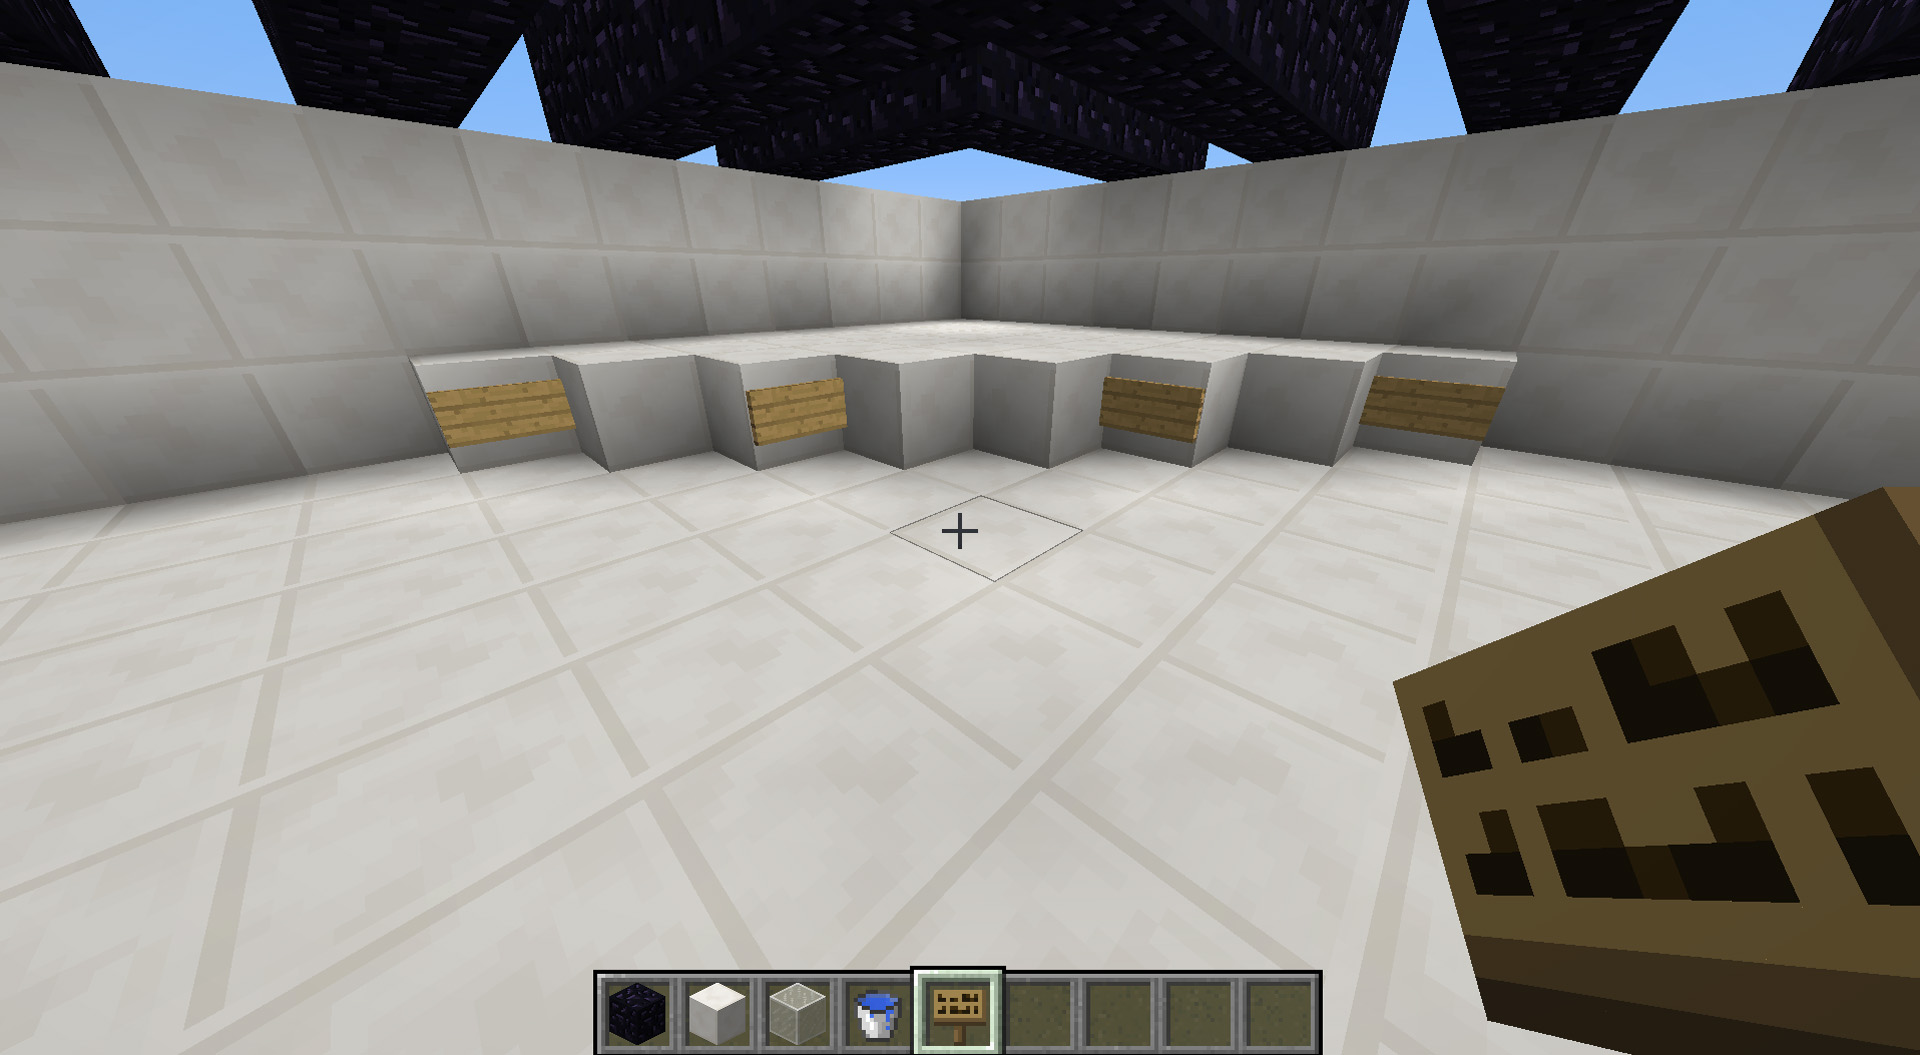
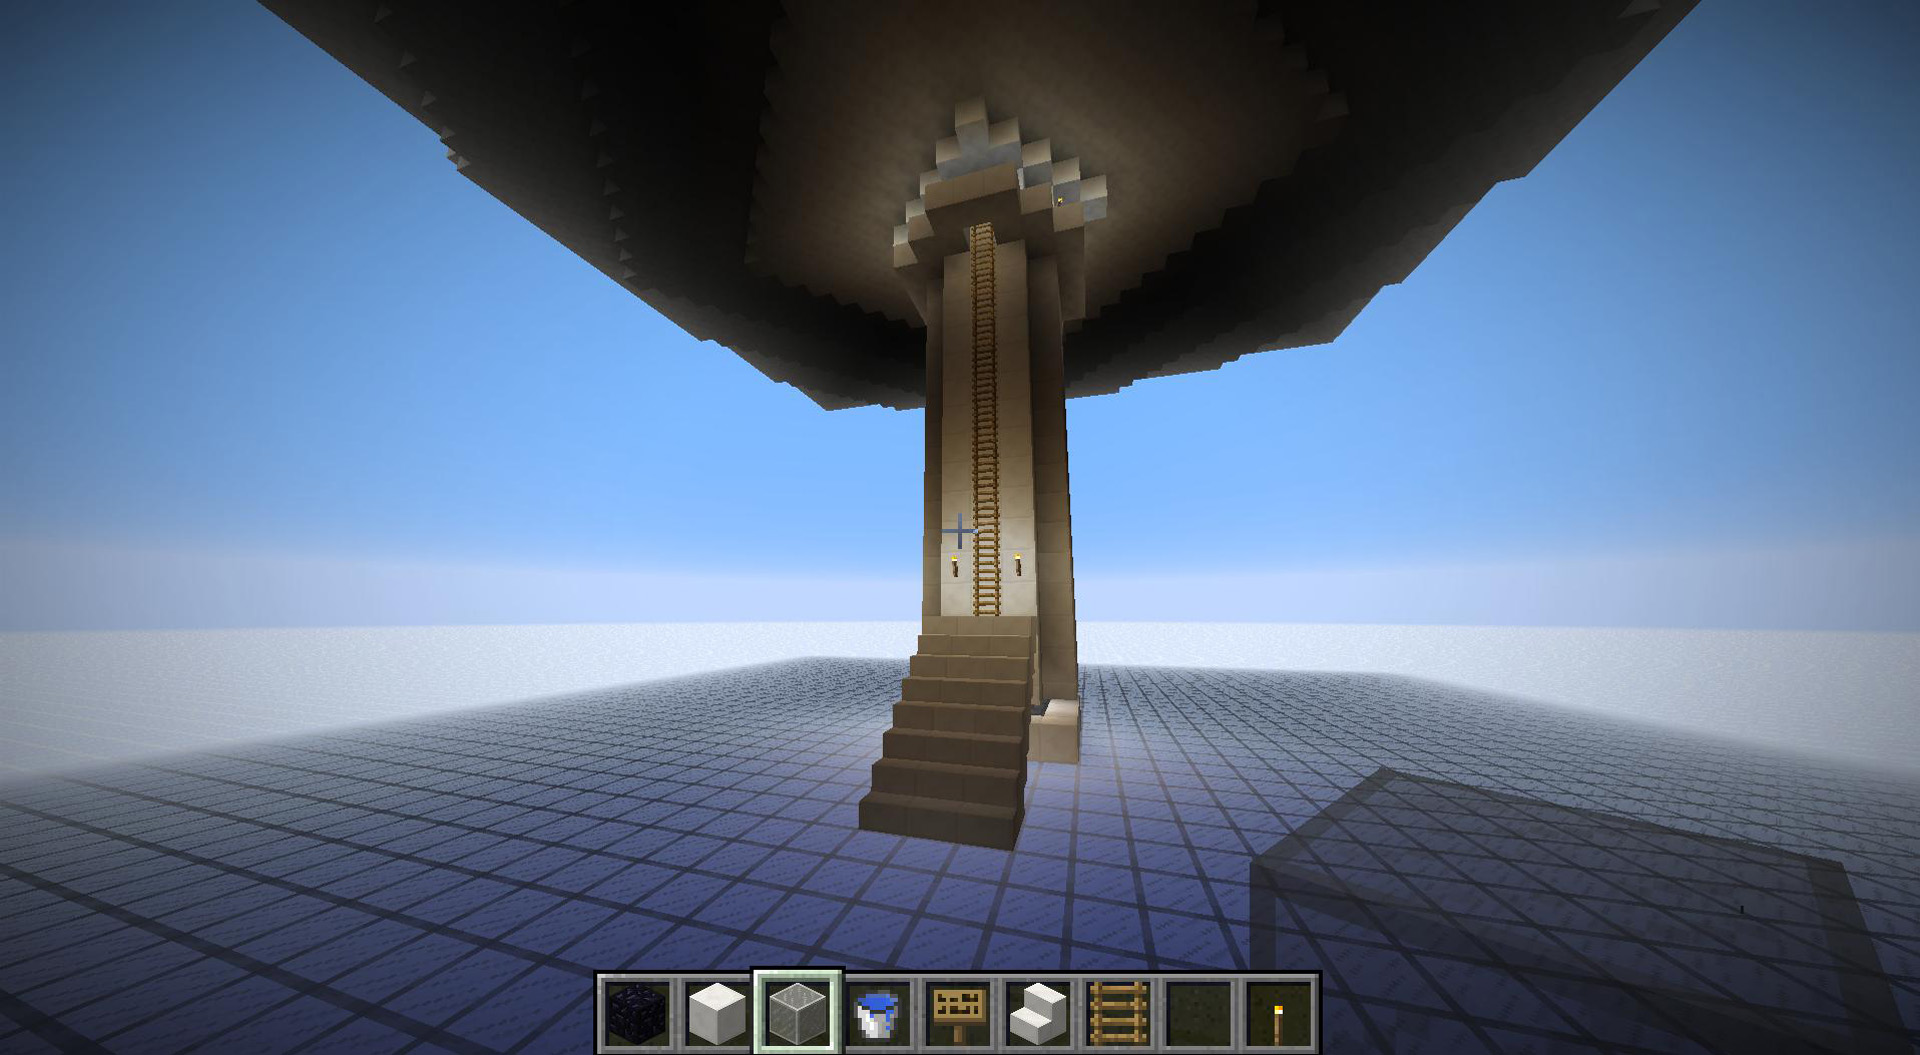
The Tube – Part 3
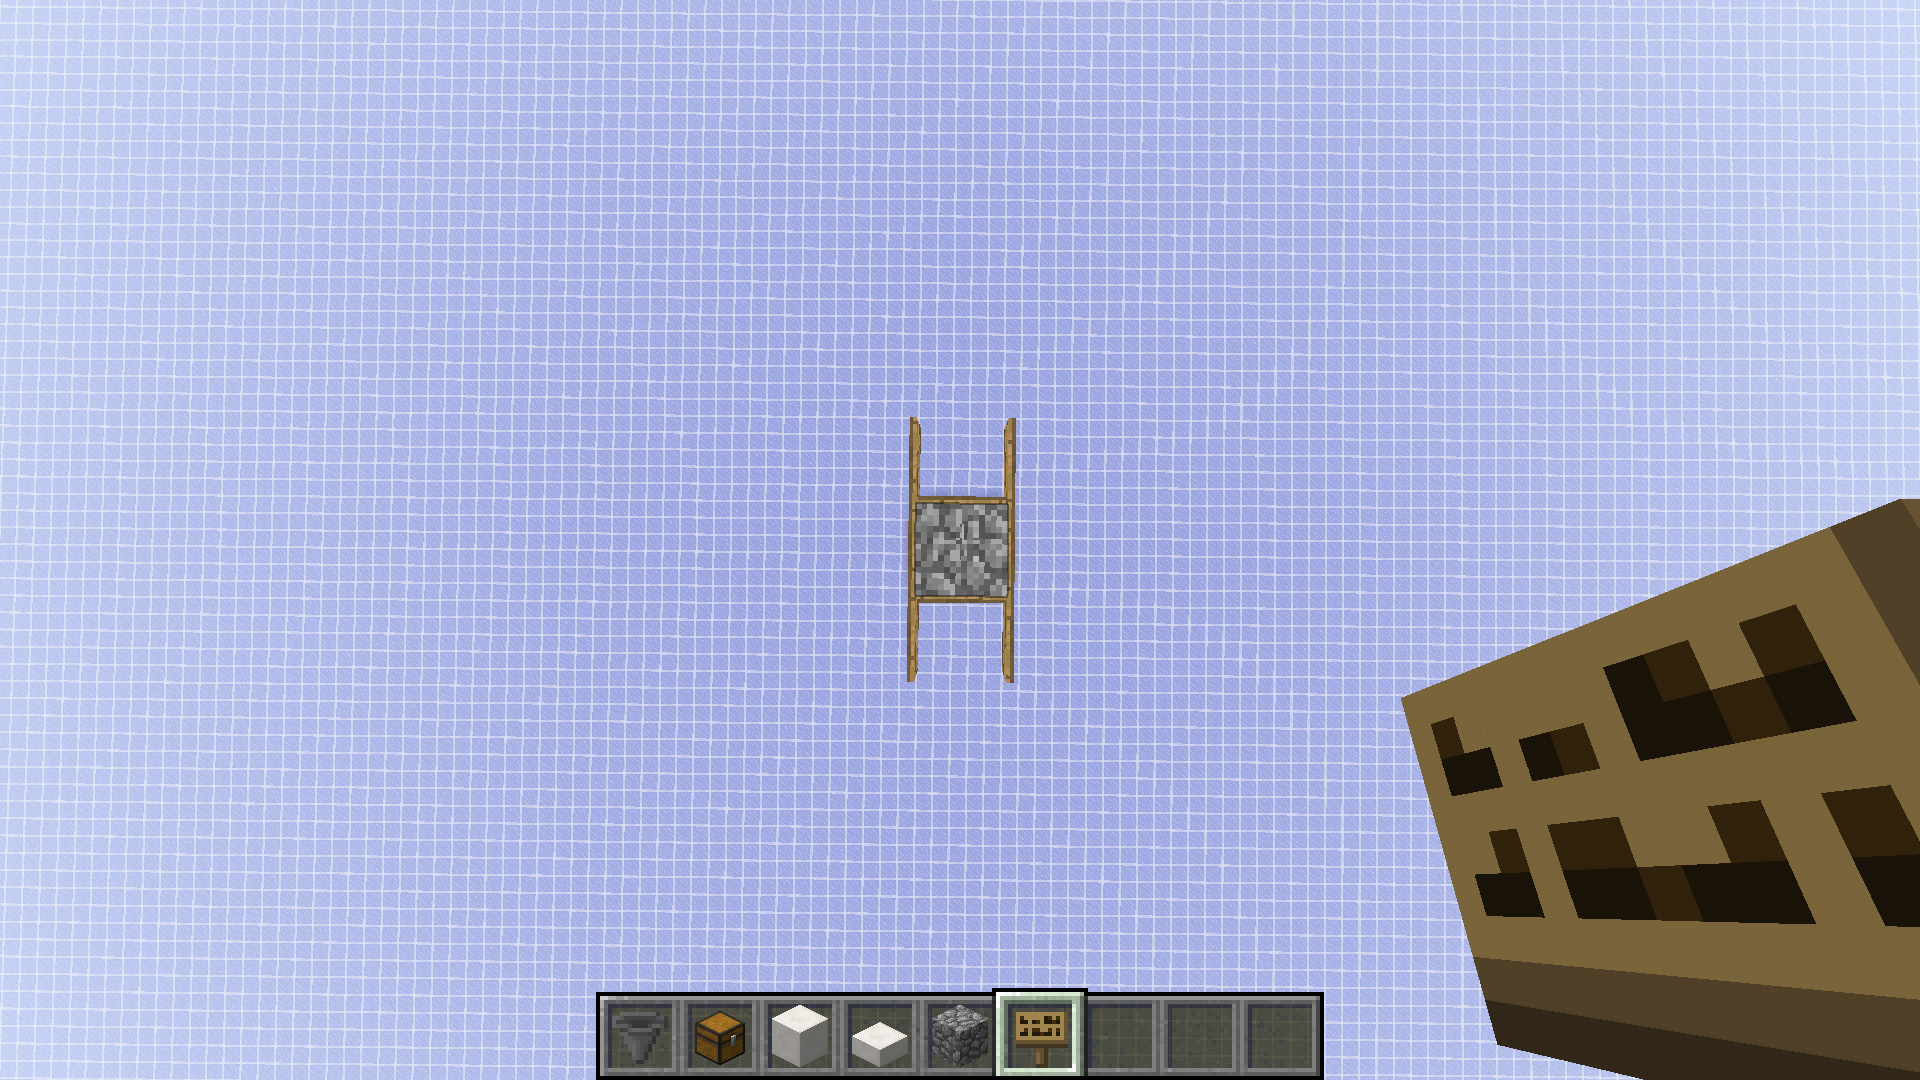
Put another block on the original 20 blocks, then put signs on that block in a pattern like this picture.
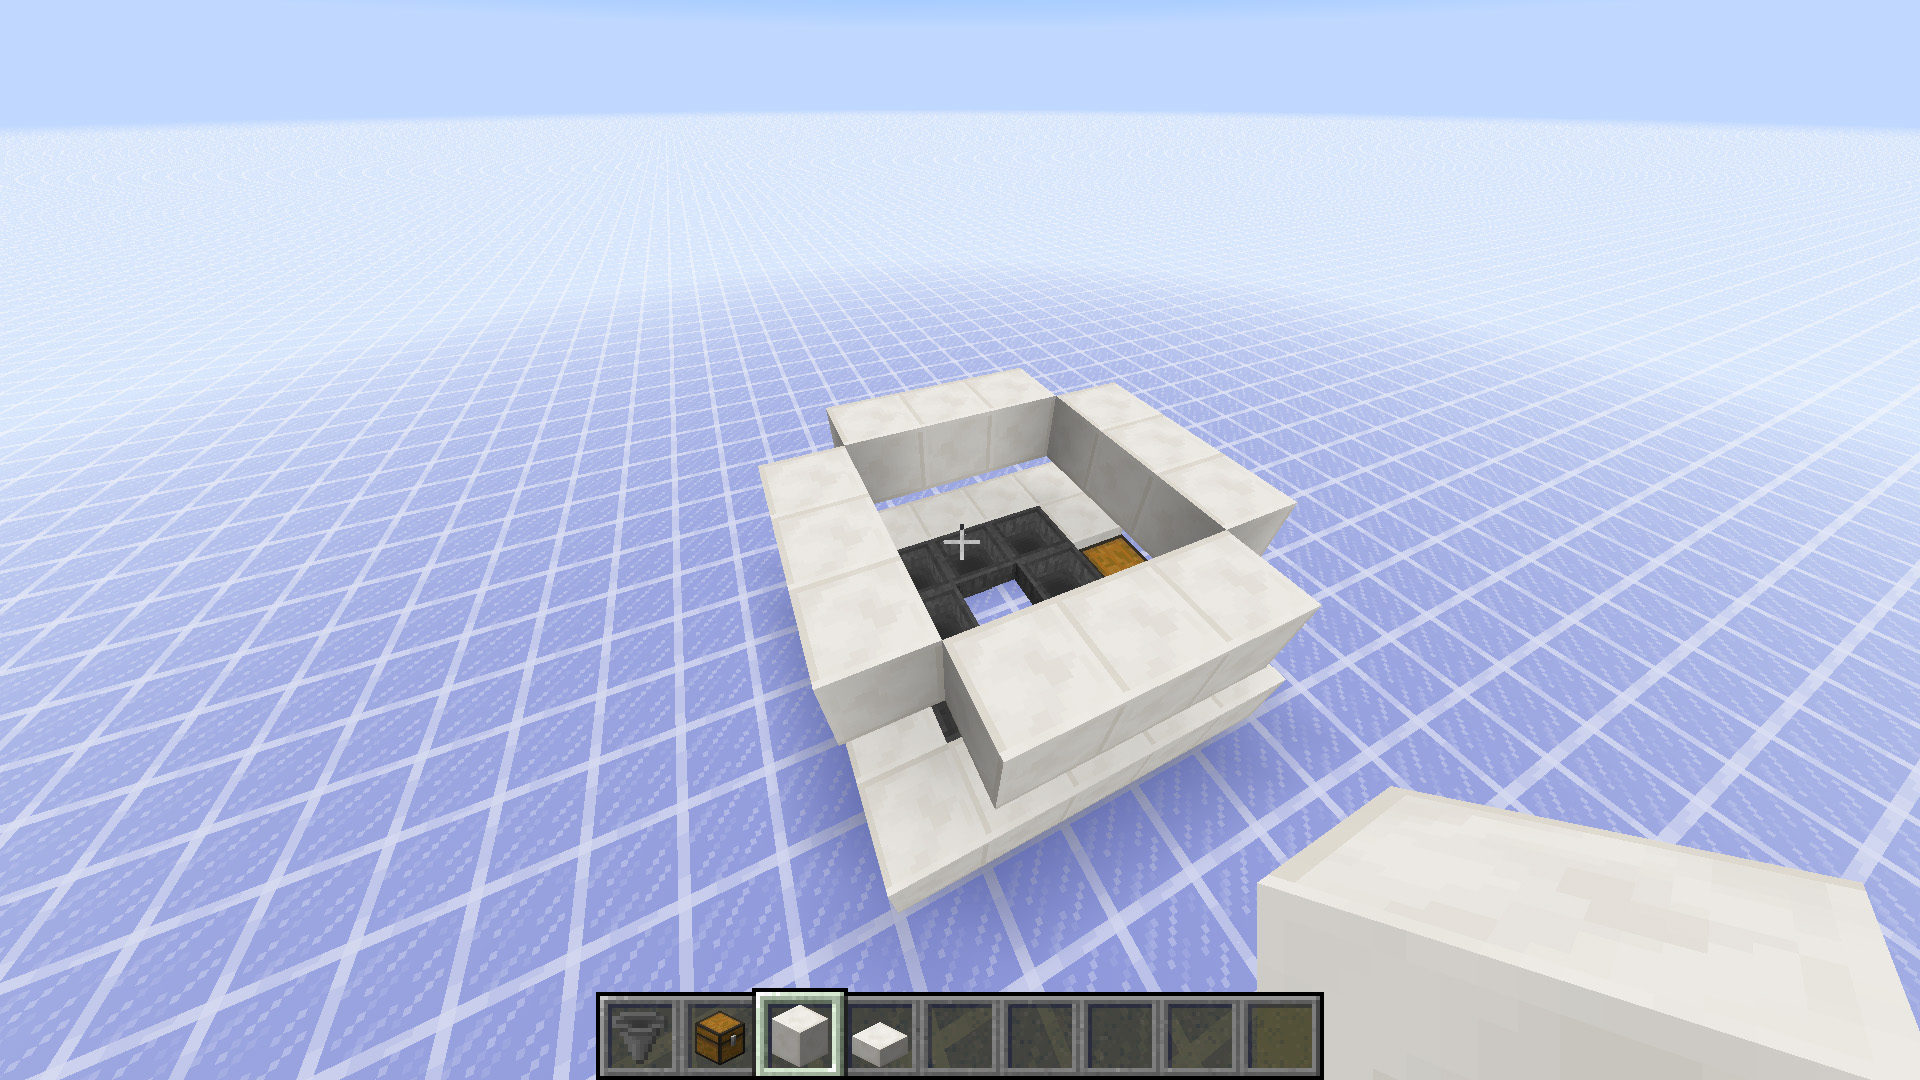
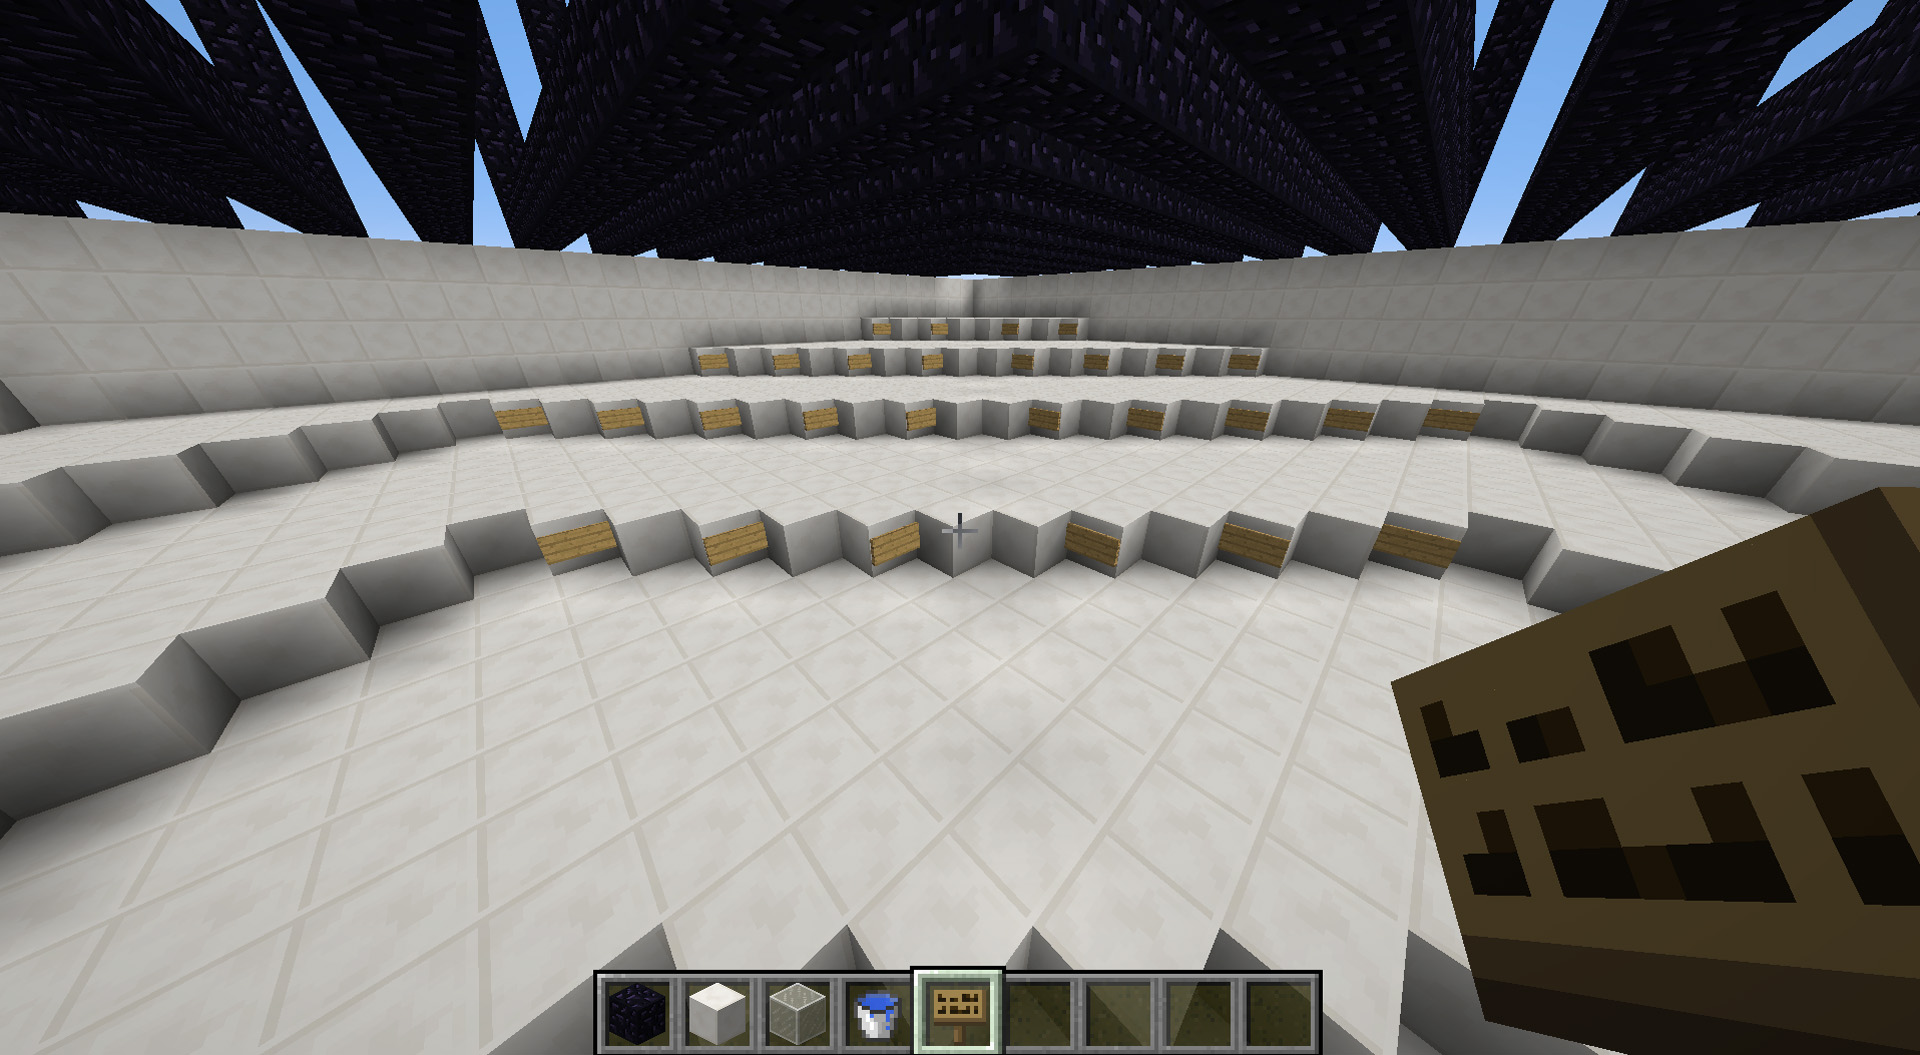
The Tube – Part 4
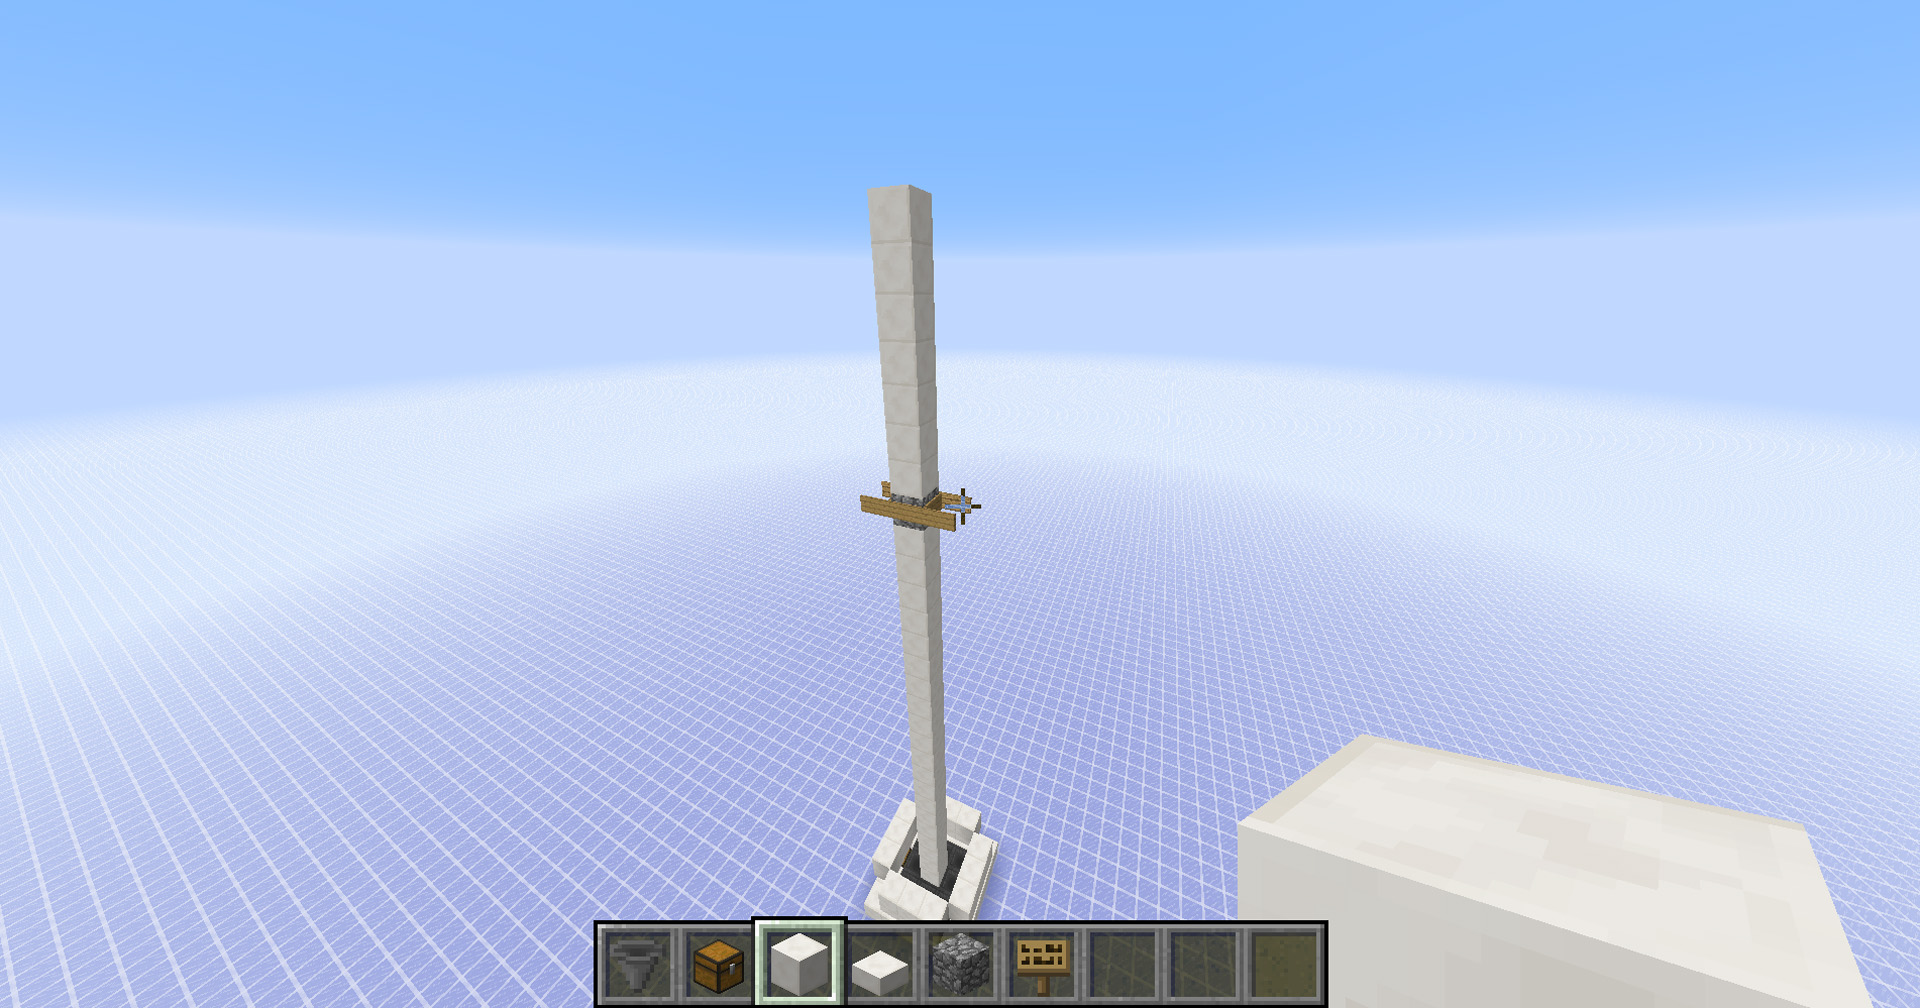
Put 7 blocks on top of the block that has signs on it.
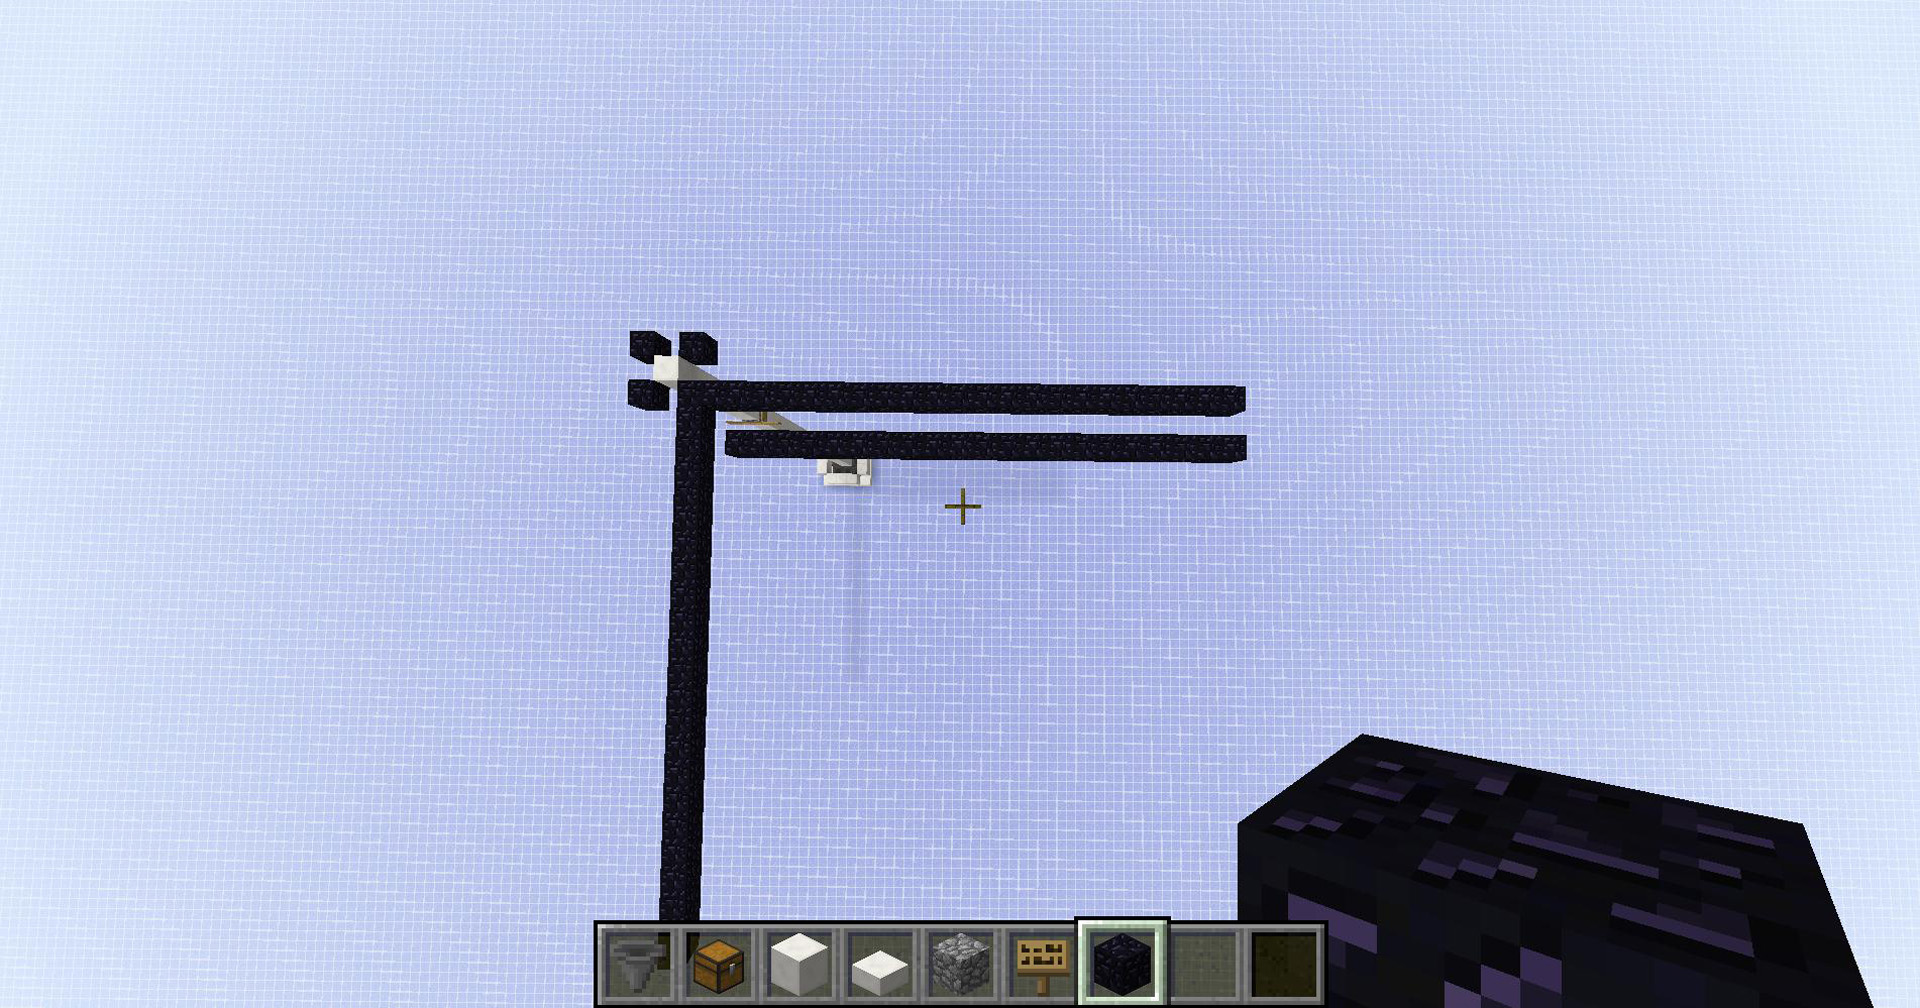
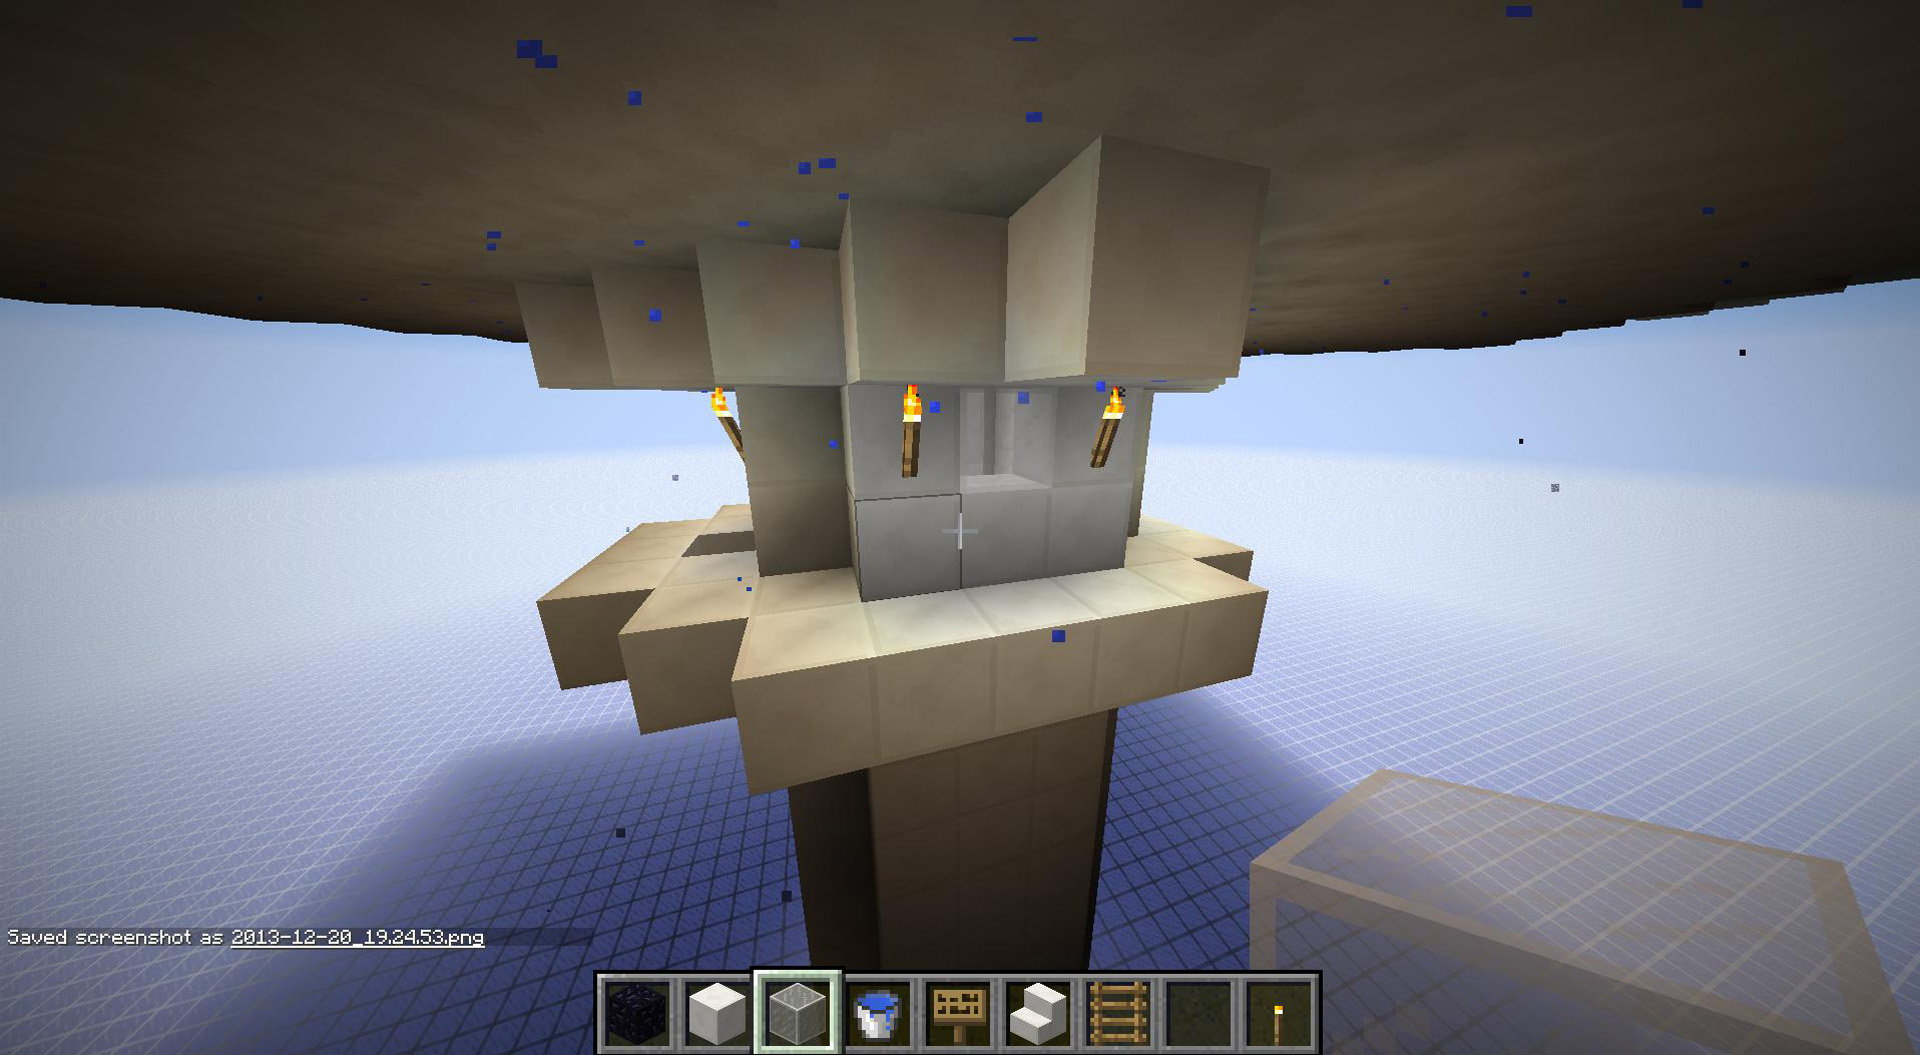
Portals – Part 1
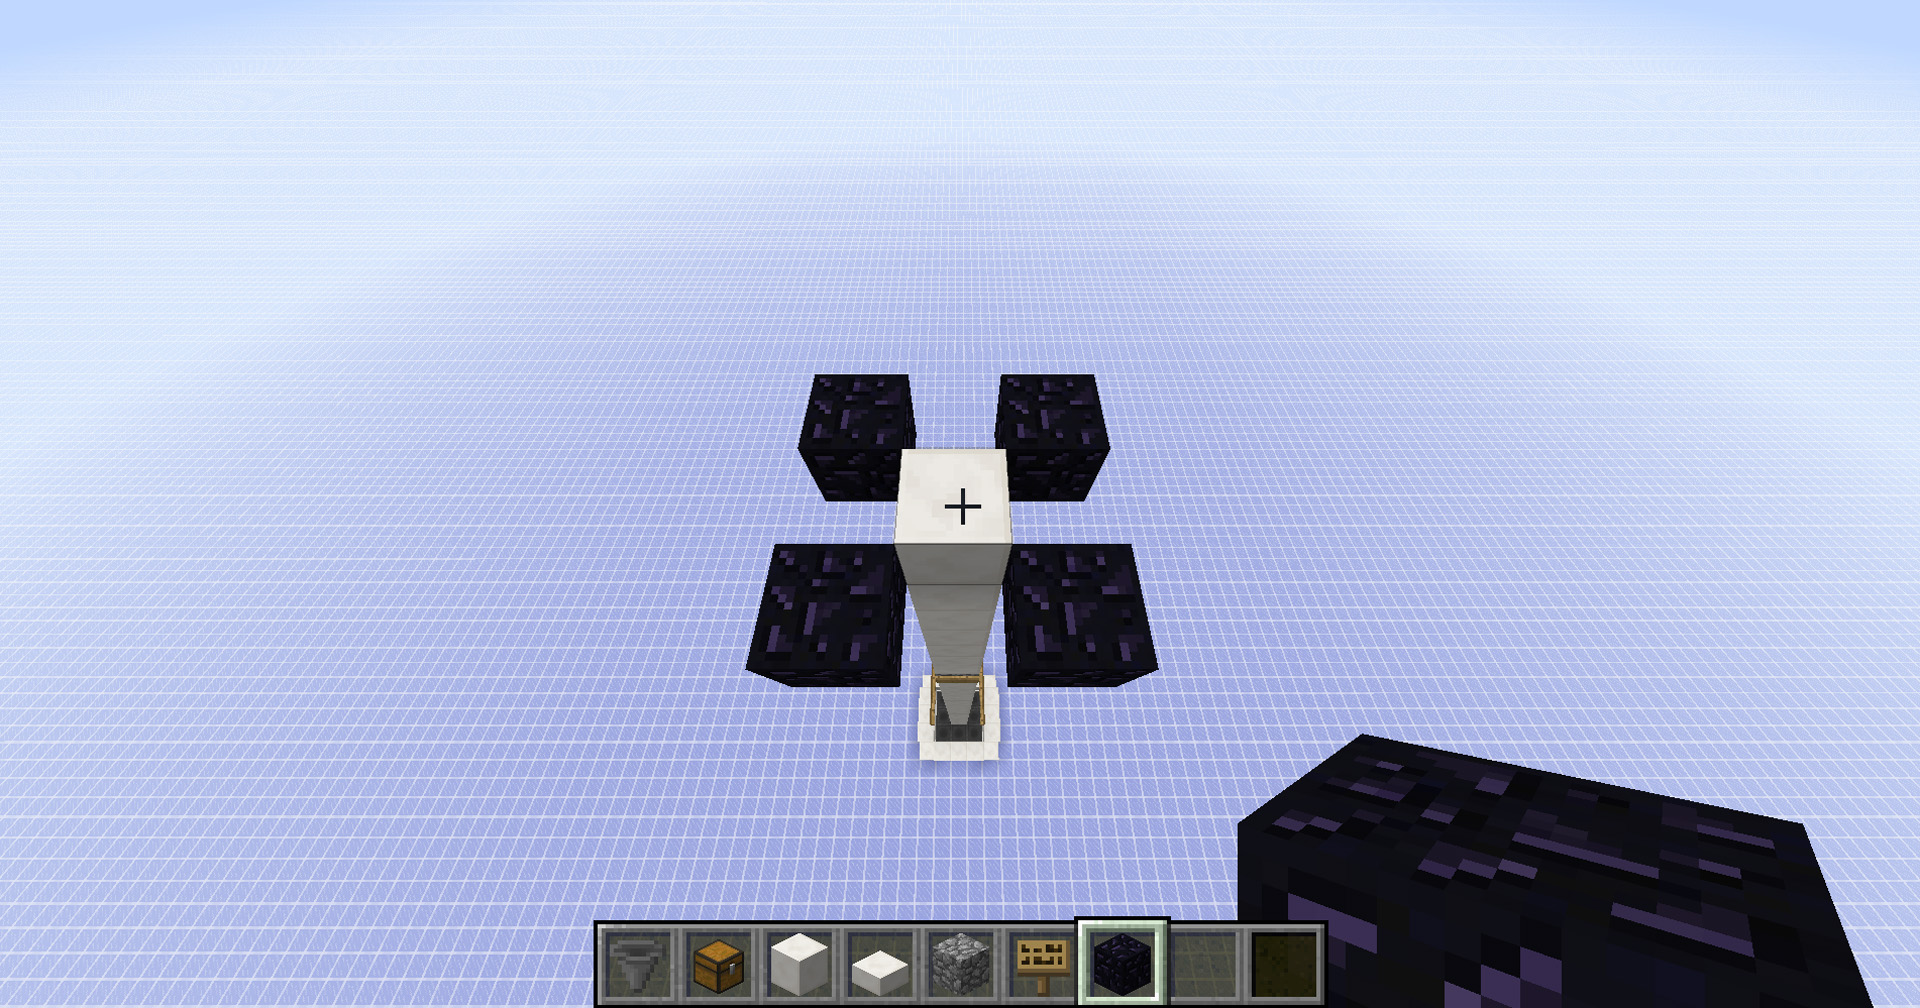
Put 4 obsidian around the top block like in the picture.
Portals – Part 2
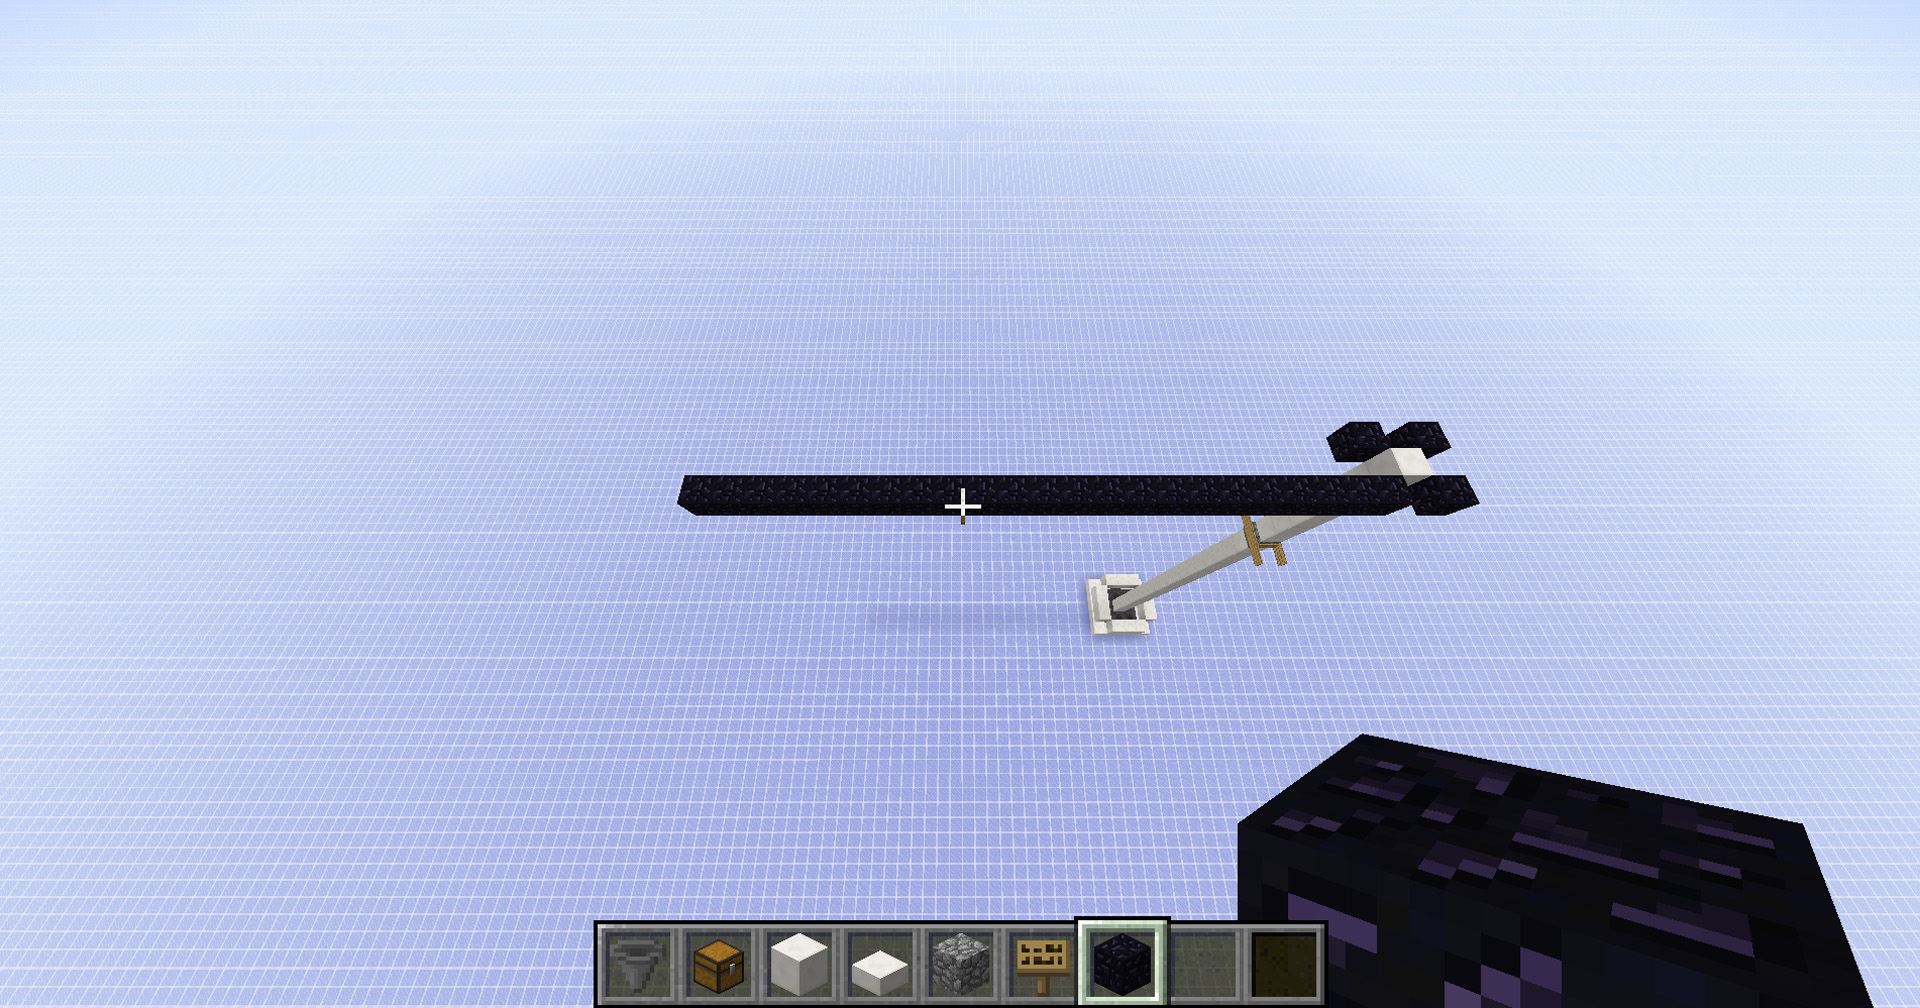
Extend one of the blocks until it is 23 blocks long, counting the original block.
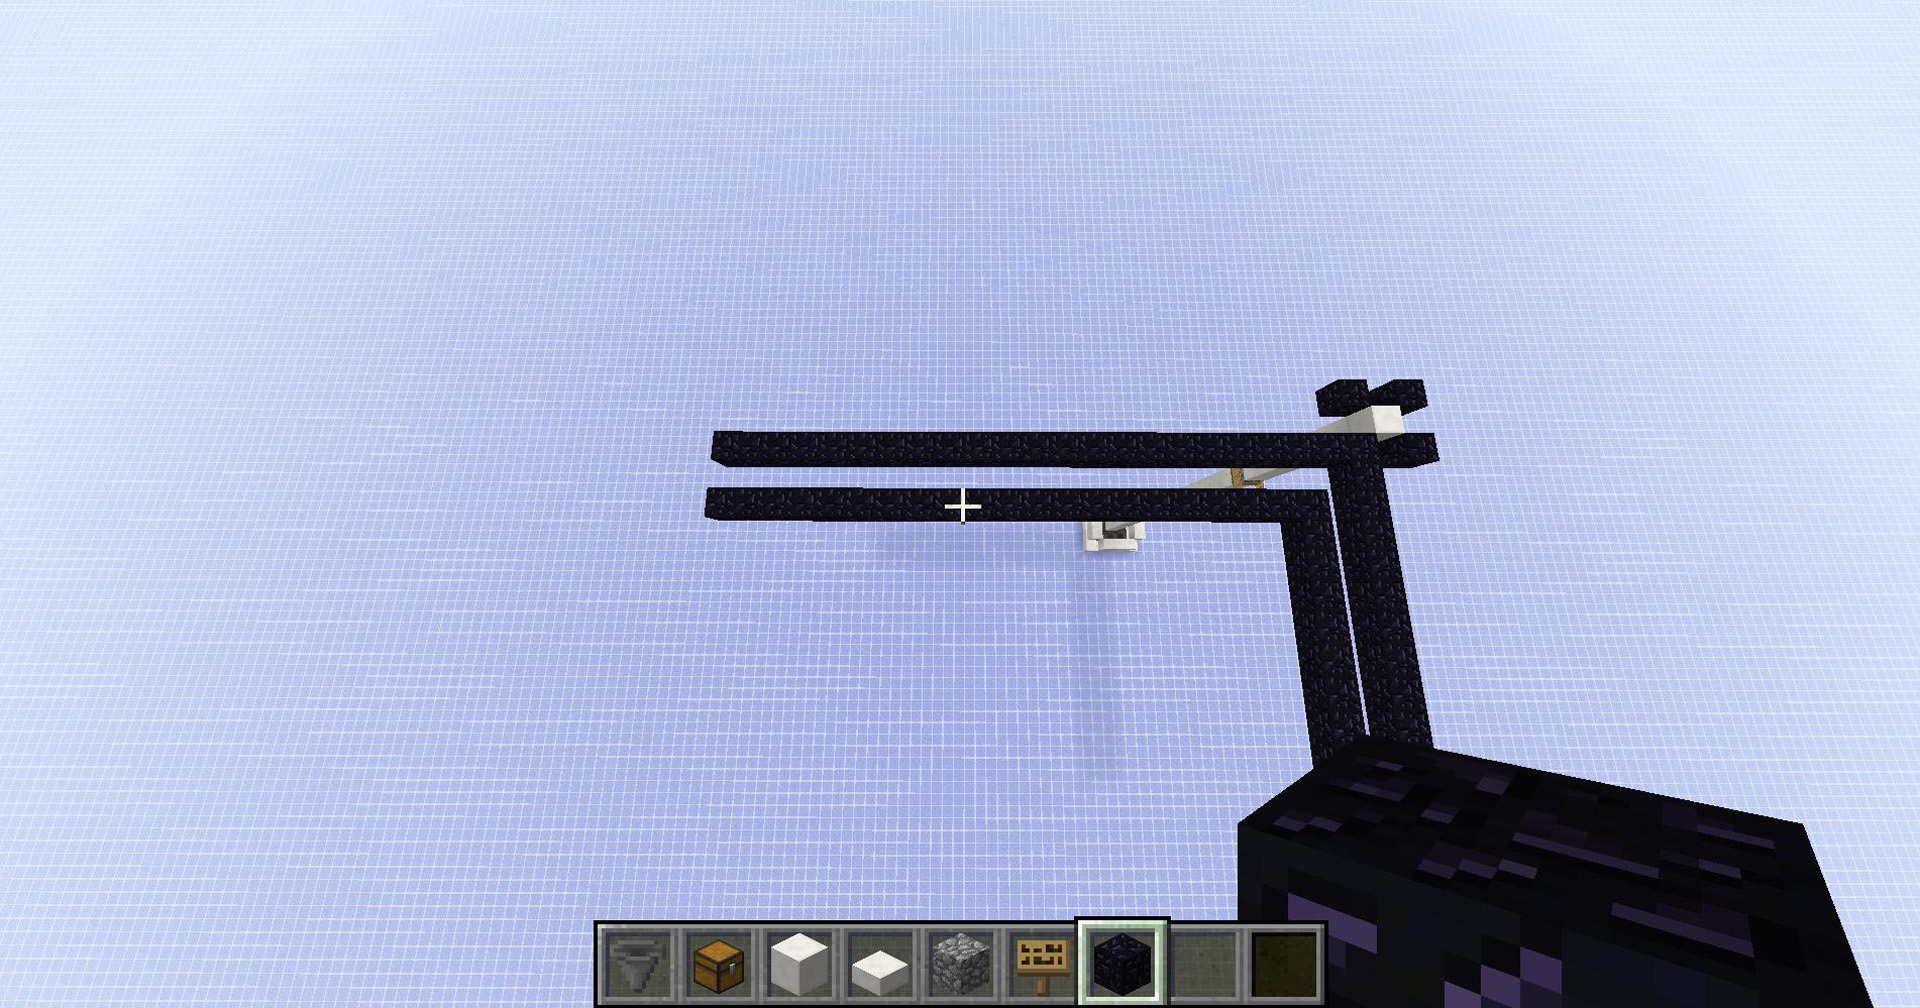
Portals – Part 3

Extend the same block at a right angle until it is also 23 blocks long.
Portals – Part 4
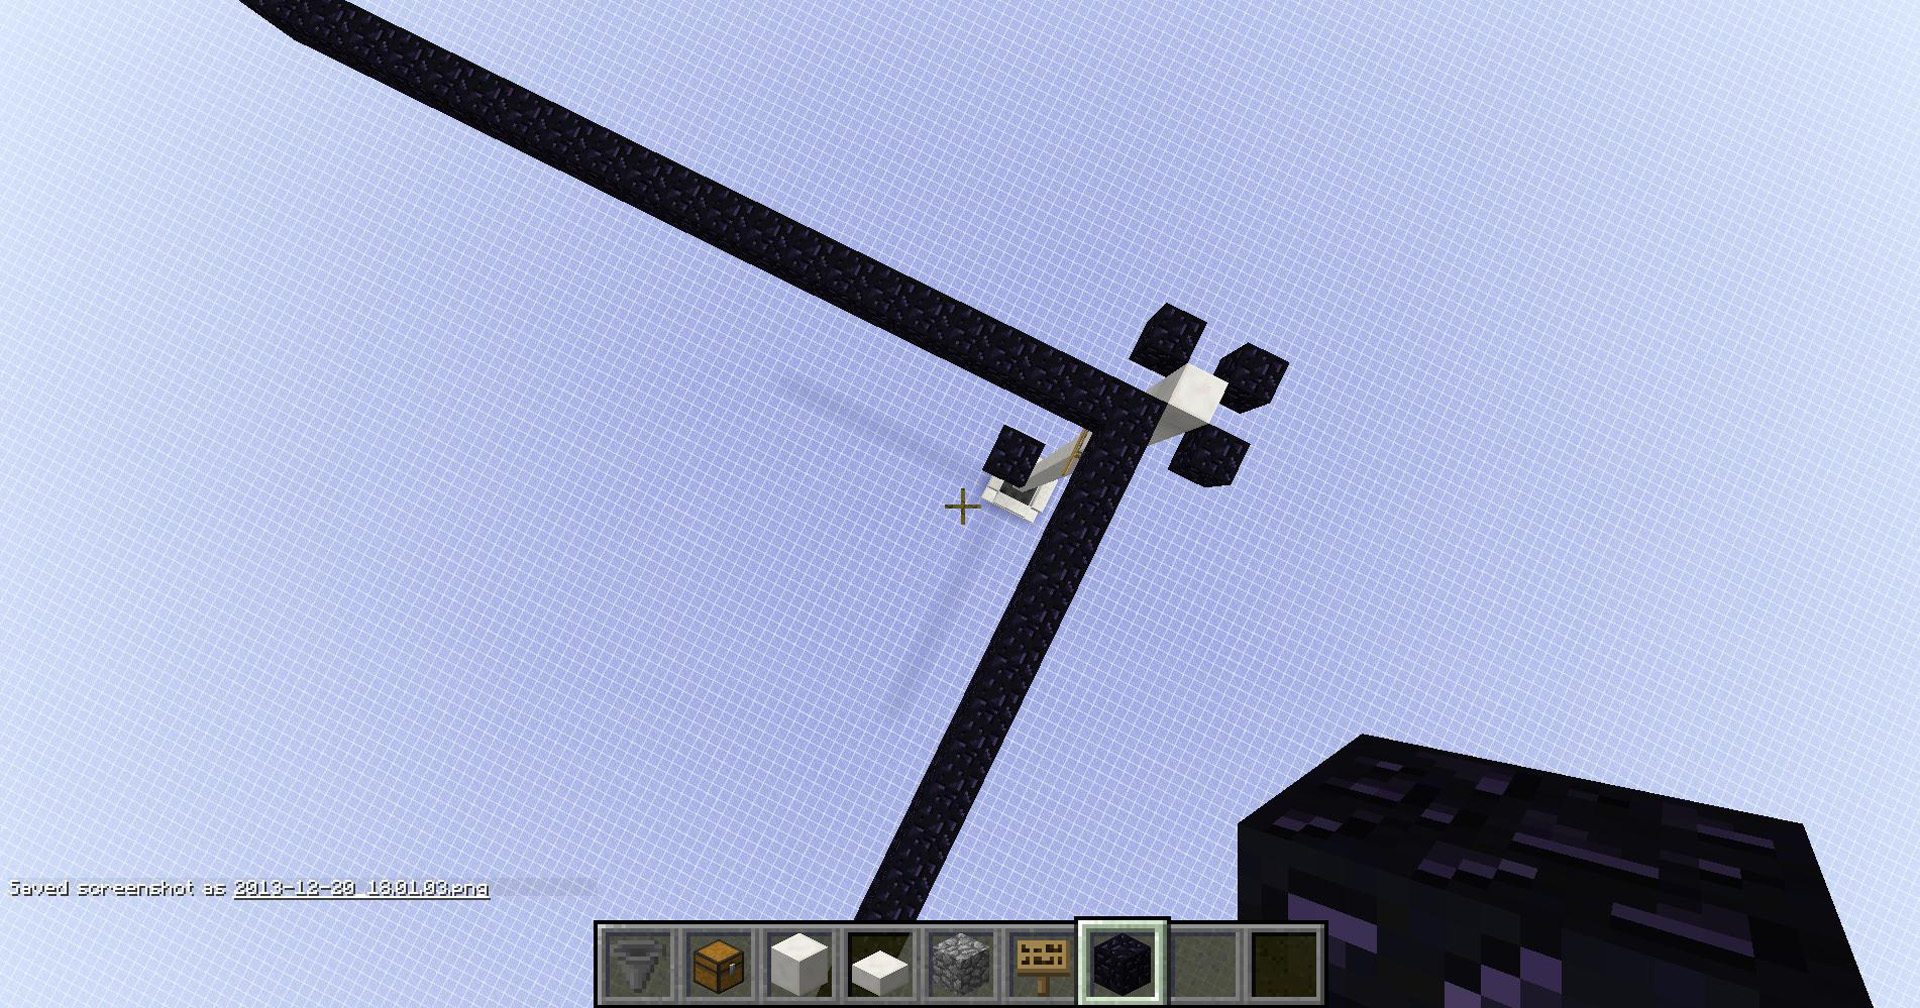
Place another block inside the right angle like in the picture.
Portals – Part 5
Extend that block until it reaches the same point as the other line, like in the picture.
Portals – Part 6
Extend the same block in the other direction until it reaches the same distance as the first angle.
Portals – Part 7
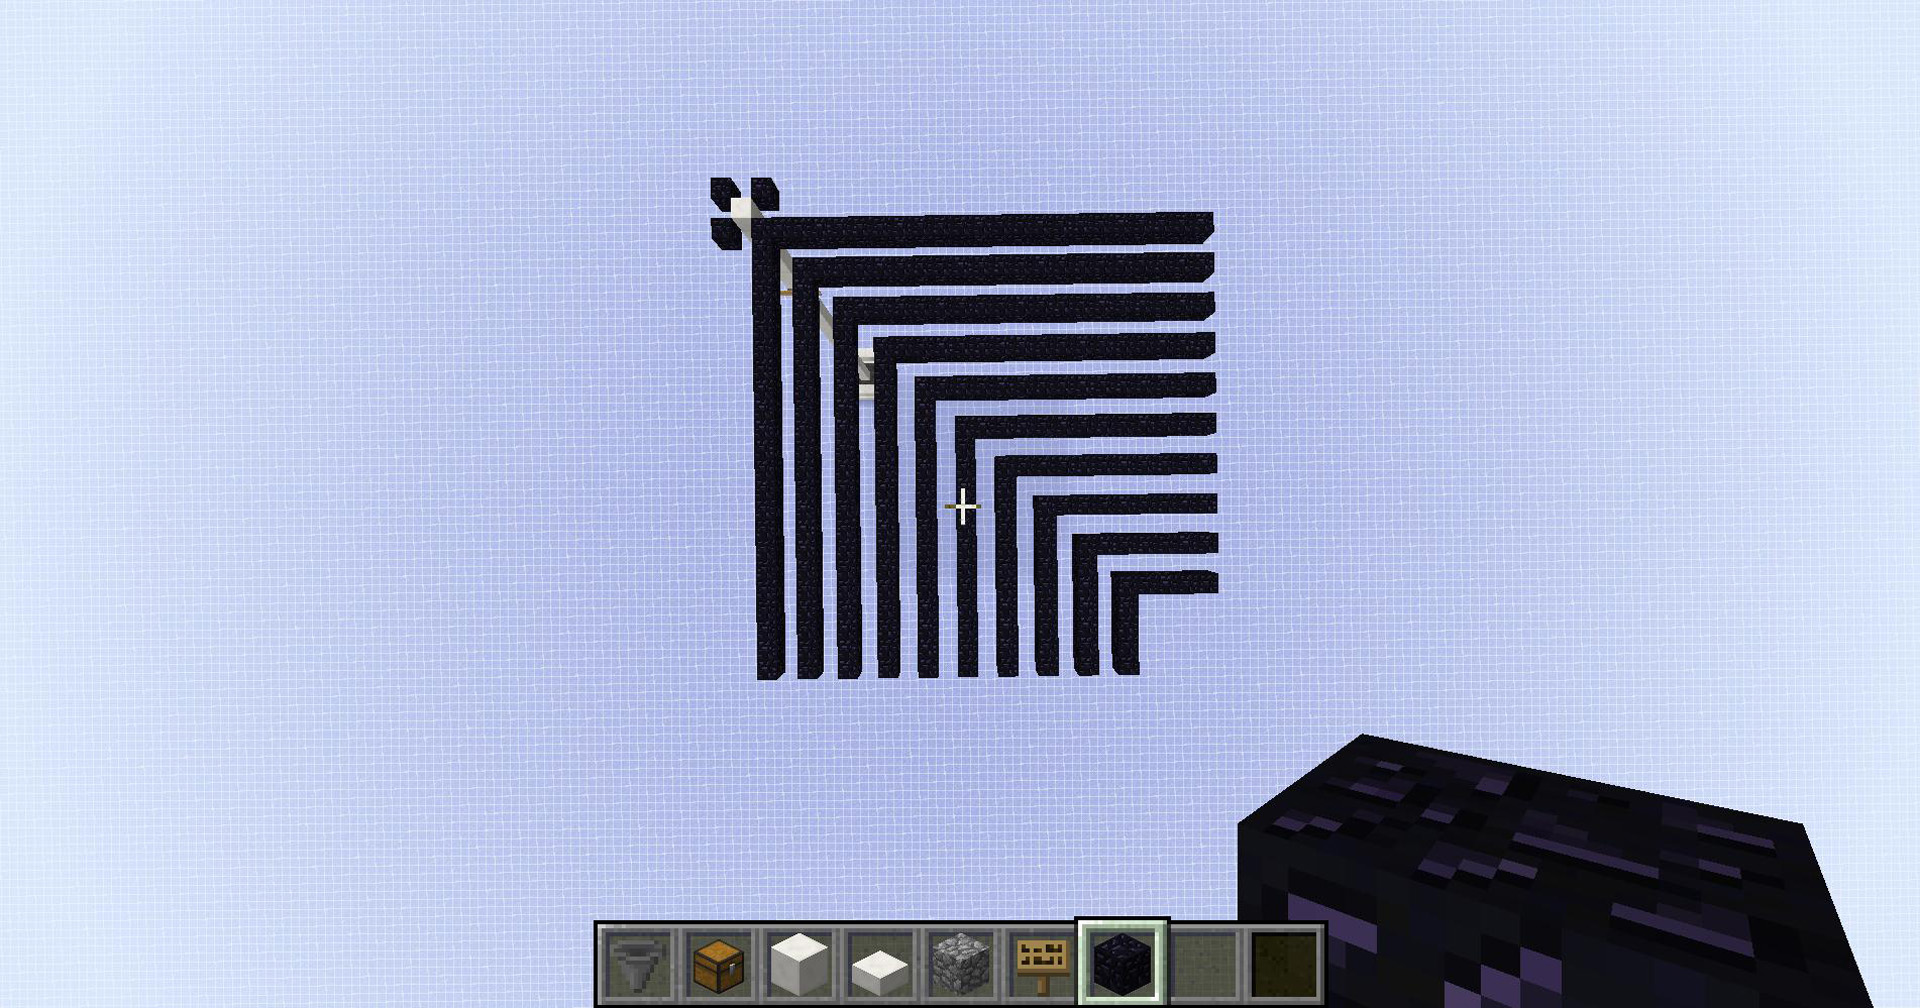
Repeat steps 5 and 6 until the angle’s lengths are 5.
Portals – Part 8
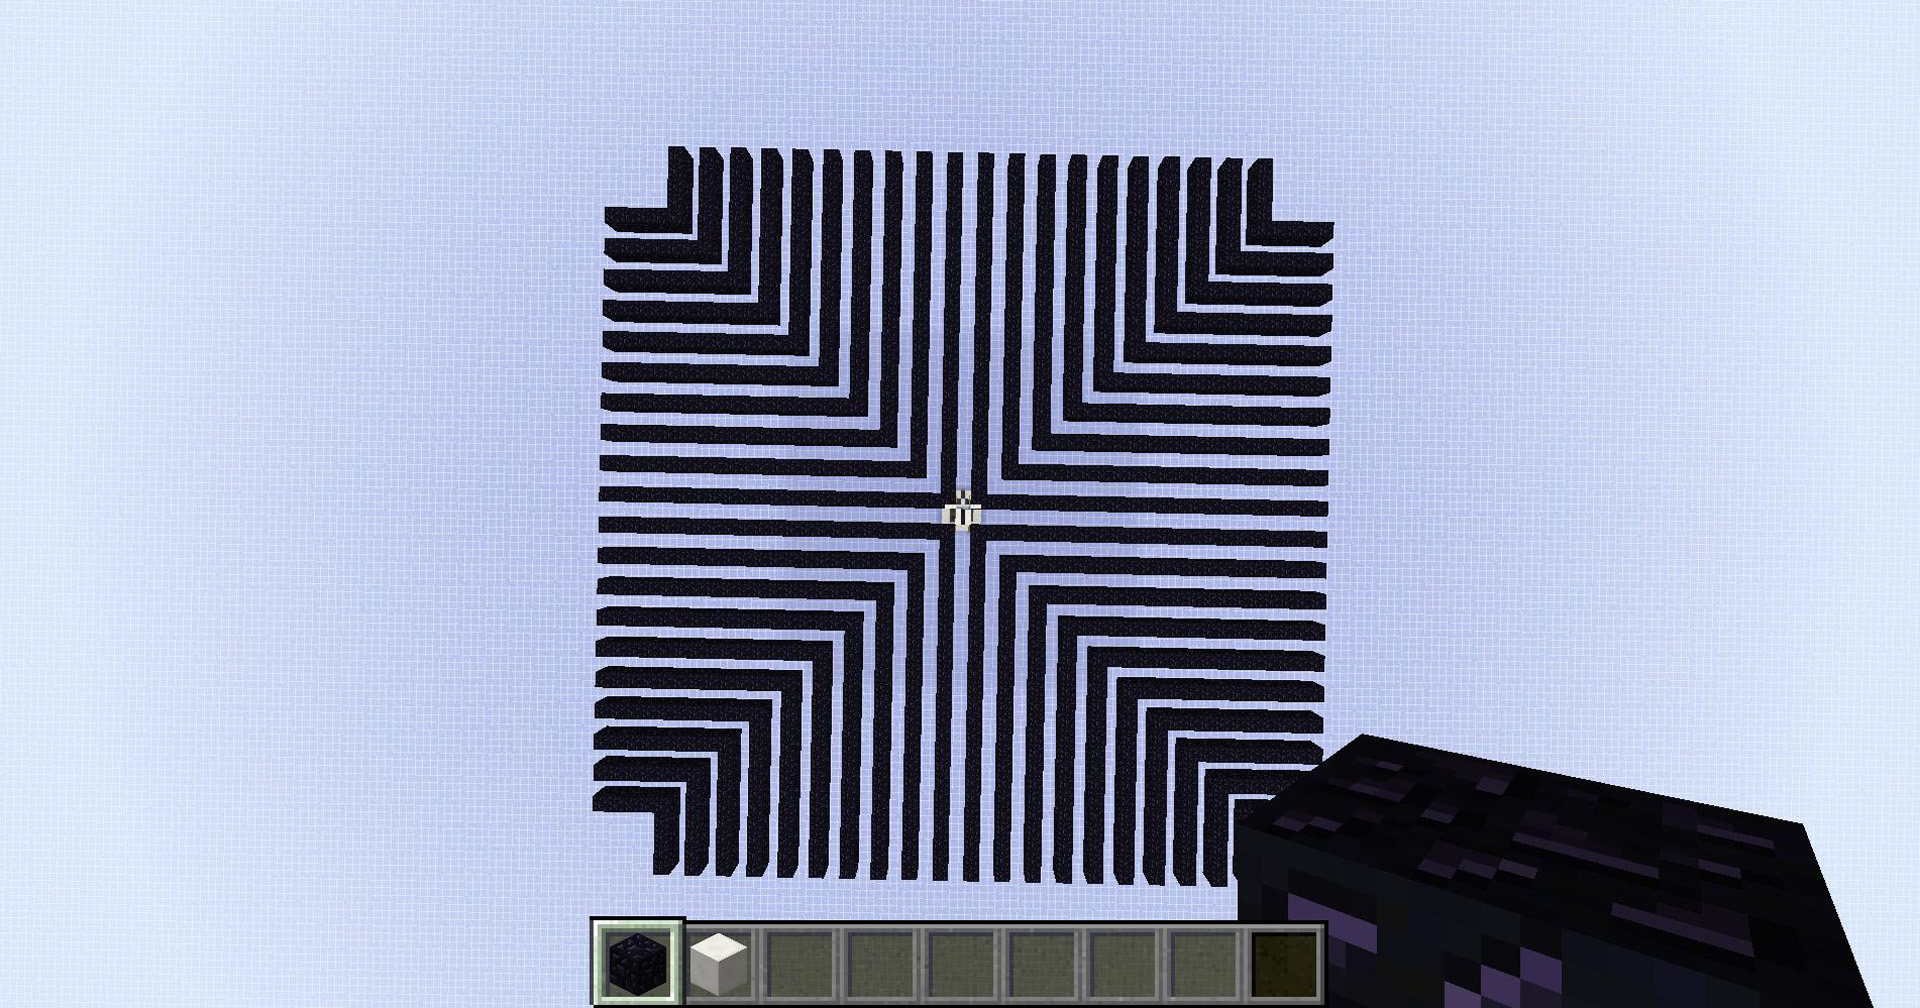
Mirror the same pattern on the other 4 blocks so the pattern looks like this.
Portals – Part 9
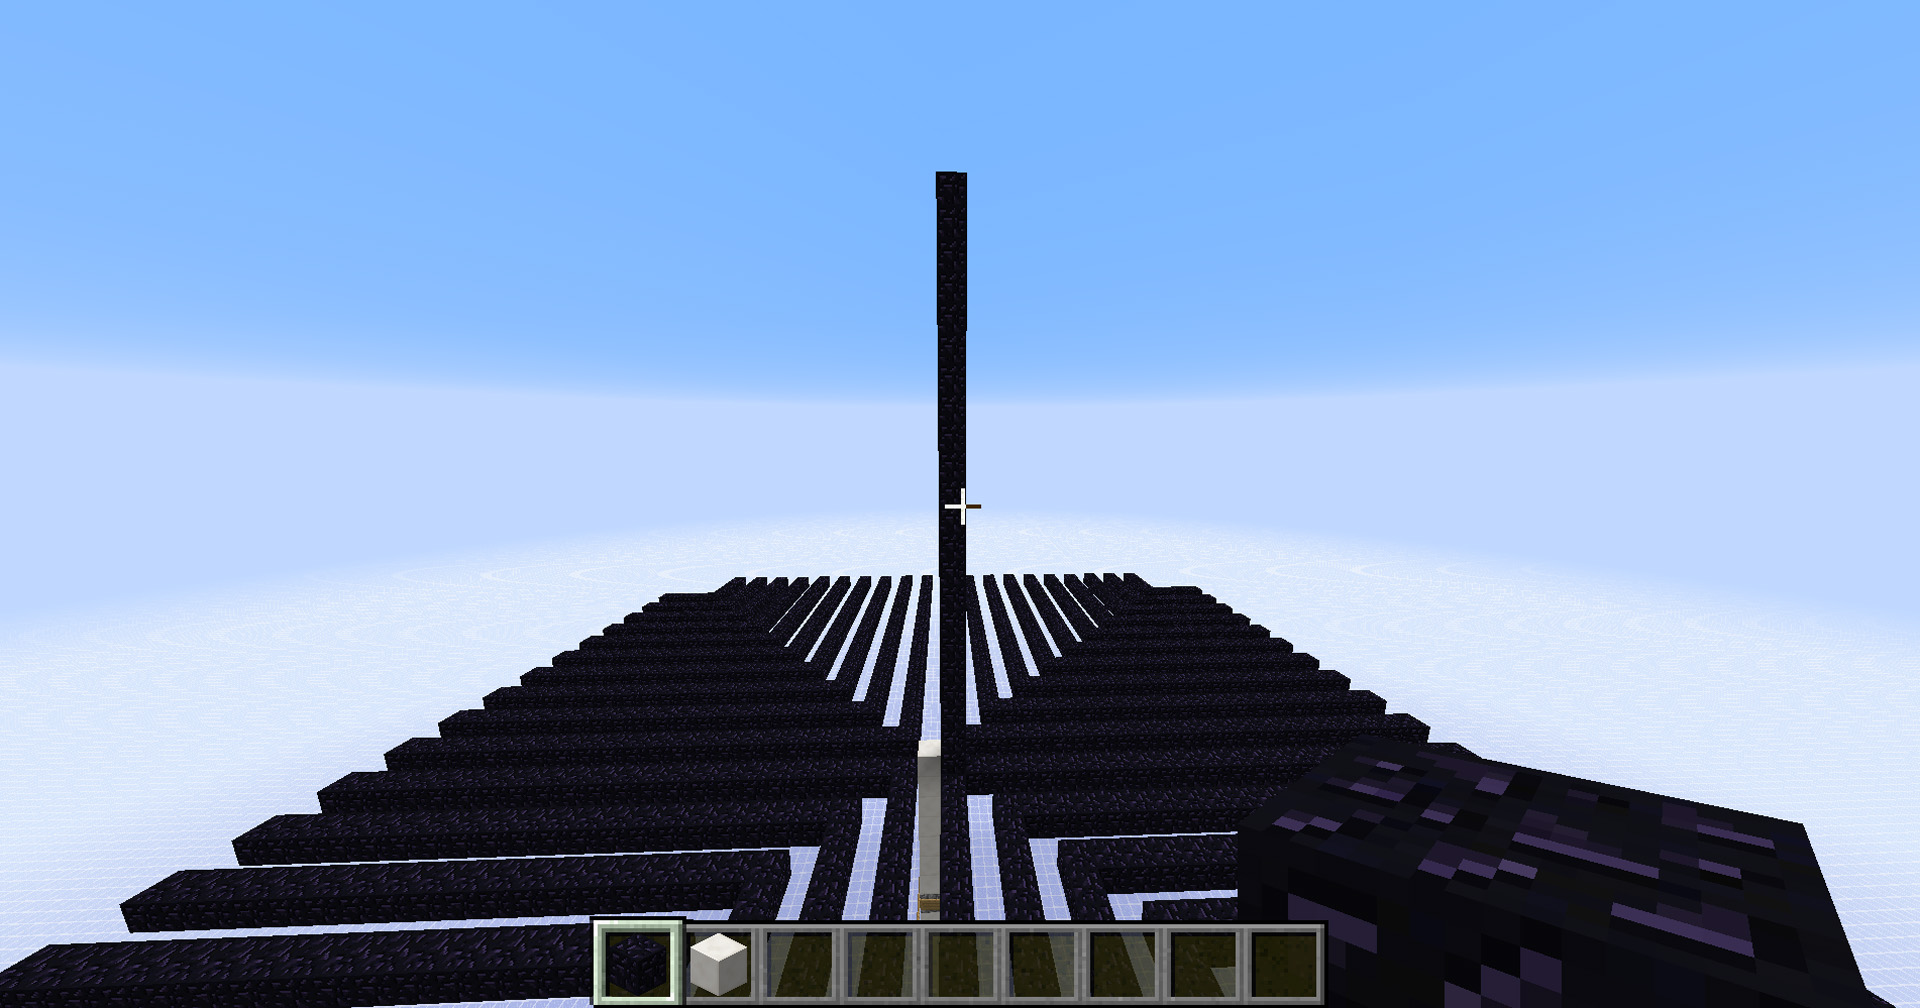
Extend on of the inner corners so it is 23 blocks high, counting the bottom layer.
Portals – Part 10
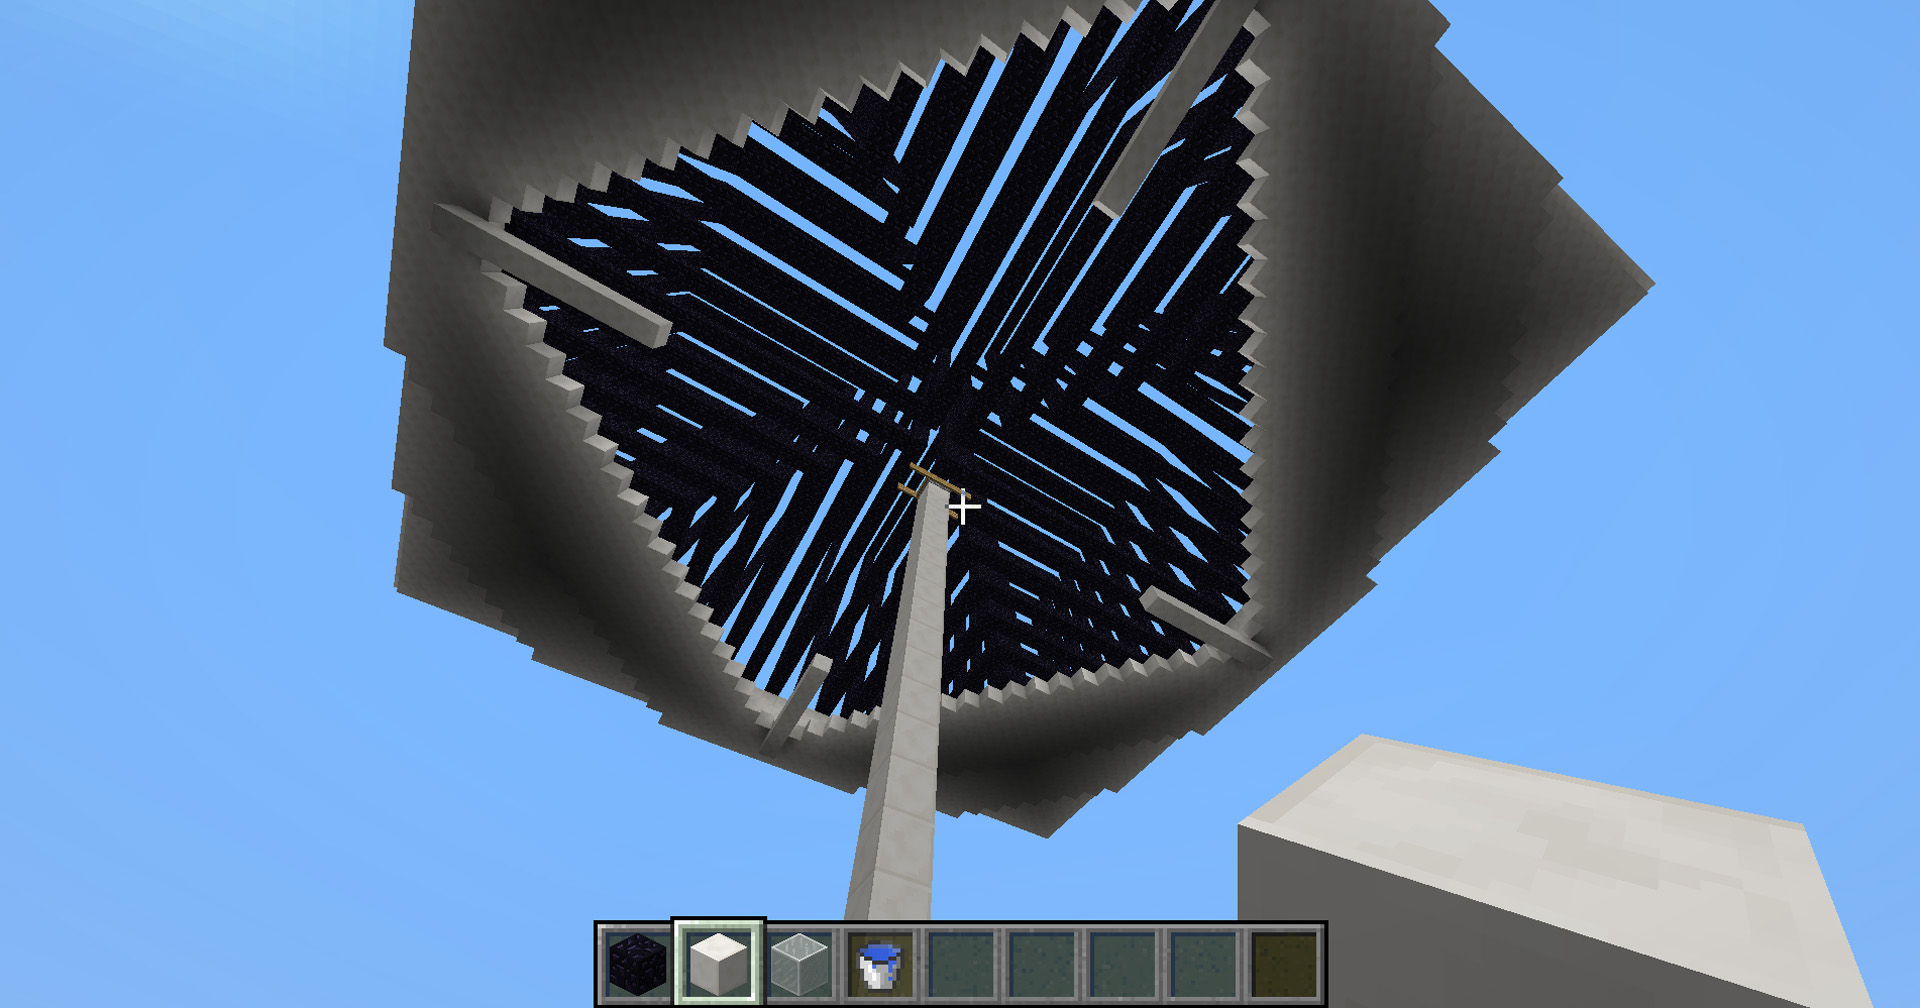
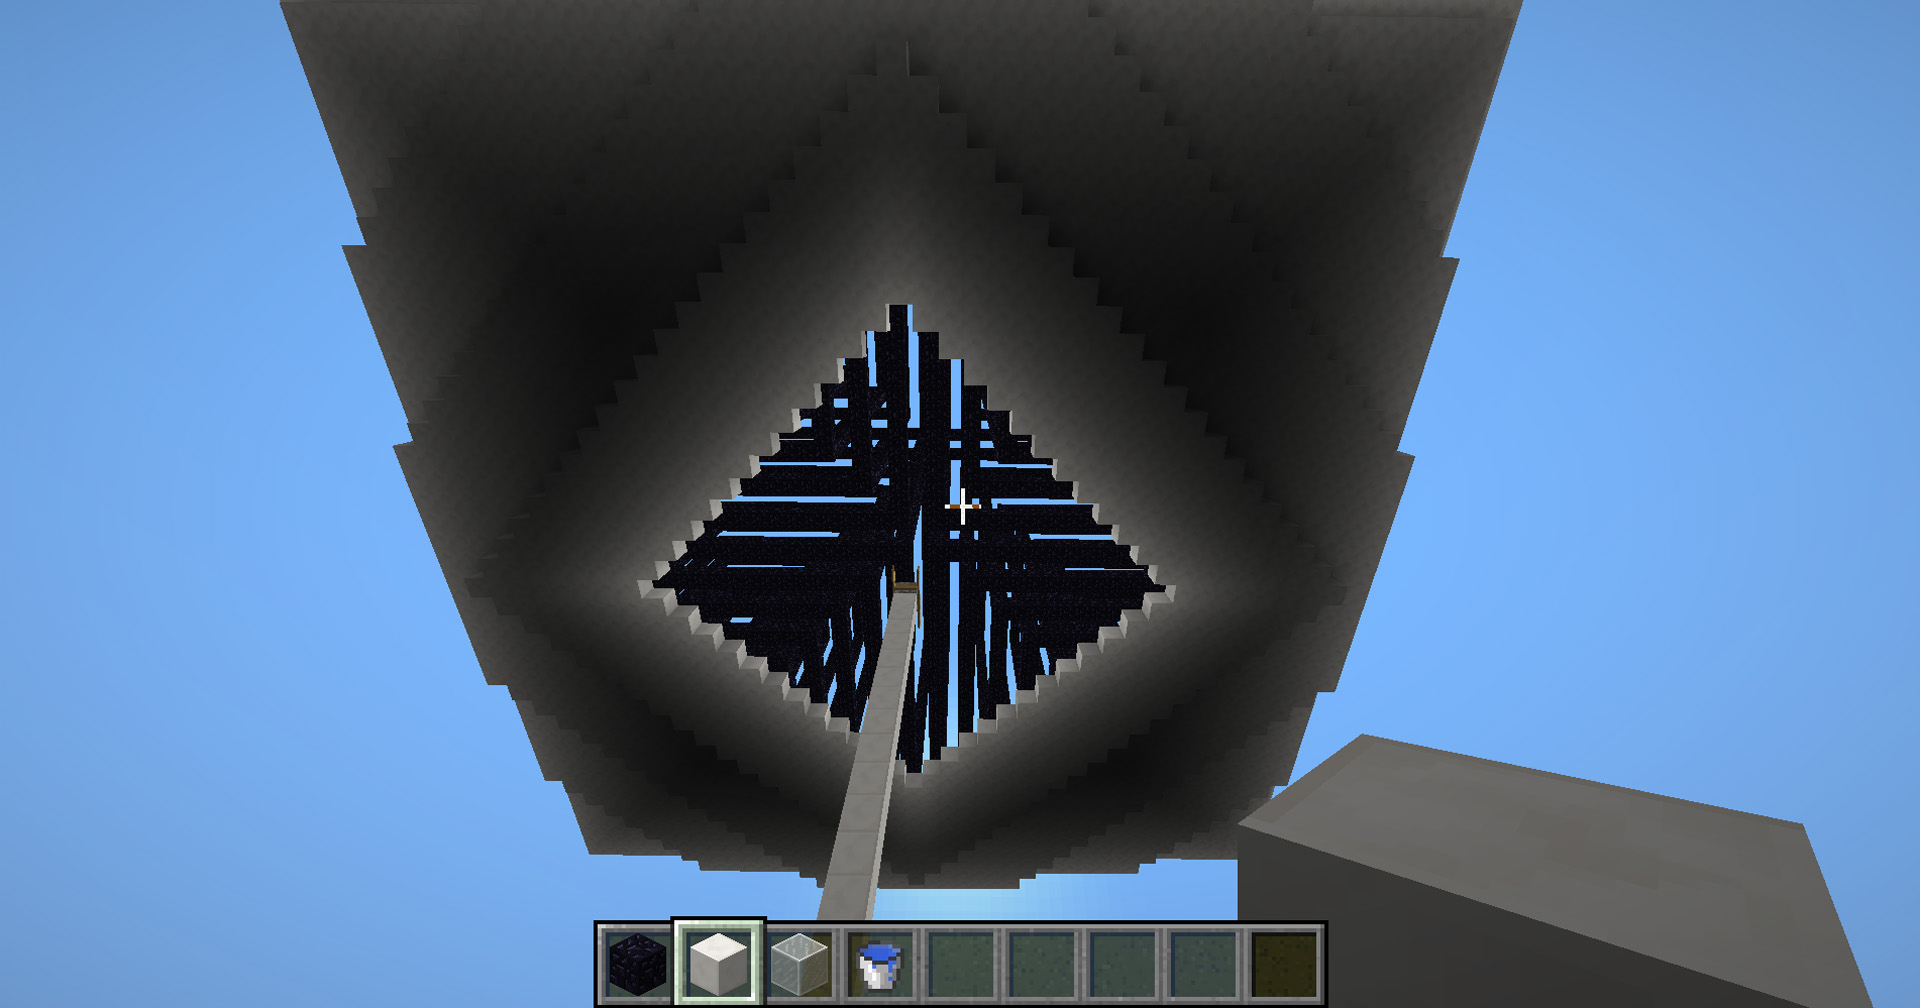
Repeat step 9 for all corners and endpoints. This step takes the longest, and in the end should look like the picture.
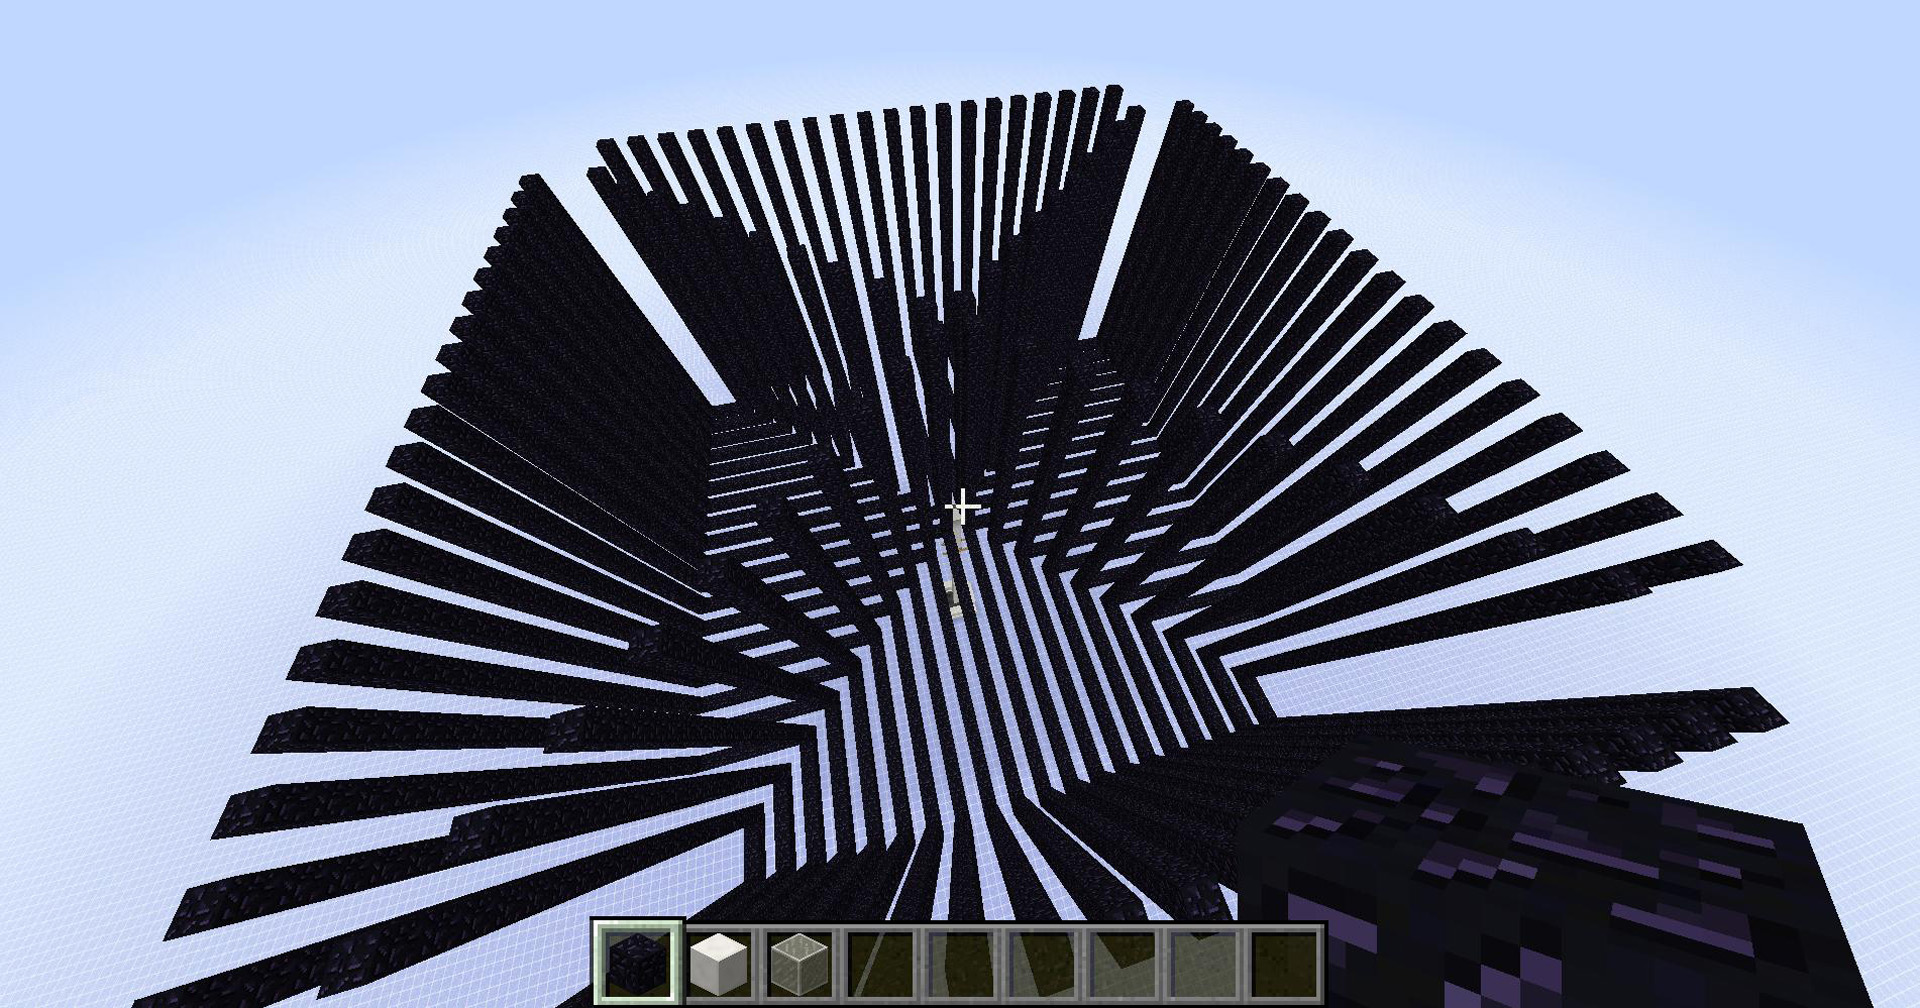
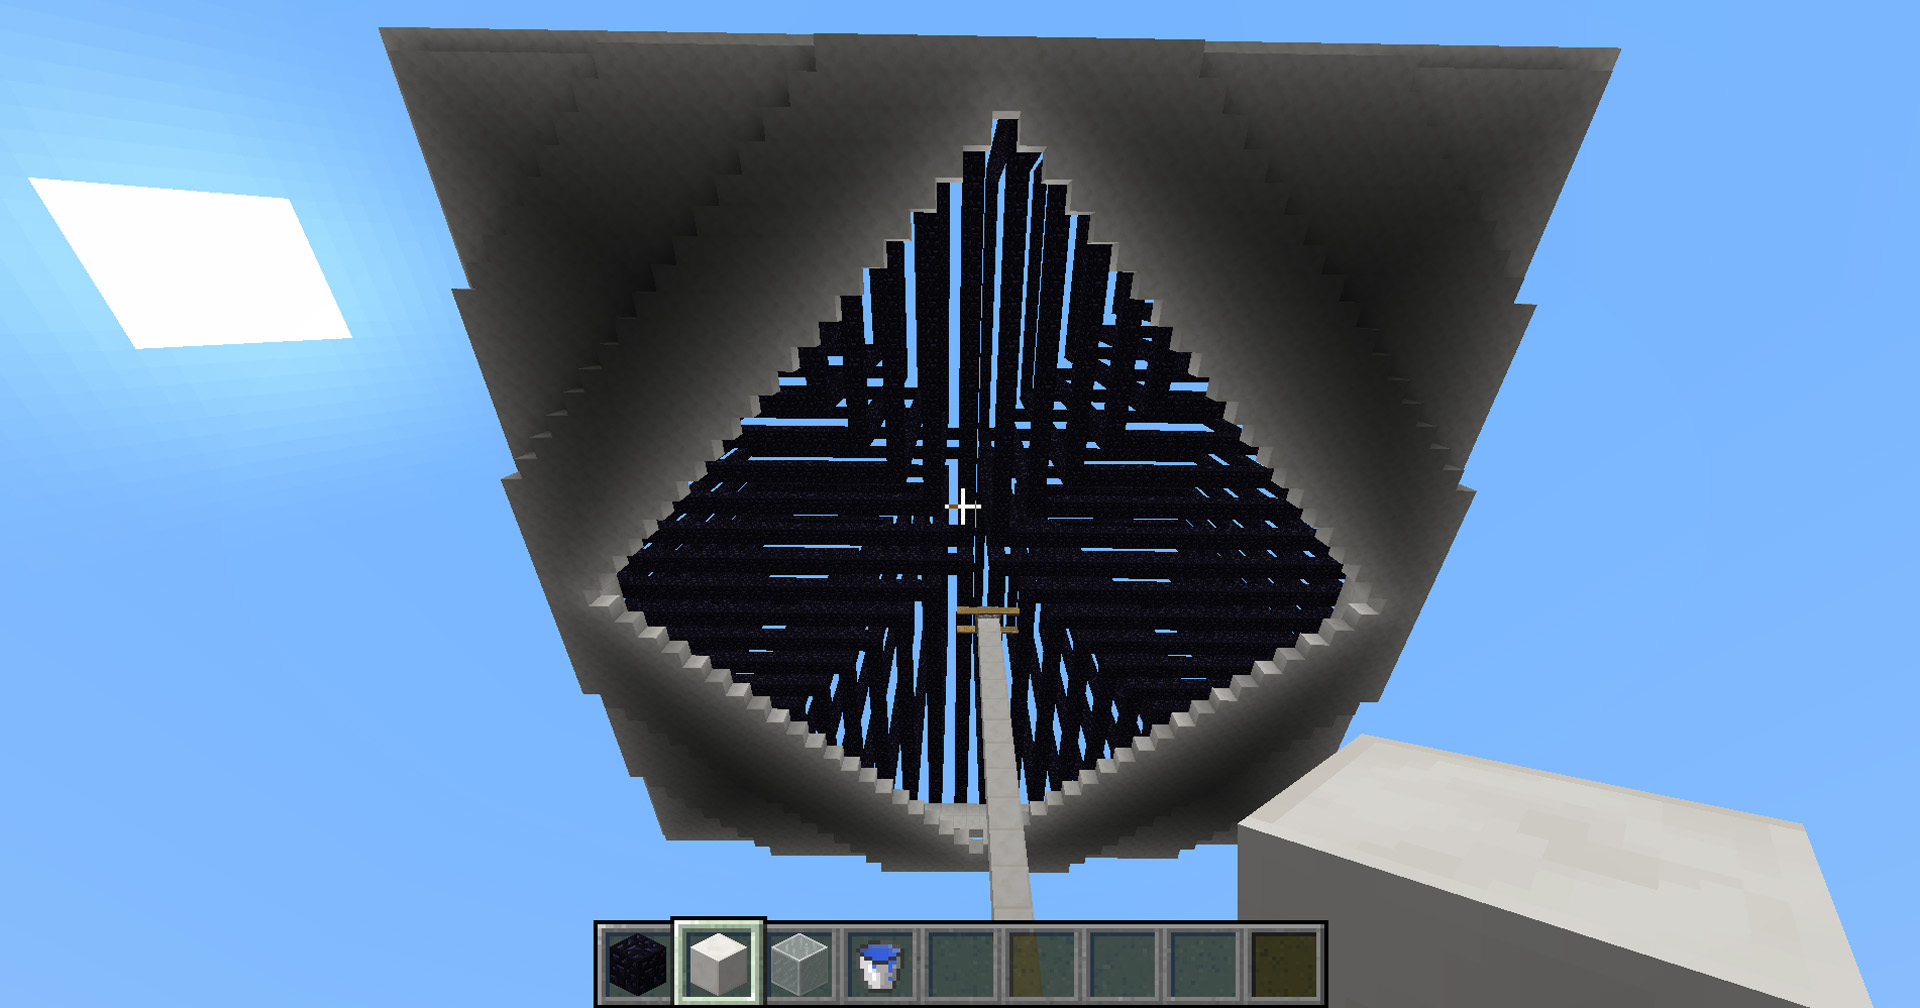
Portals – Part 11
Copy the bottom pattern to link the portal frames together. It’s important that no portal is longer than 23 blocks in any direction.
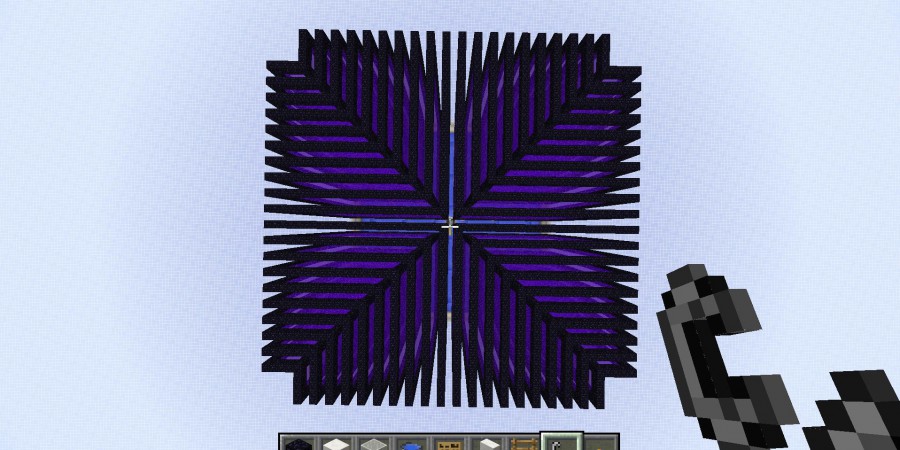
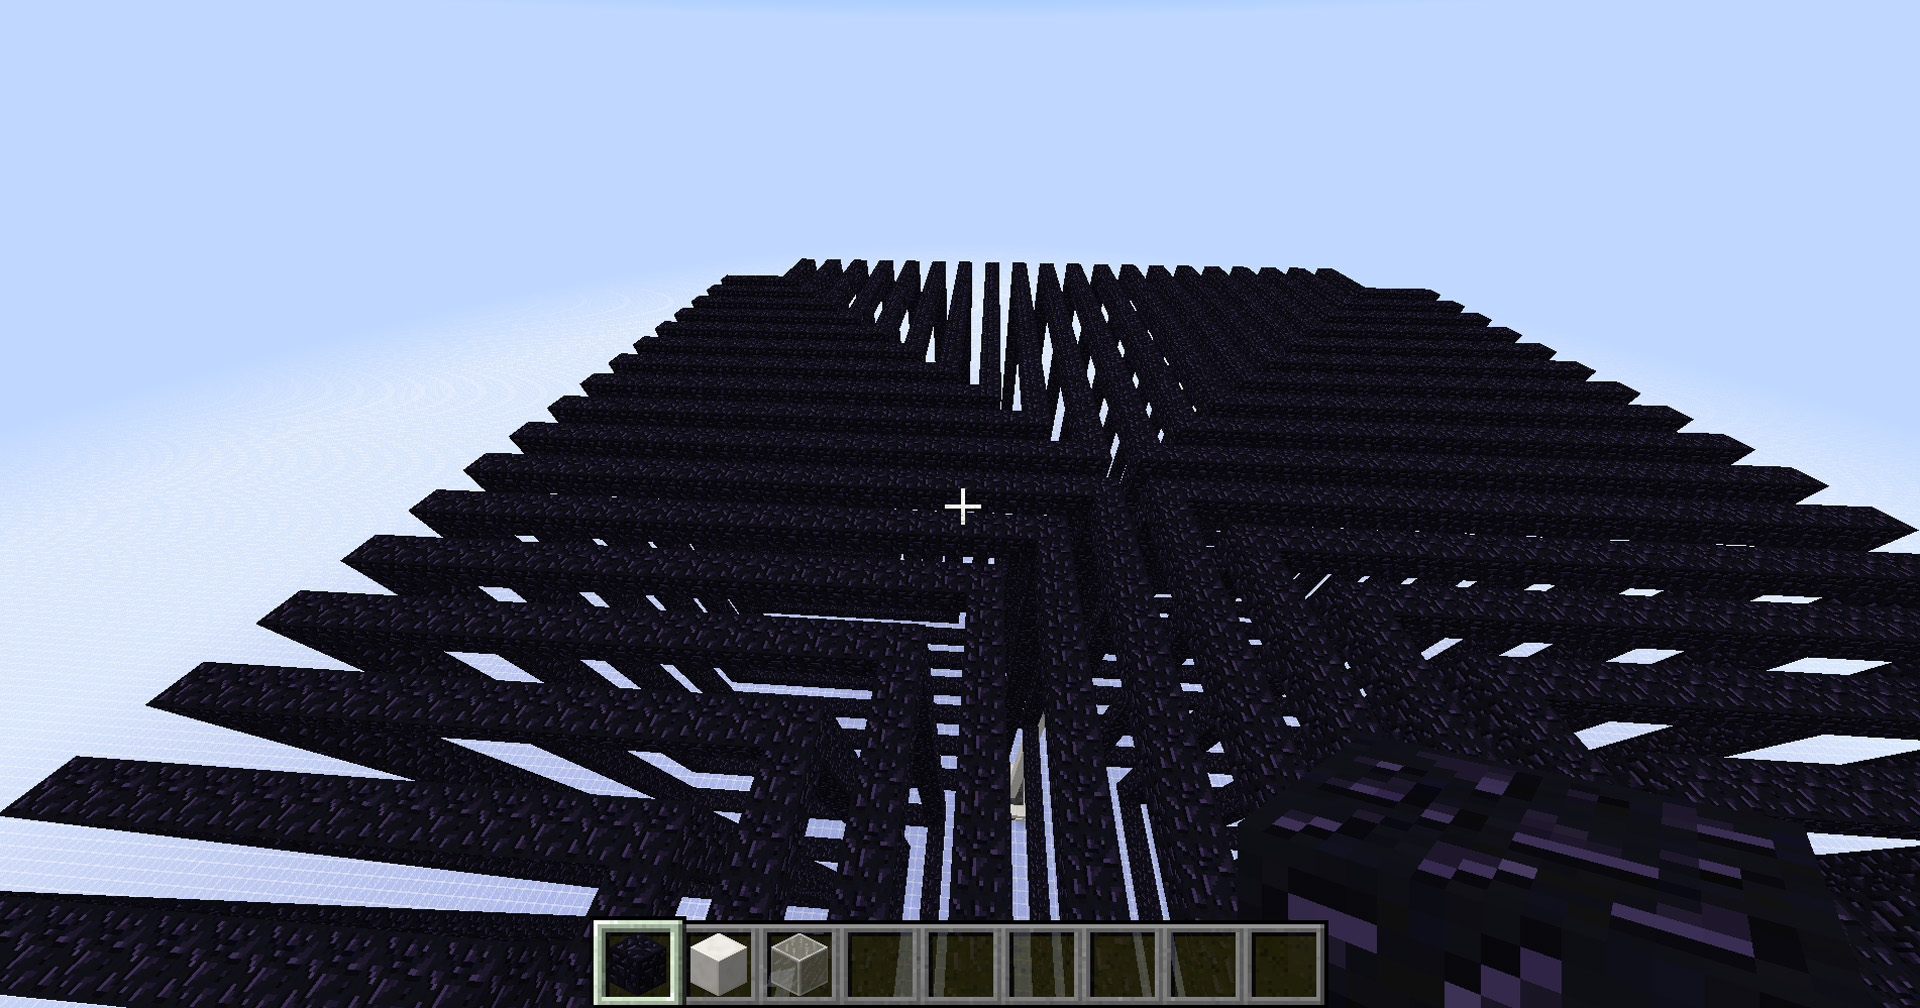
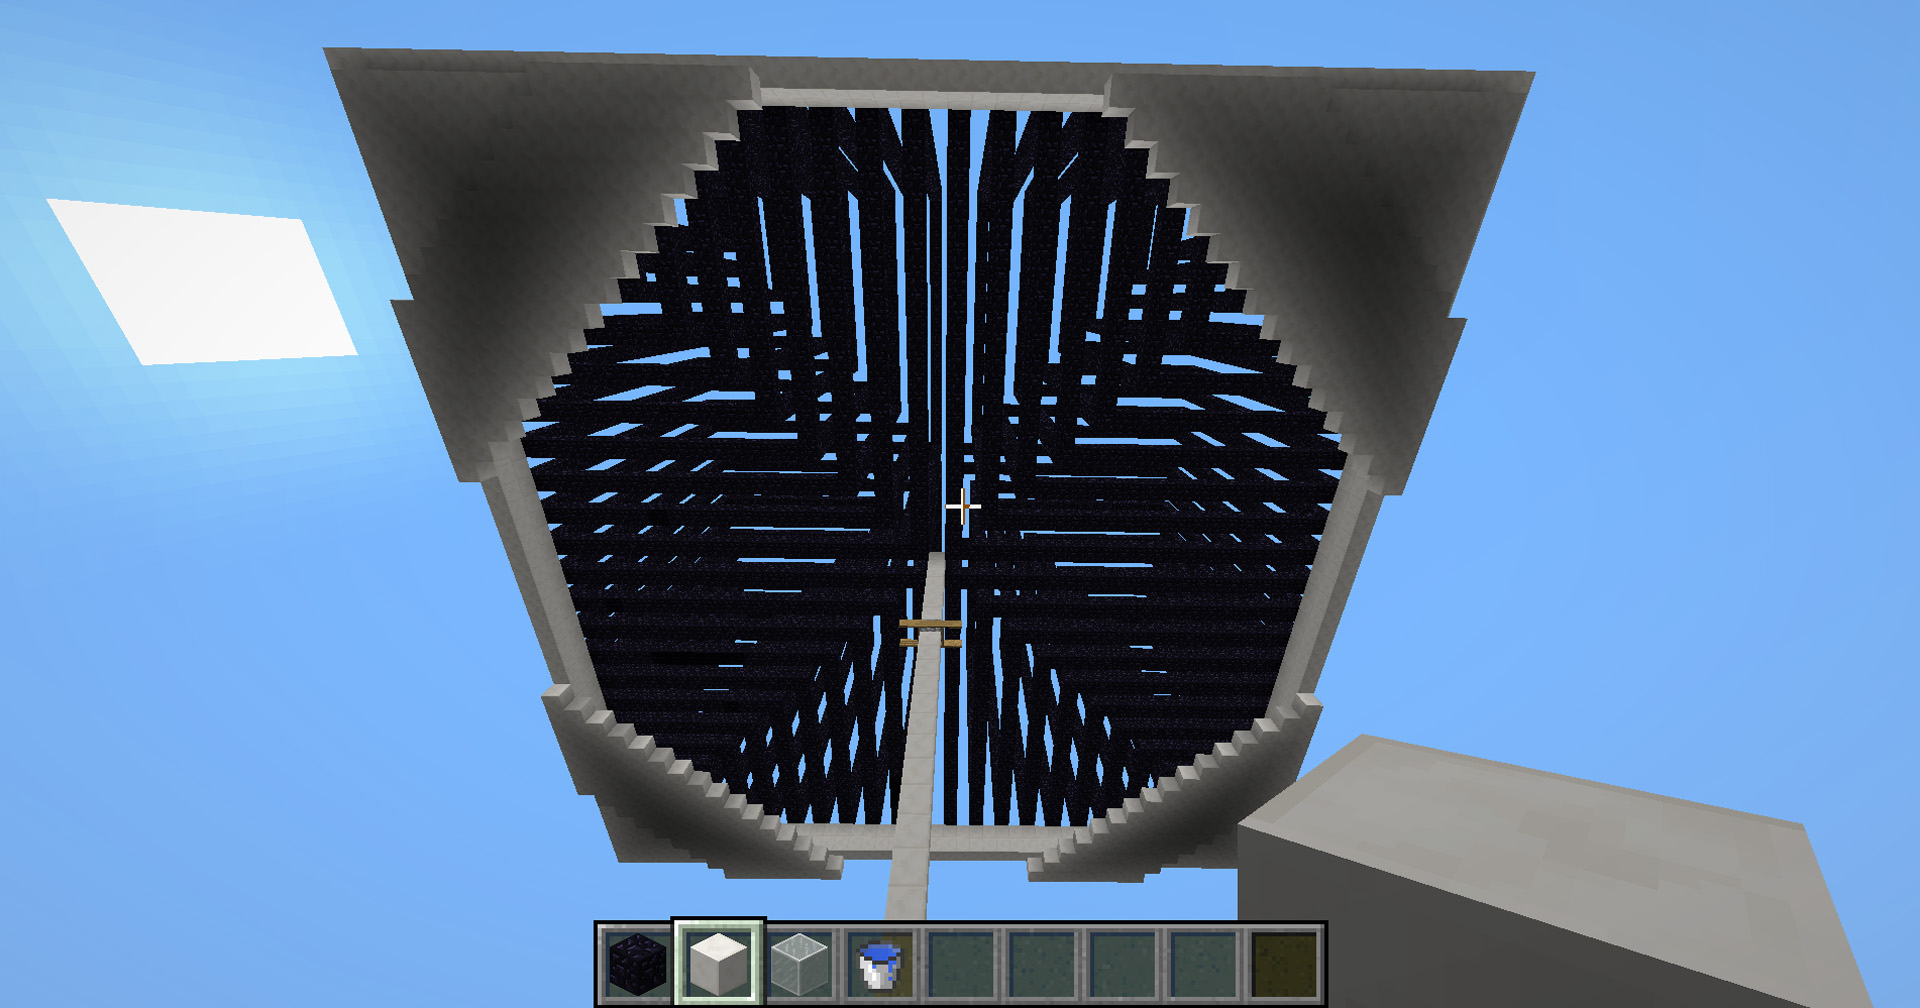
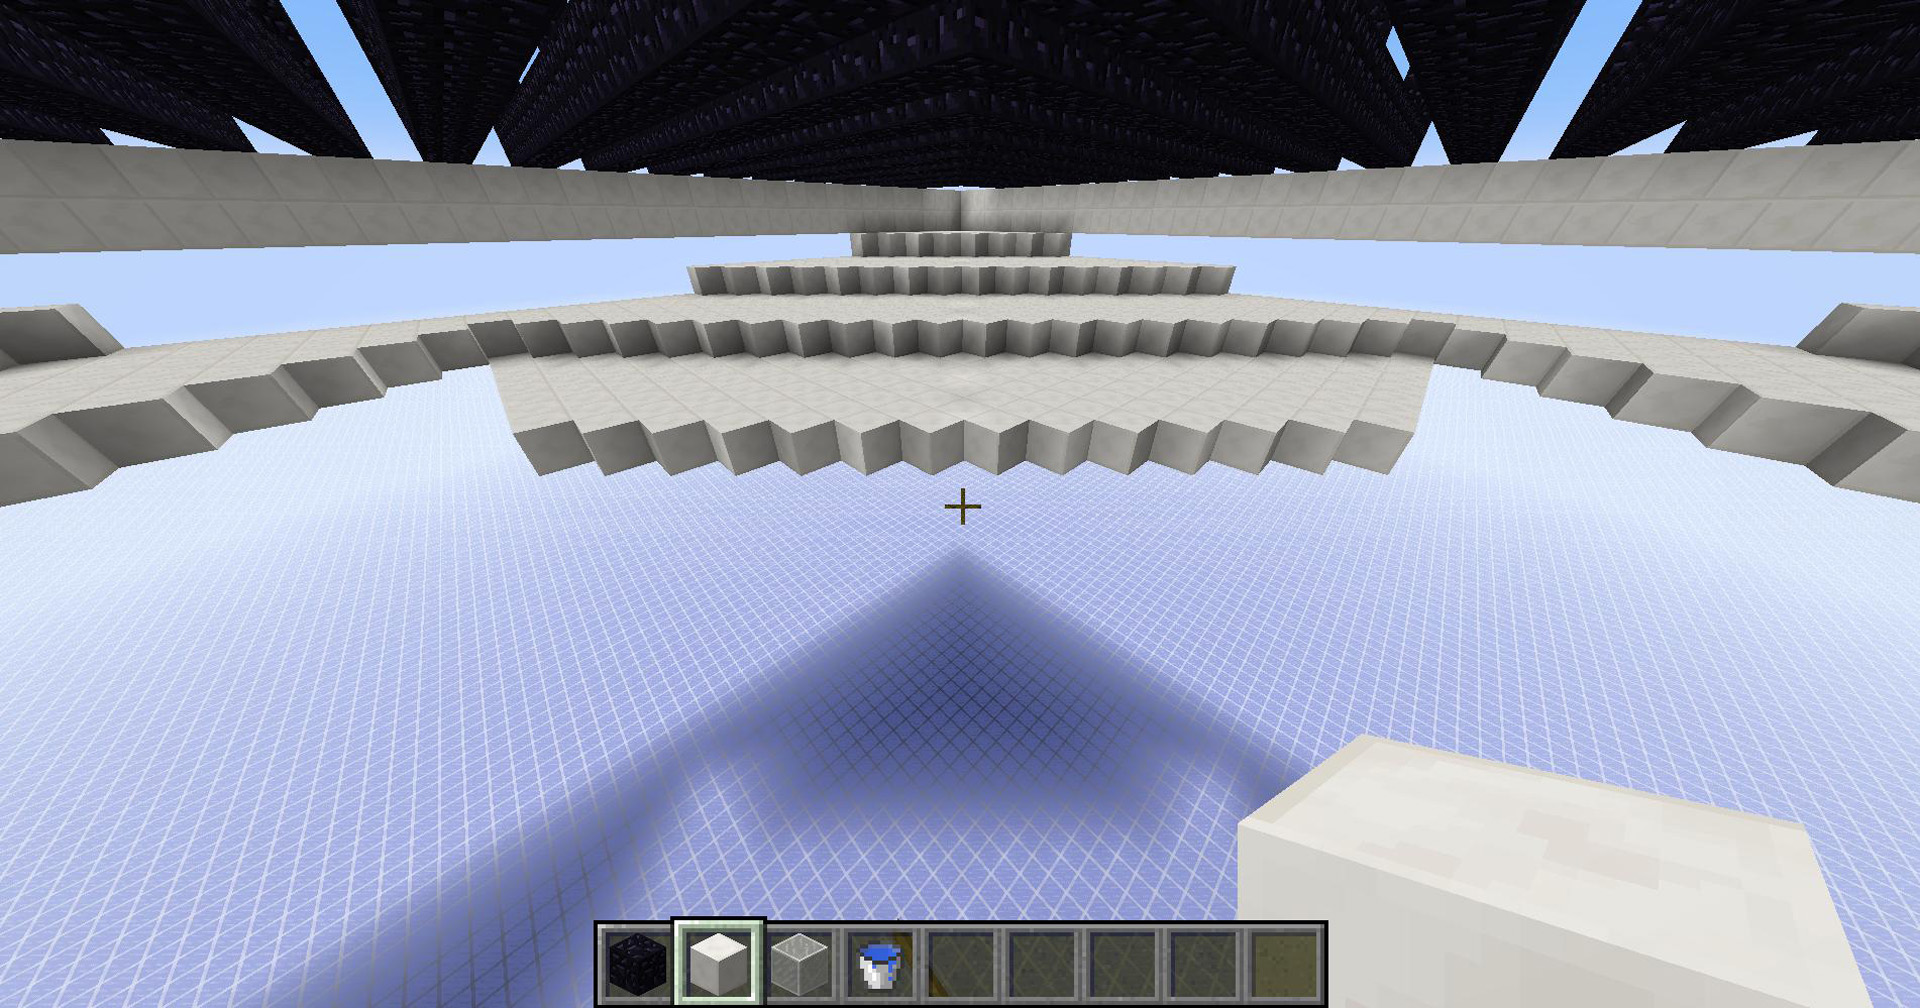
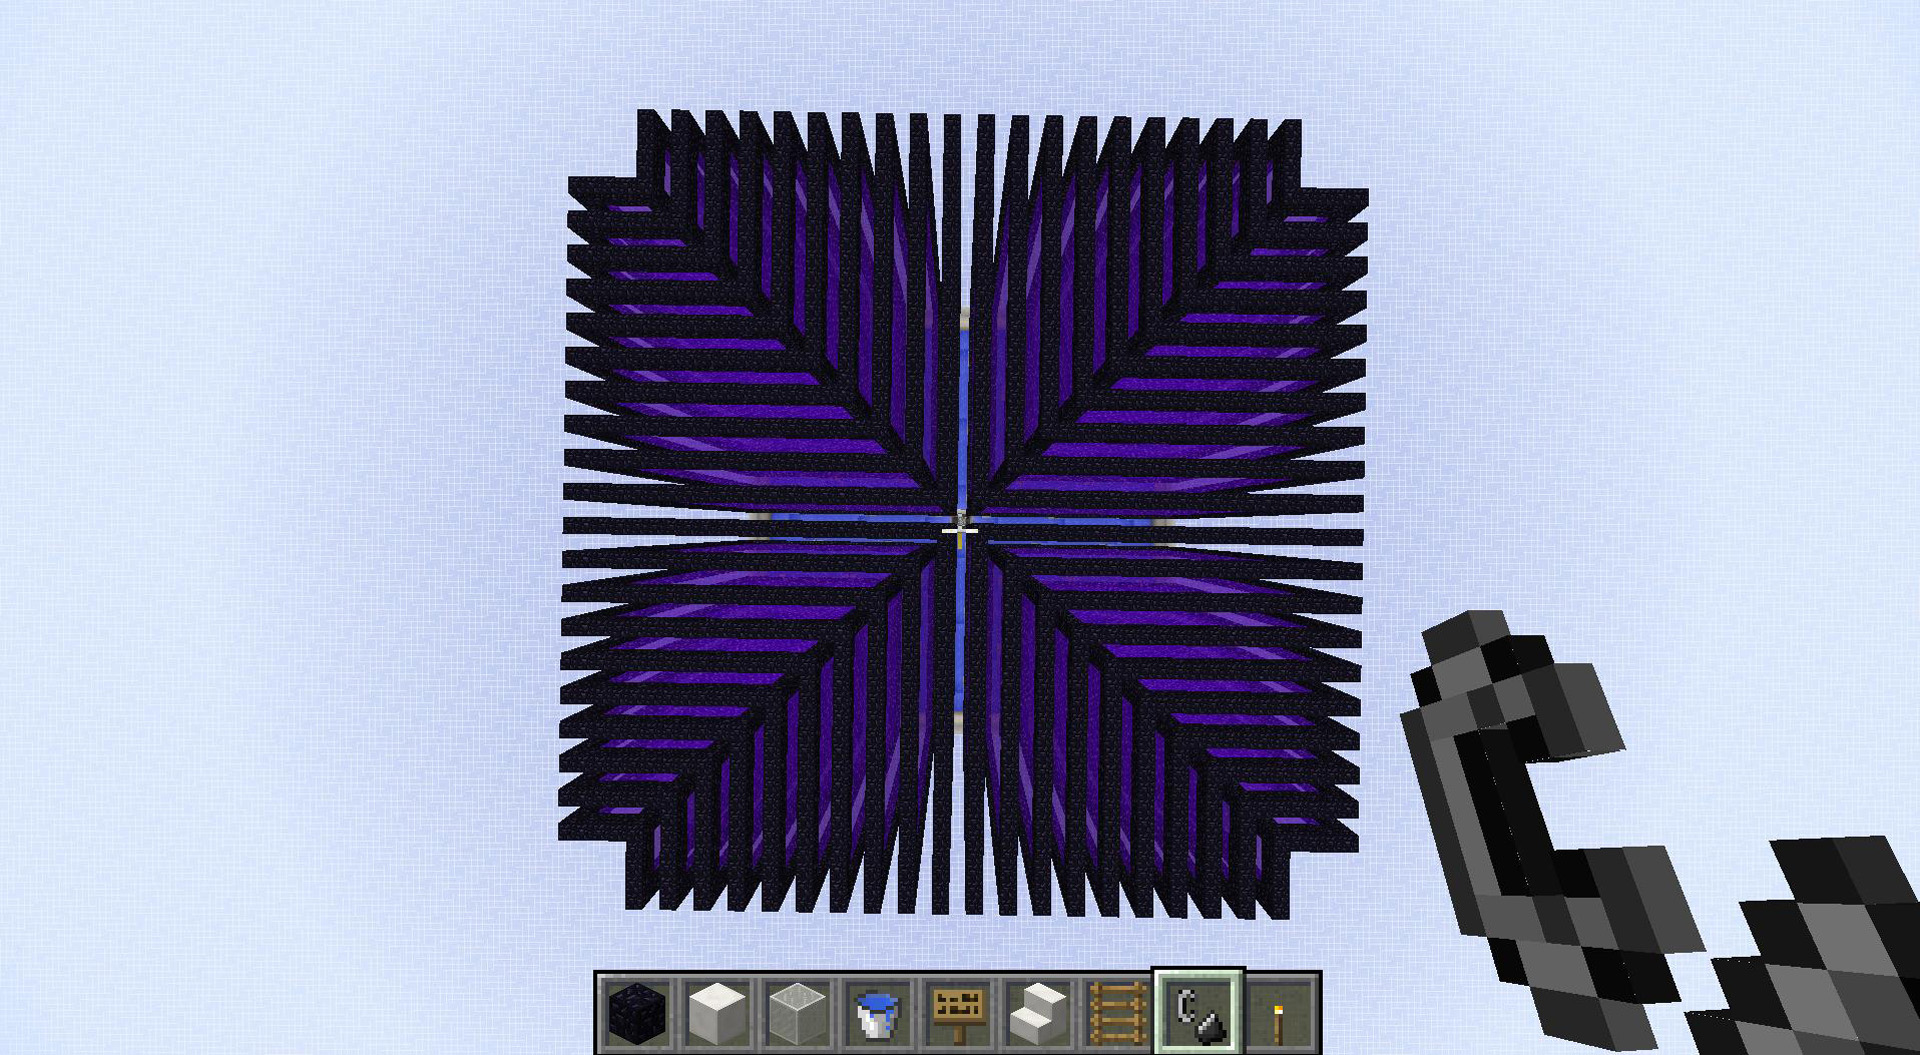
Top View
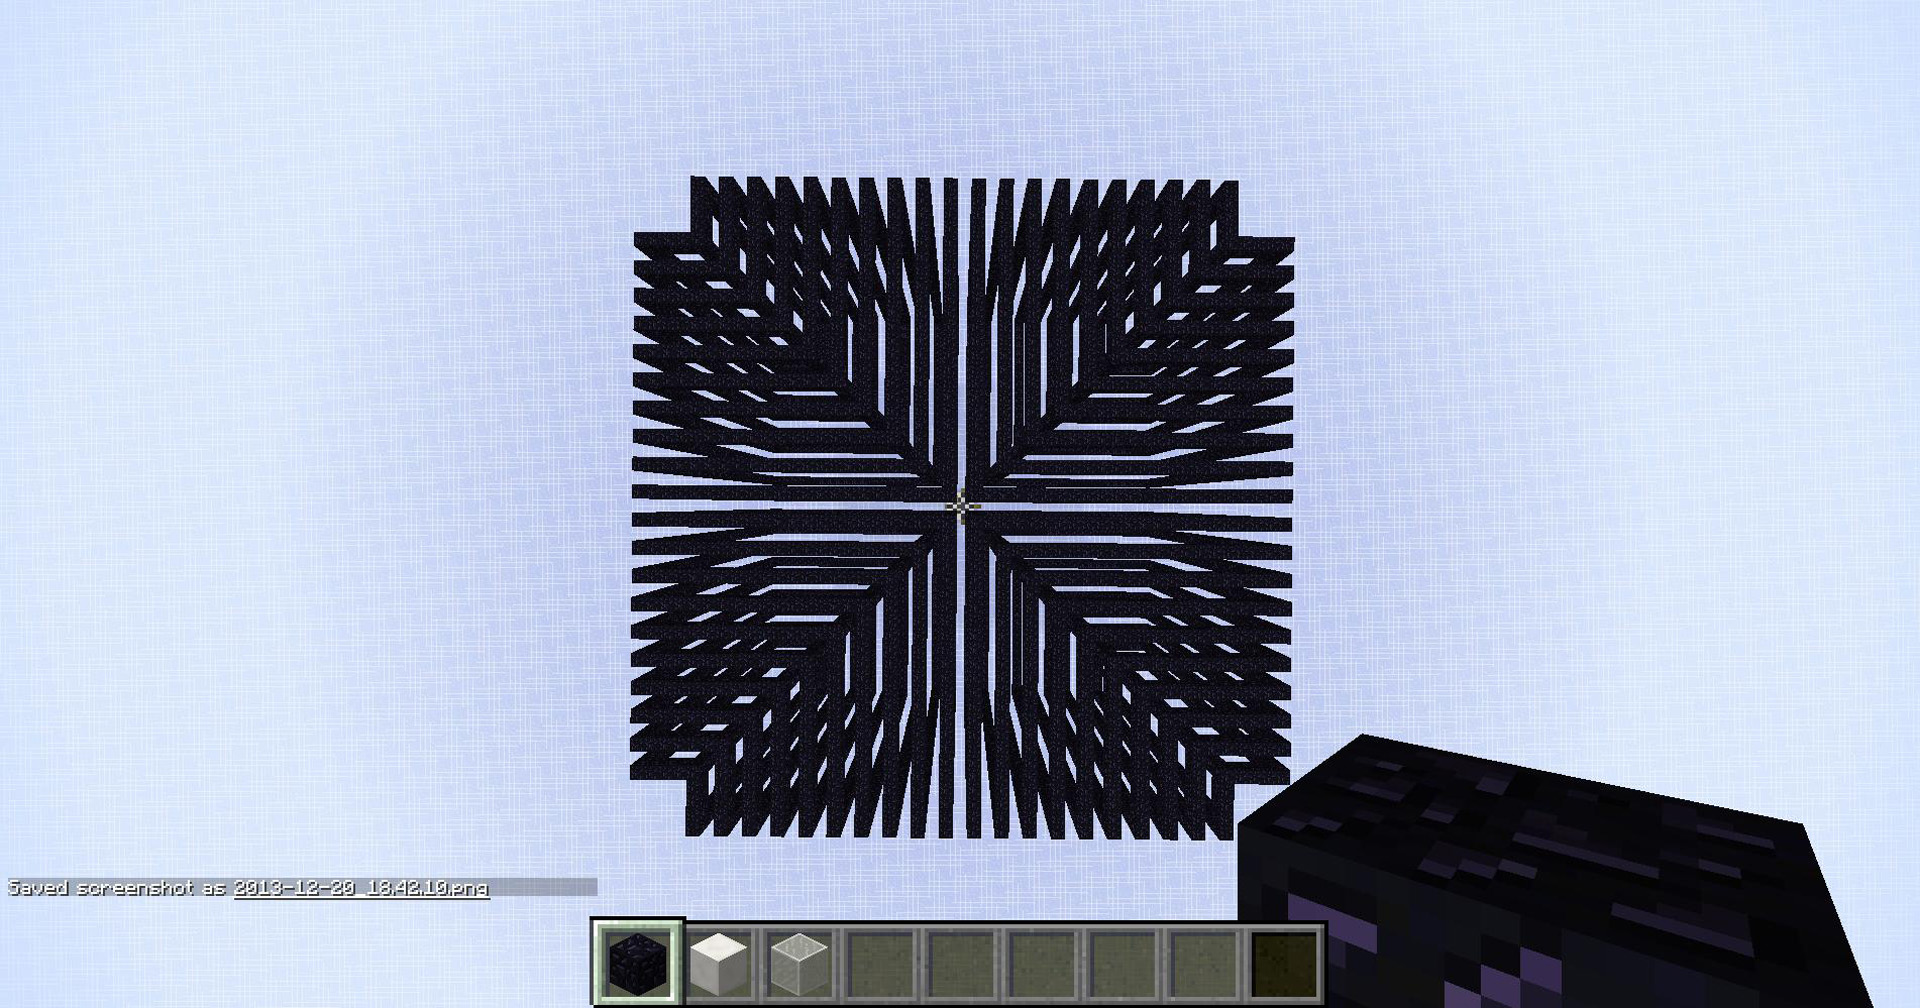
People liked this picture last time, so here it is again without the lit portals.
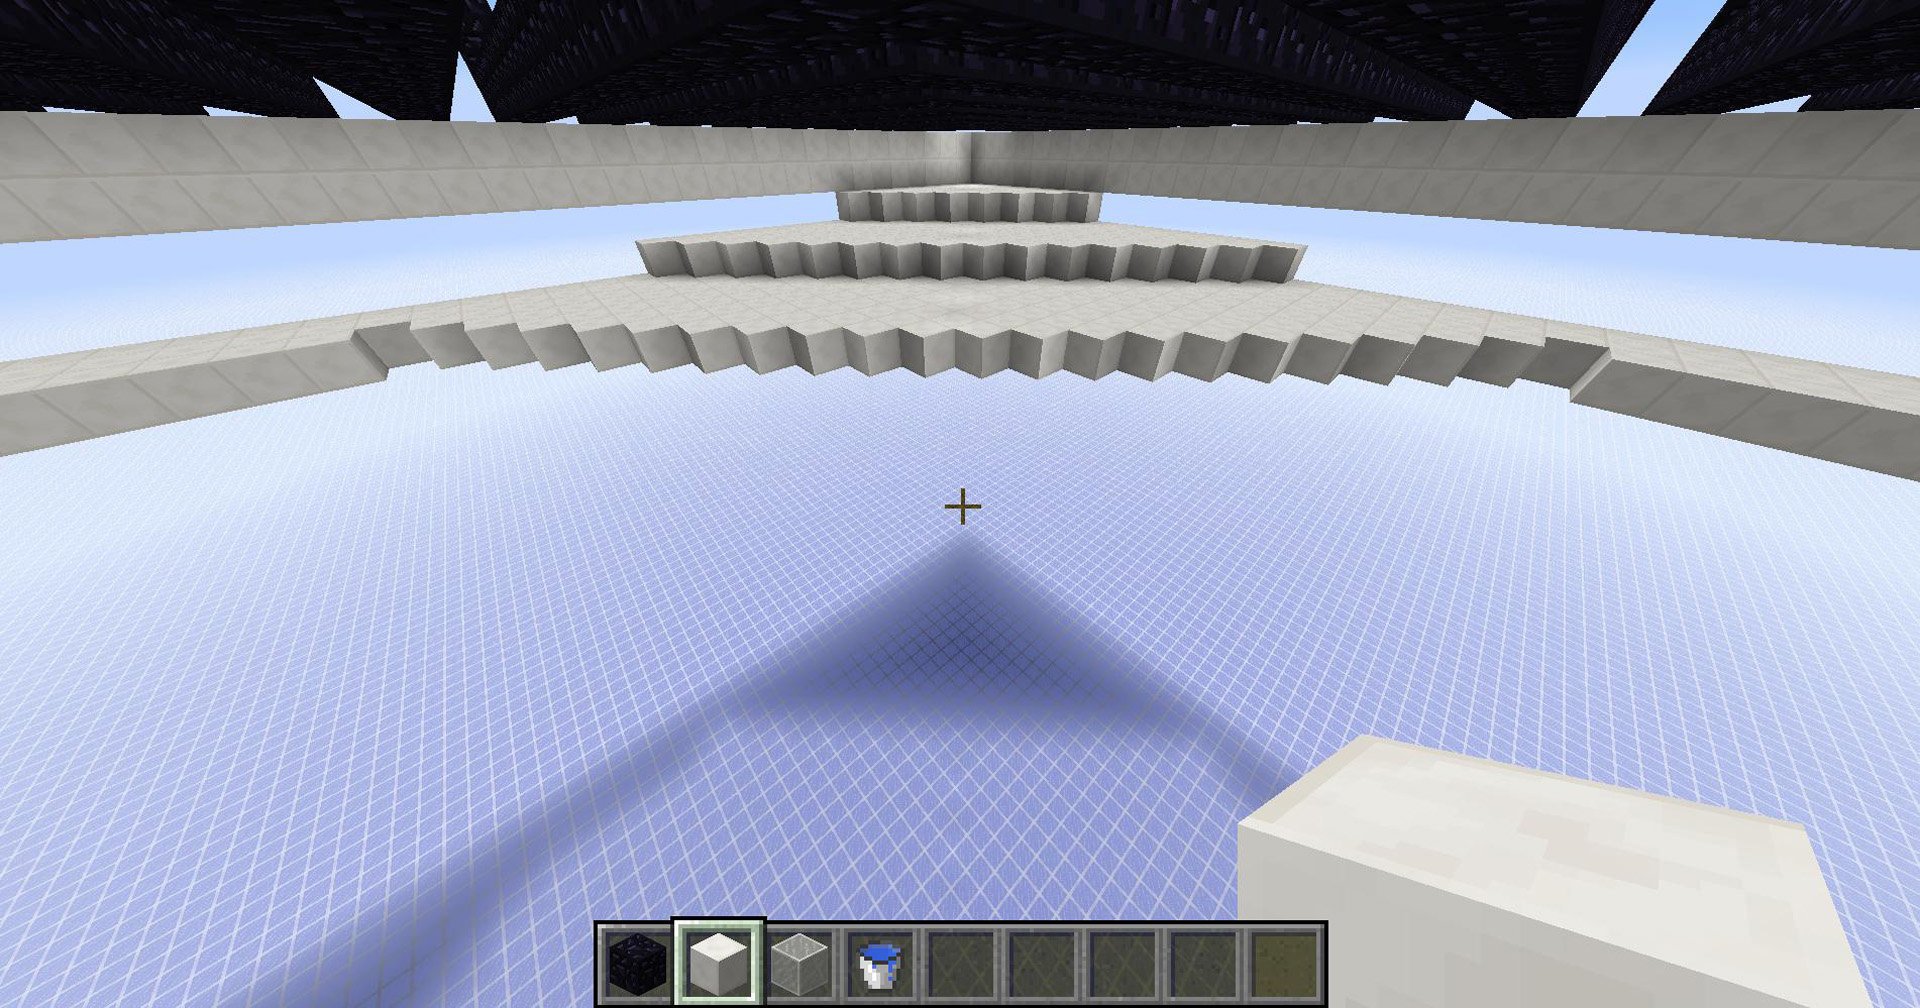
The Bowl – Part 1
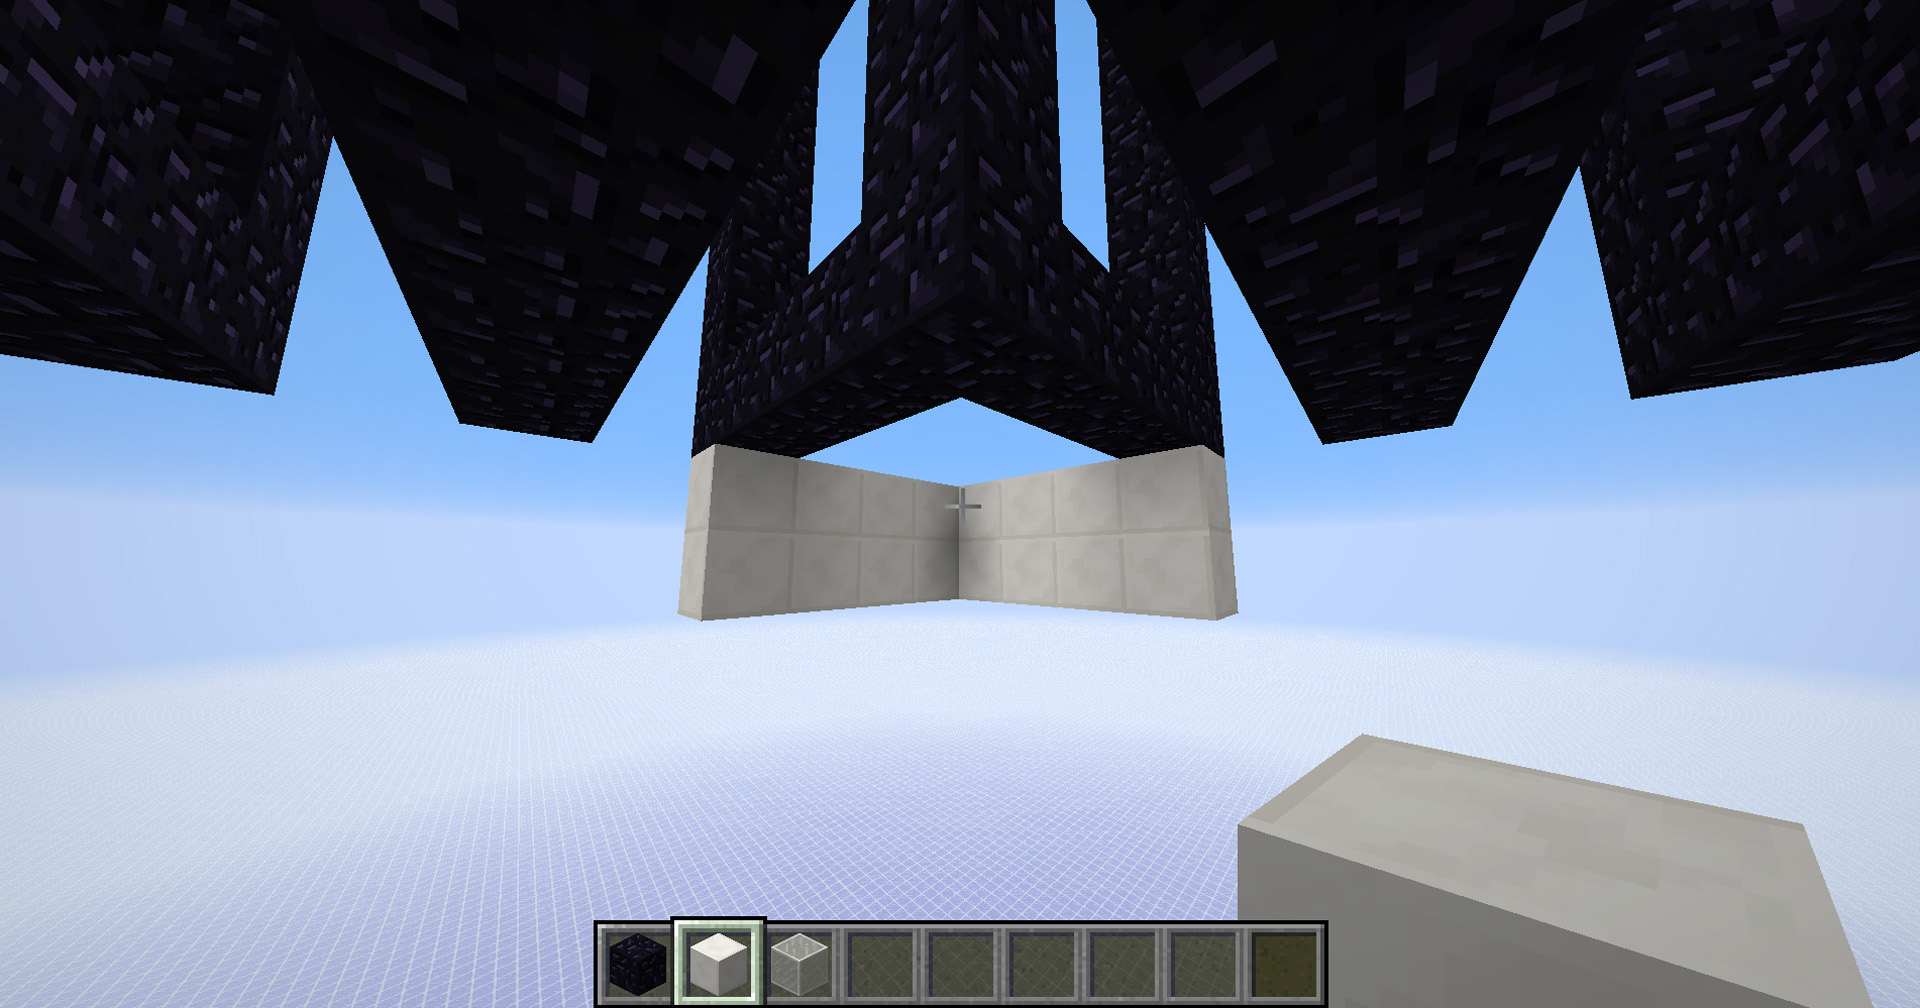
Start at the smallest portal frame and place two layers of blocks like this.
The Bowl – Part 2
Extend these two layers all the way around the portals.
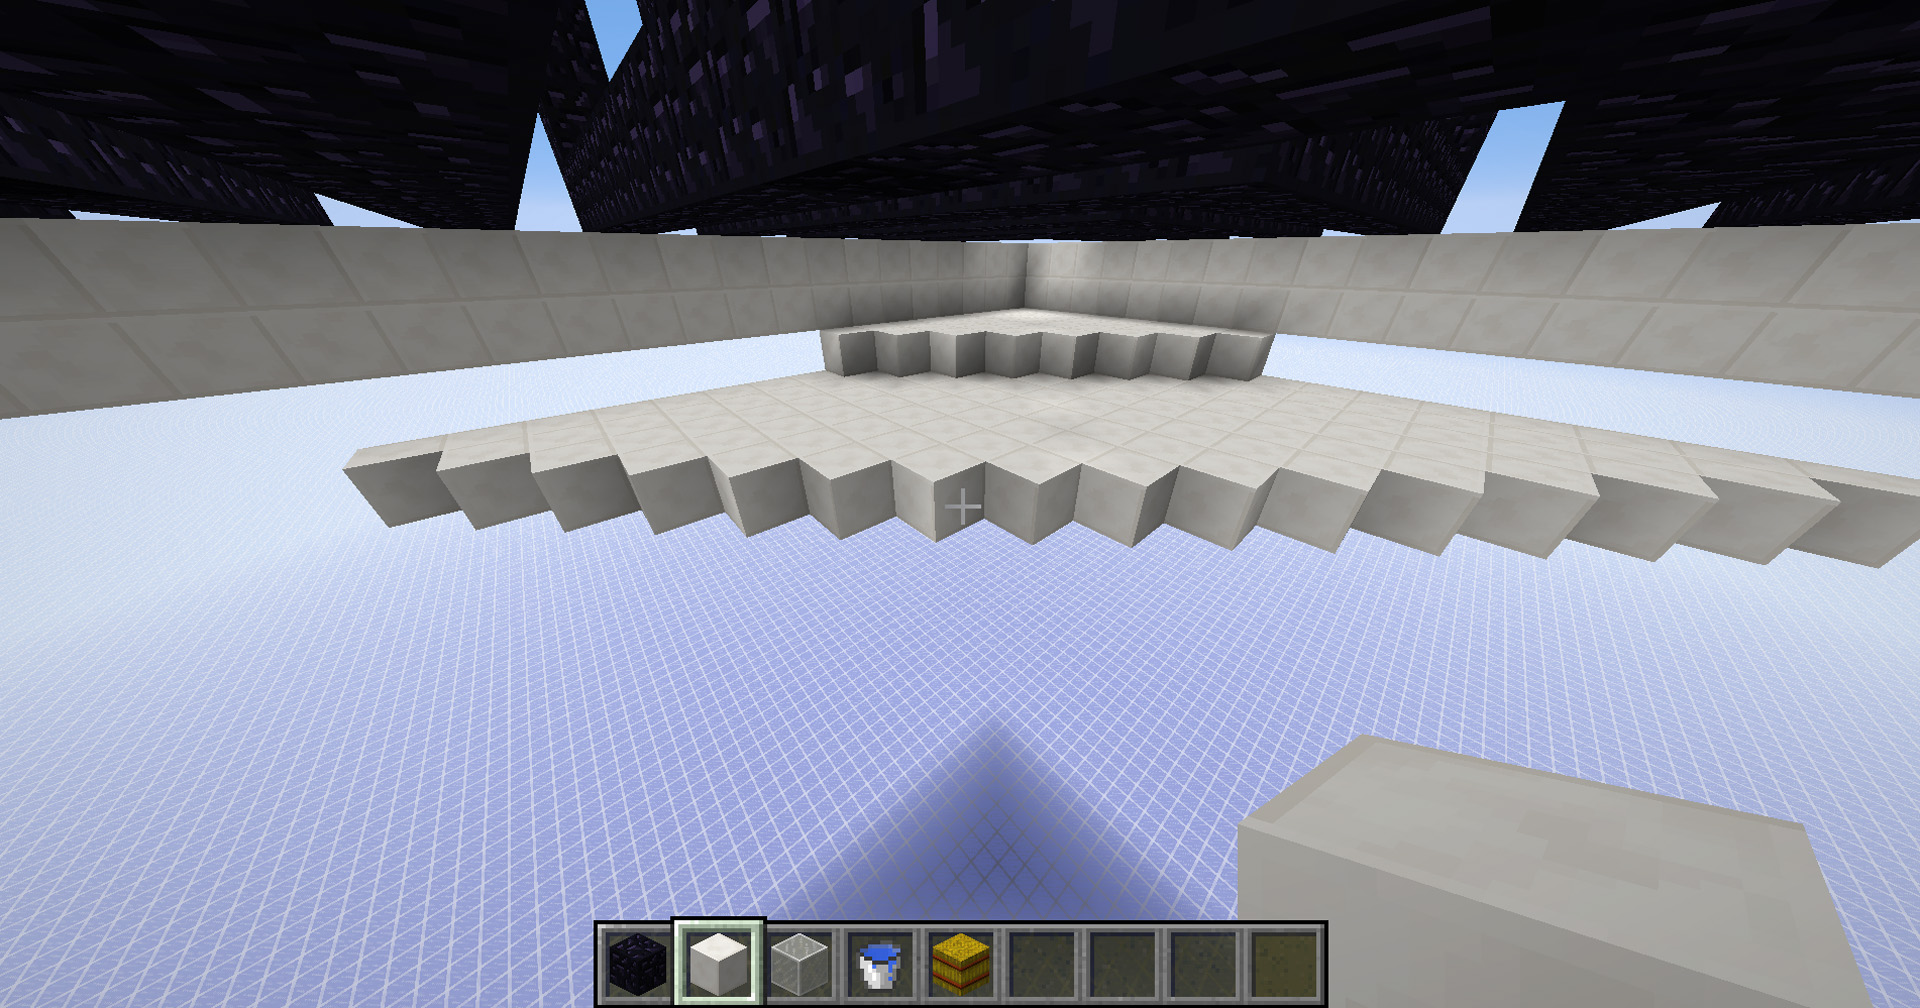
The Bowl – Part 3
Place a right triangle in the corner with legs with a length of 8.
The Bowl – Part 3 – Closer Look
The straight parts of this triangle should be 8 blocks long, then the legs should be connected together diagonally.
The Bowl – Part 4
Extend this triangle down one layer by another 8 blocks.
The Bowl – Part 4 – Closer Look
Again, make sure the straight lengths are 8 blocks long. Then, connect the legs diagonally.
The Bowl – Part 5
Repeat Steps 3 and 4 for all corners of the bowl. This is what it should look like from the bottom.
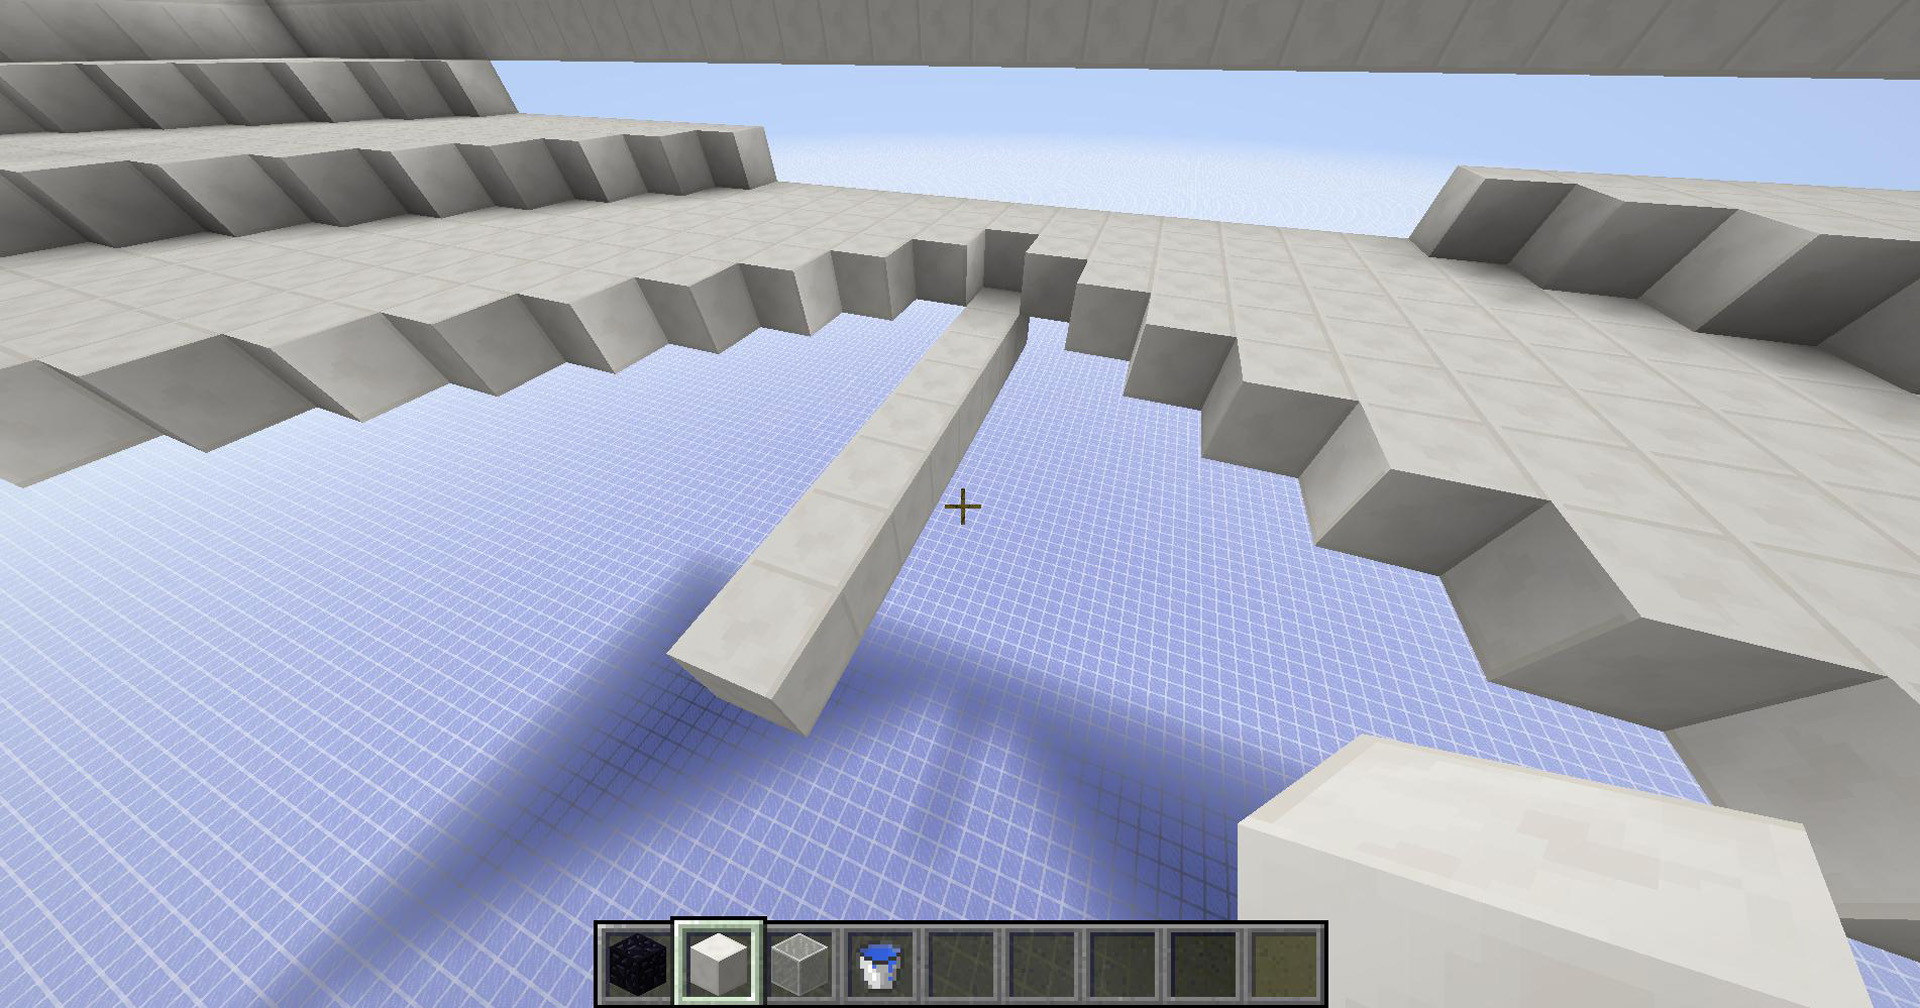
The Tube – Part 5
No, this isn’t misplaced. Delete the 7 blocks on top of the block with signs on it.
The Bowl – Part 6
Between the larger triangles that were placed in the corner, place these layers of blocks one layer beneath them.
The Bowl – Part 7
Then, connect the triangle diagonally as usual, making sure to take into account where the notches (heh) in Part 6 are.
The Bowl – Part 8
Repeat on all sides, at the end this is what it should look like at the bottom.
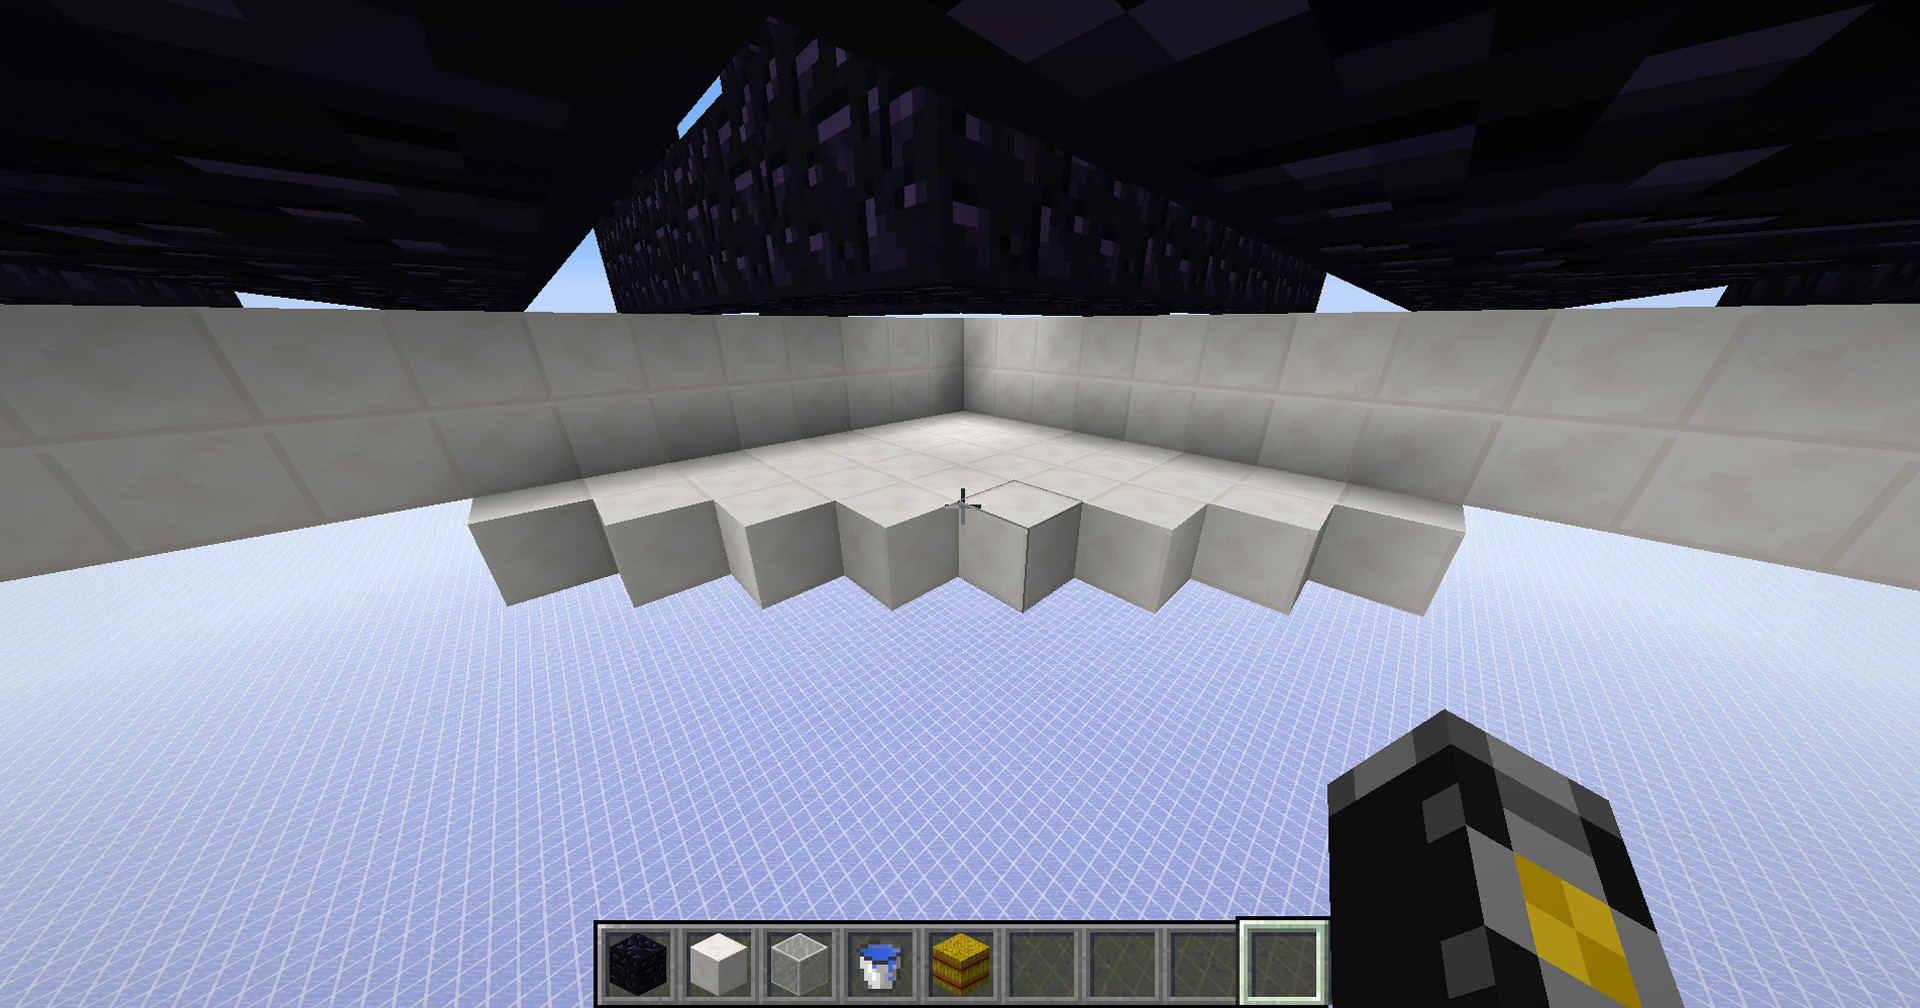
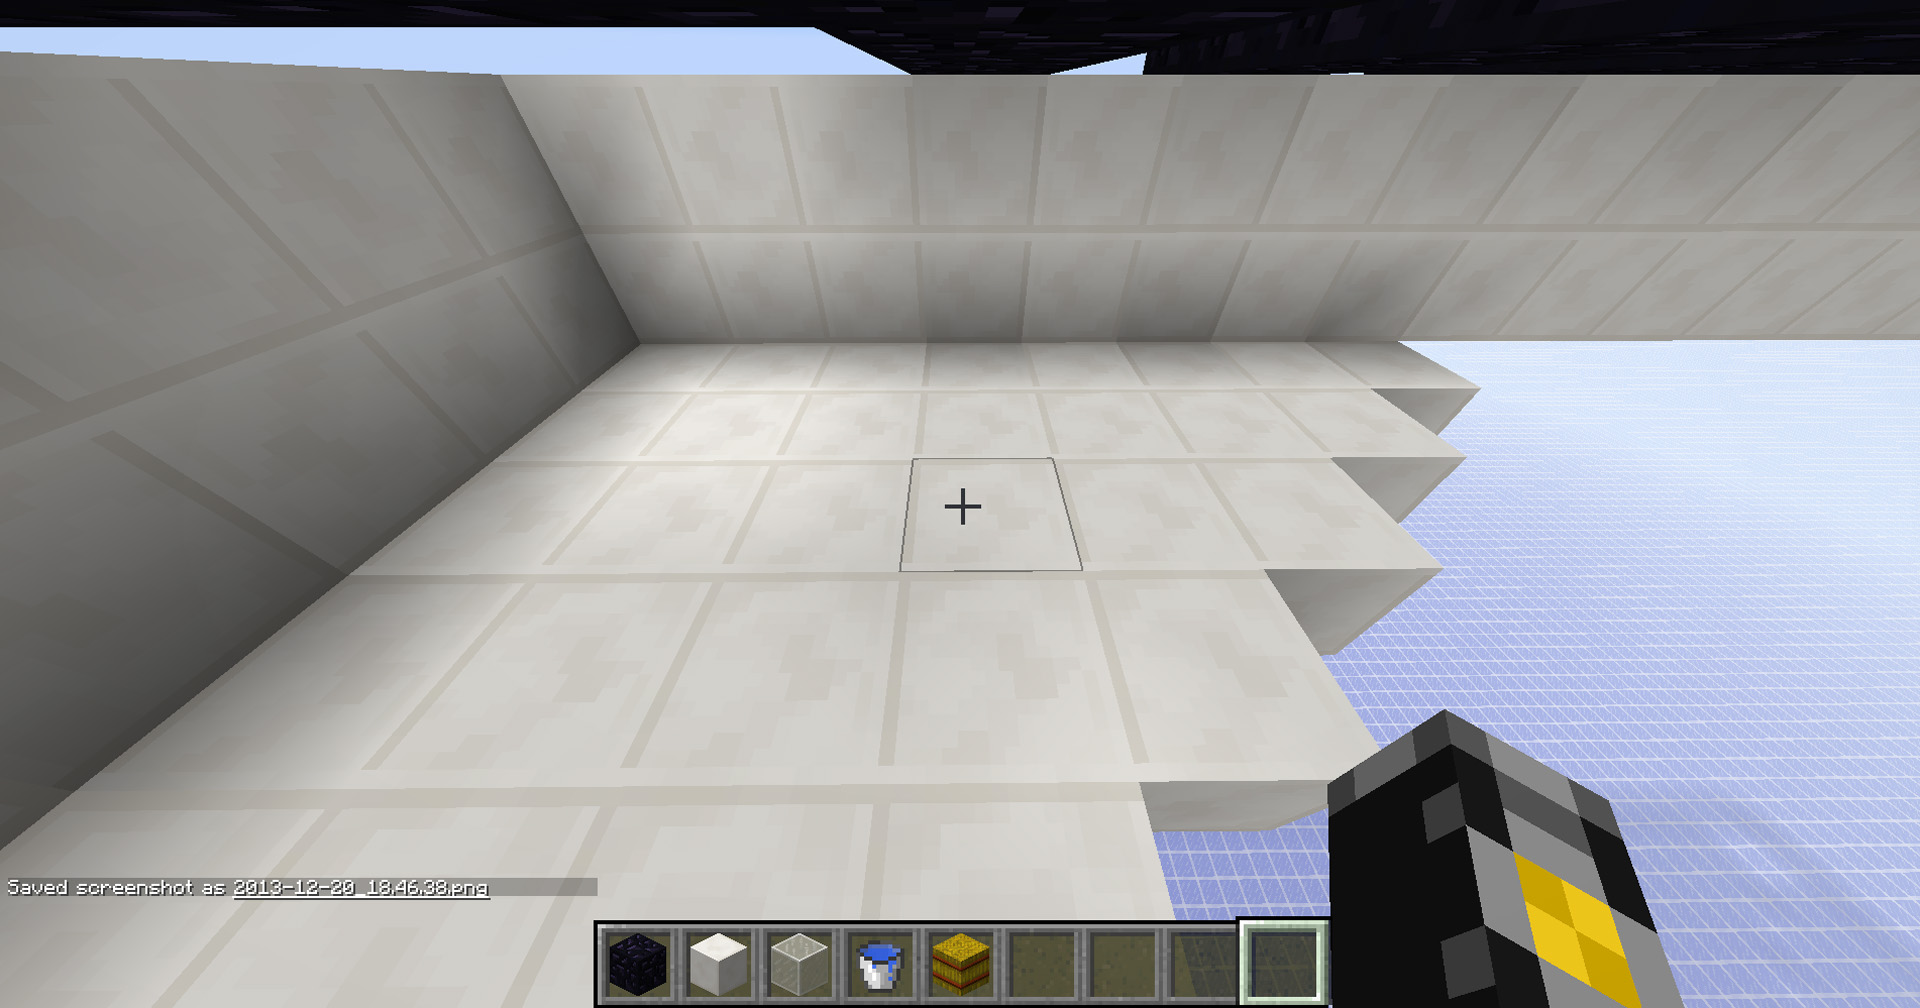
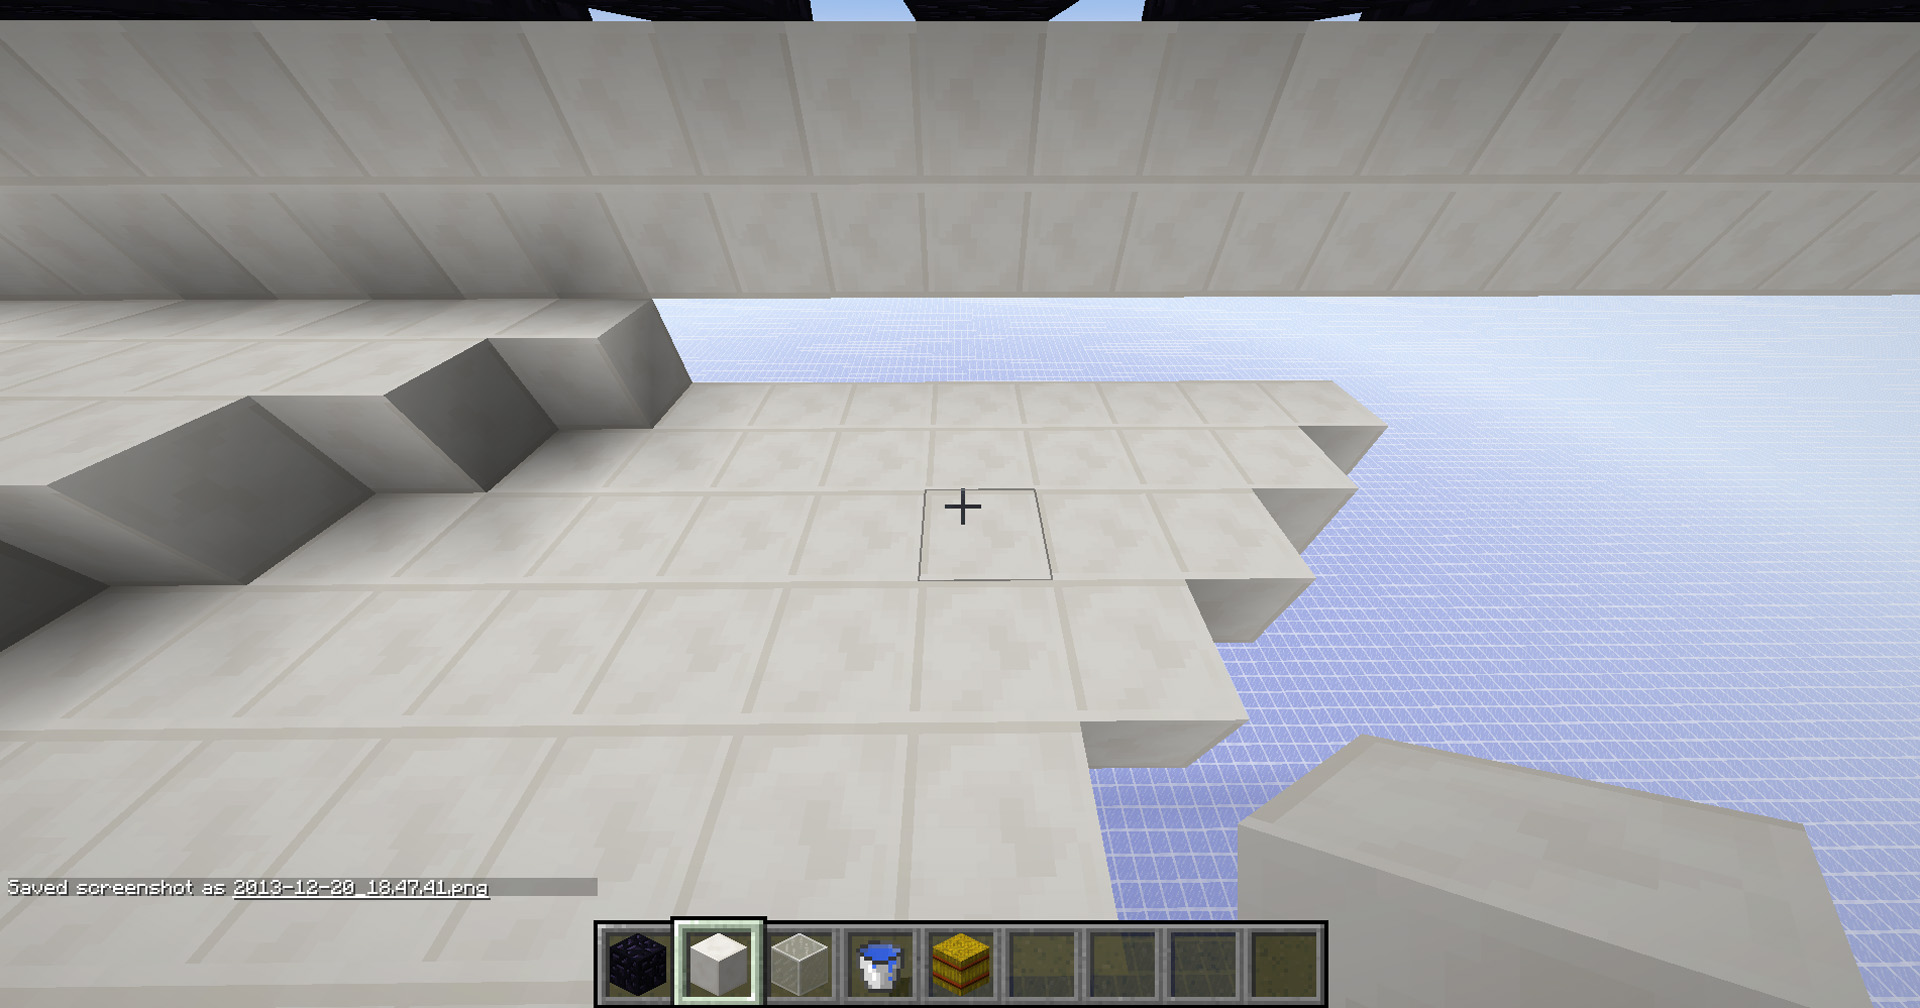
The Bowl – Part 9
One level beneath one of the corners, go inwards exactly 8 blocks.
The Bowl – Part 10
Repeat this for all four corners. This is what it should look like from the bottom.
The Bowl – Part 11
Connect the blocks from Part 10 diagonally and fill in the gaps between that and the previous hole.
The Bowl – Part 12
Repeat for all four corners. This is what it should look like from the bottom.
The Bowl – Part 13
Repeat Steps 9-12 one more time. This is what it should look like at the bottom.
The Bowl – Part 14

Fill in the last hole one block beneath the rest of it, and make sure to leave one block in every direction around the central pole like in the picture.
The Bowl – Part 15
Fill in all the gaps around the side of the bowl.
The Bowl – Part 16
Place signs on every other corner block, and make sure that the empty blocks bordering the walls and the triangles do not have signs. The middlemost corner also should not have signs.
The Bowl – Part 17
Repeat for the next two levels downwards.
The Bowl – Part 18

Repeat steps 16 and 17 so that the whole area is covered with signs in the correct pattern.
The Bowl – Part 19
The middle part might be a little confusing due to its small size, but follow the picture and you should be fine.
The Bowl – Part 20
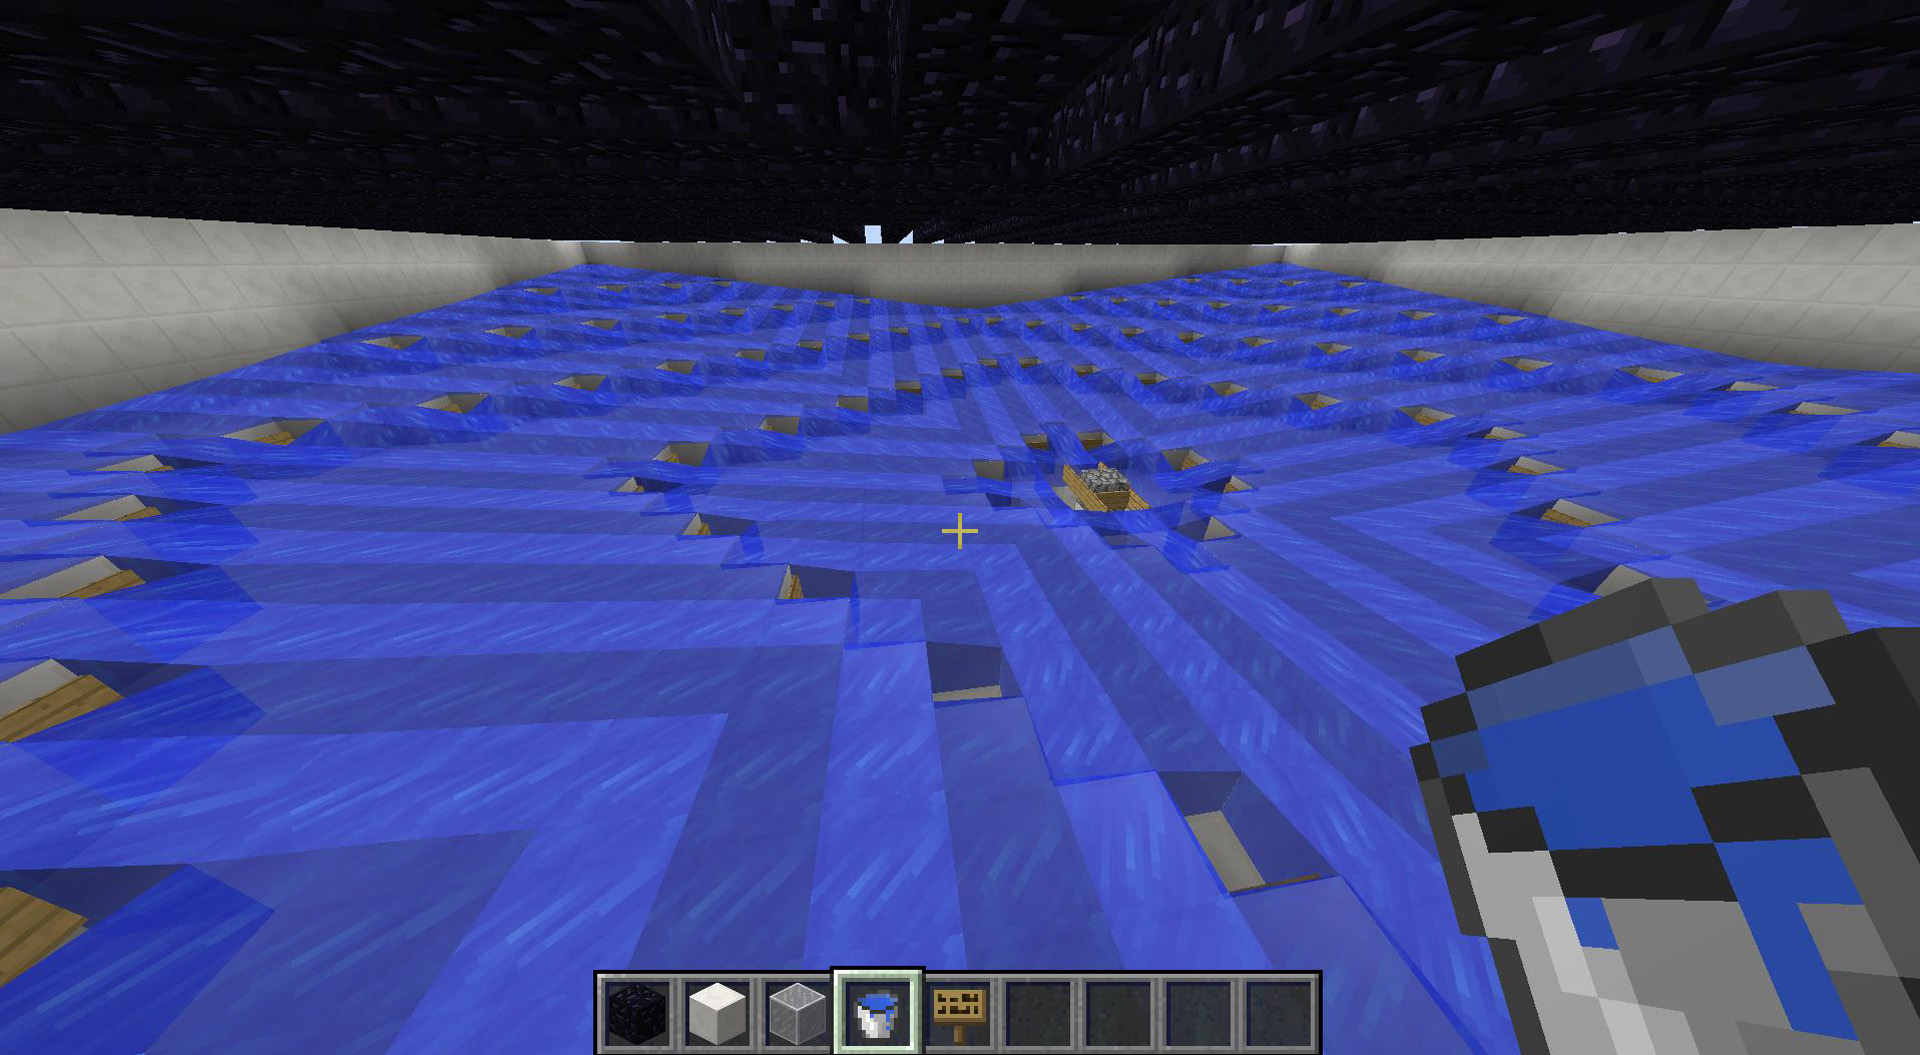
Put water source blocks in the corners where signs were not placed. If done correctly, the whole place should have water (other than where the signs were) and no extra source blocks should generate. All of the water streams should eventually lead to the center.
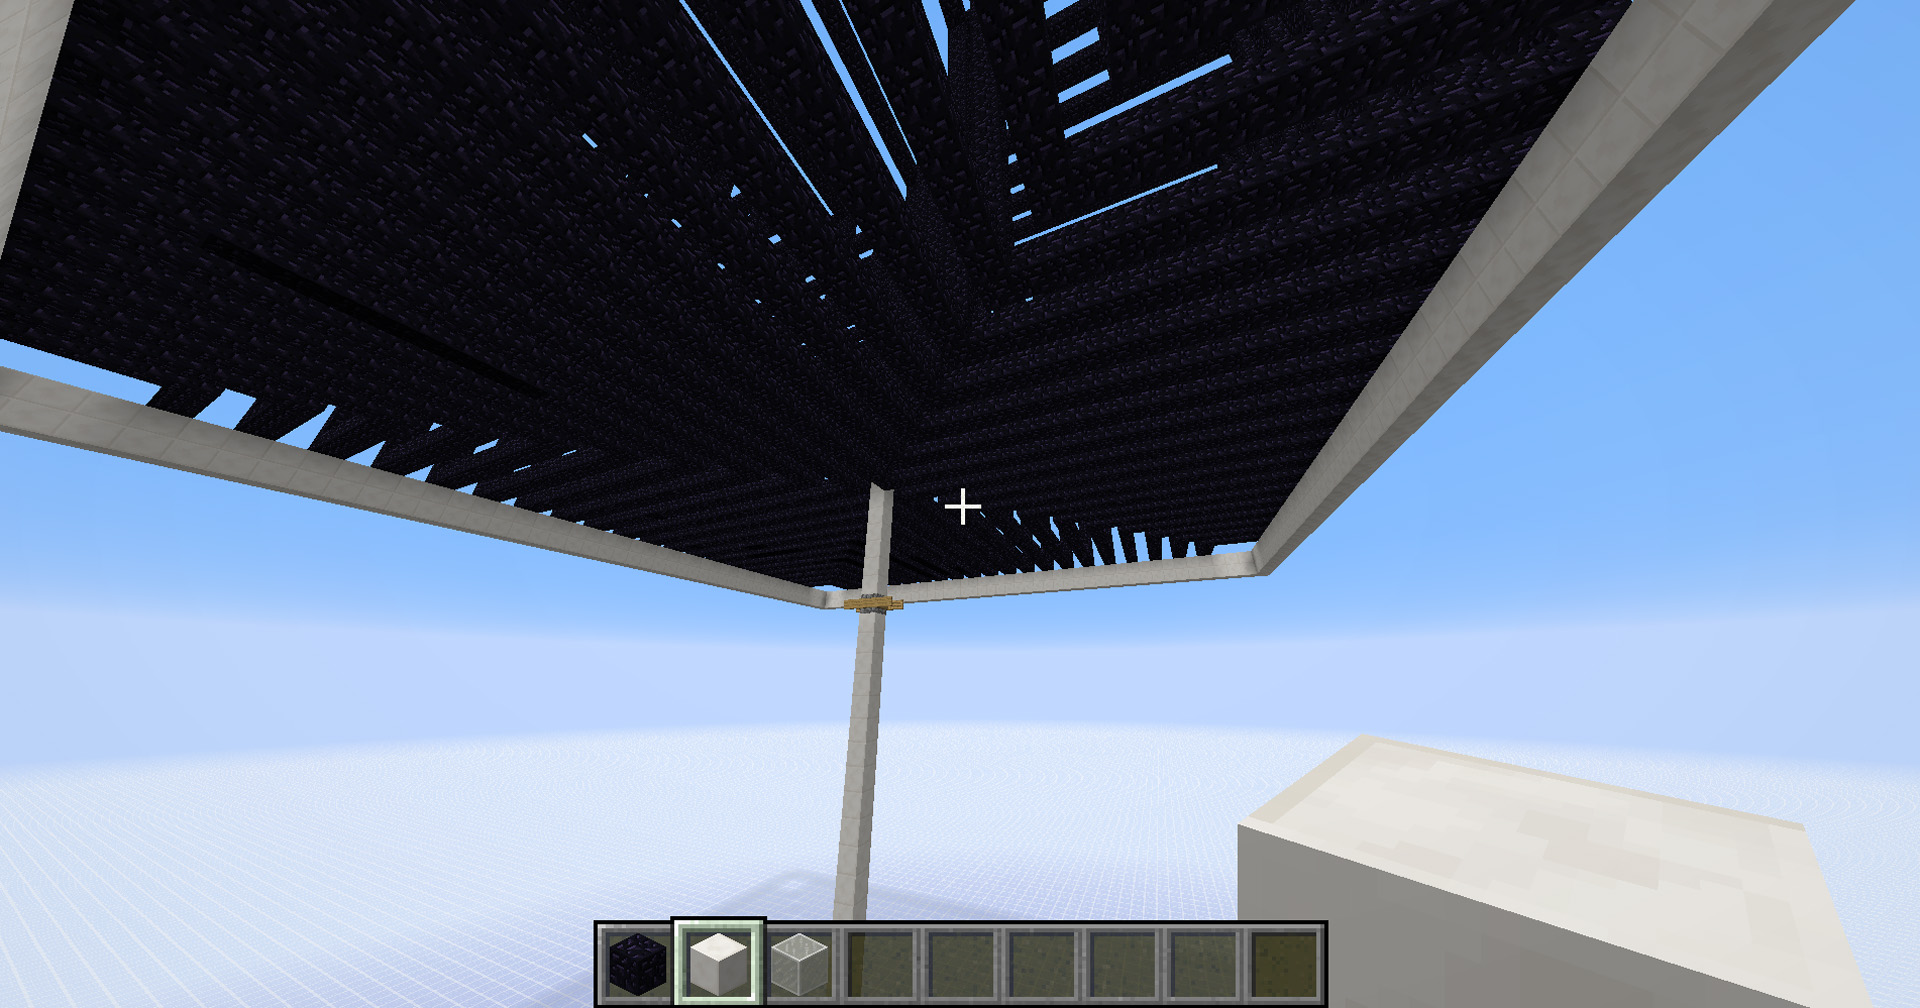
The Tube – Part 6
Connect the bottom of the bowl to the ring of blocks we placed earlier.
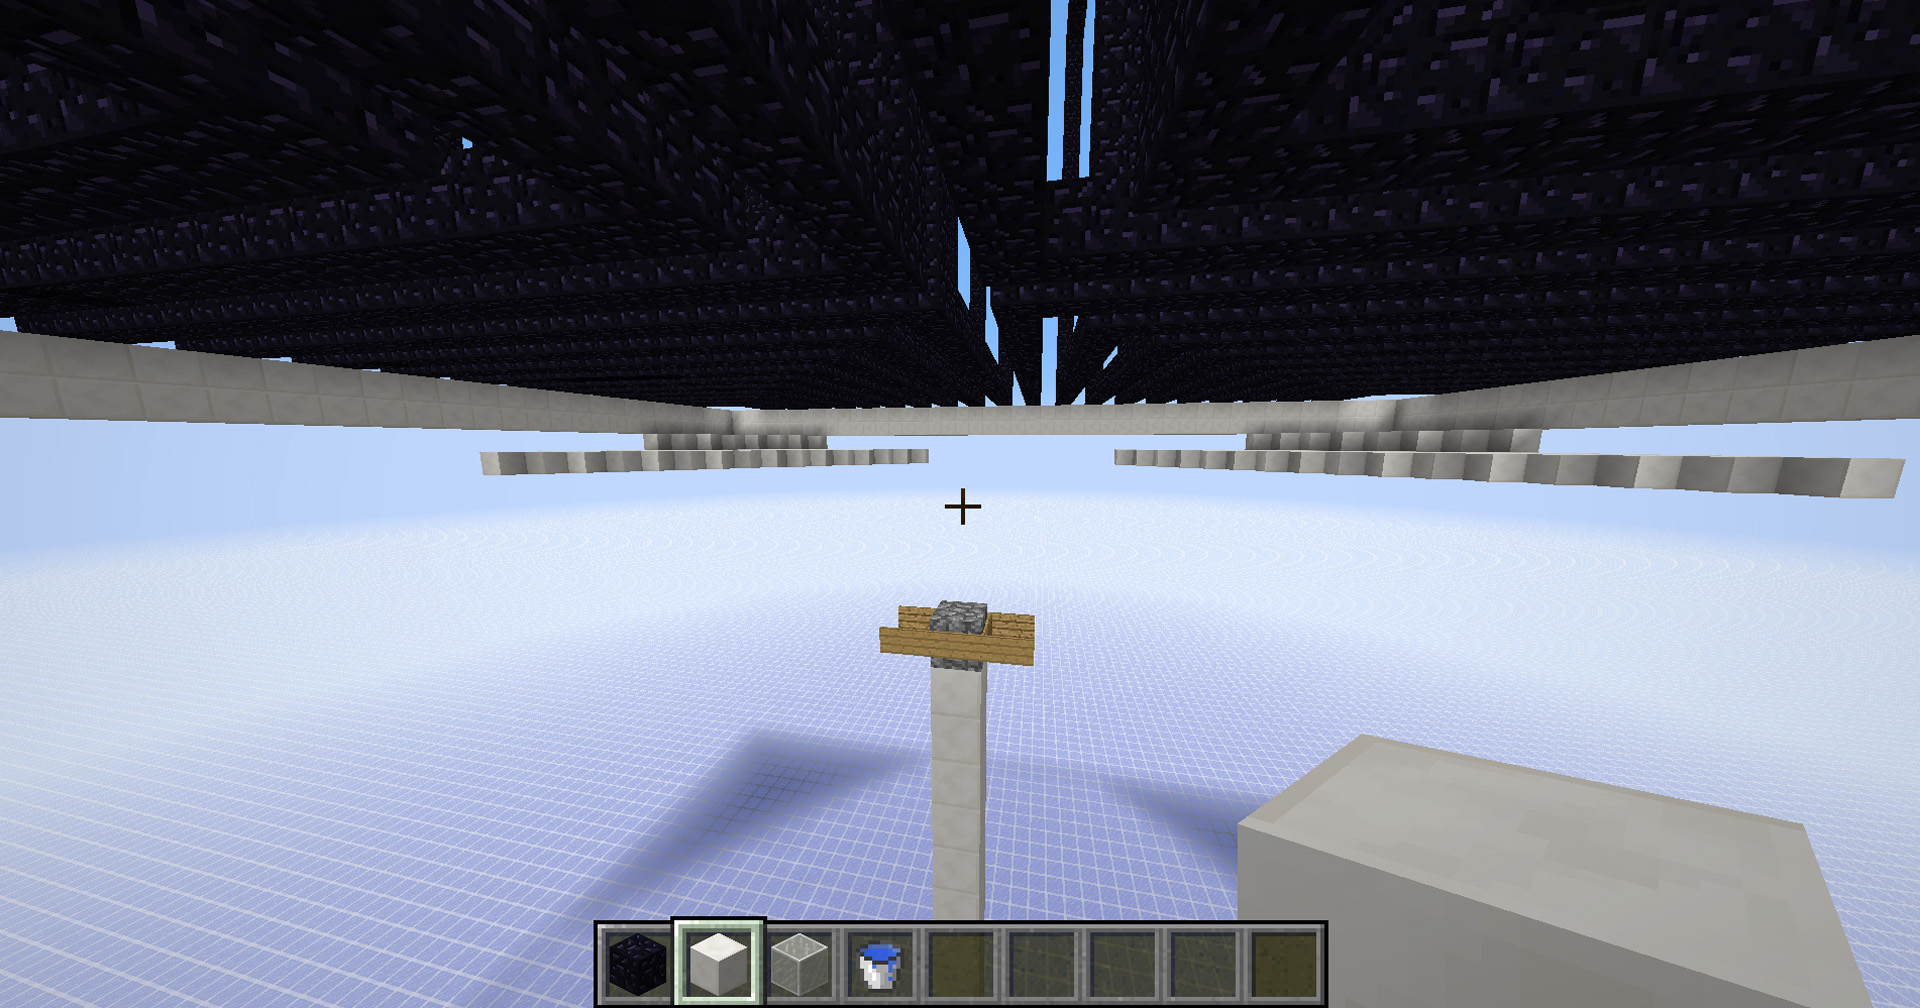
Observation Deck – View 1
I definitely recommend building one of these, since being too far away from pigmen spawning will make them not move. At the bottom of the tube, there are some spots where pigmen will not fall into the bowl on their own.
Observation Deck – View 2
This part is purely optional, but I like to place some glass so you can see the pigmen falling to their imminent death >:D
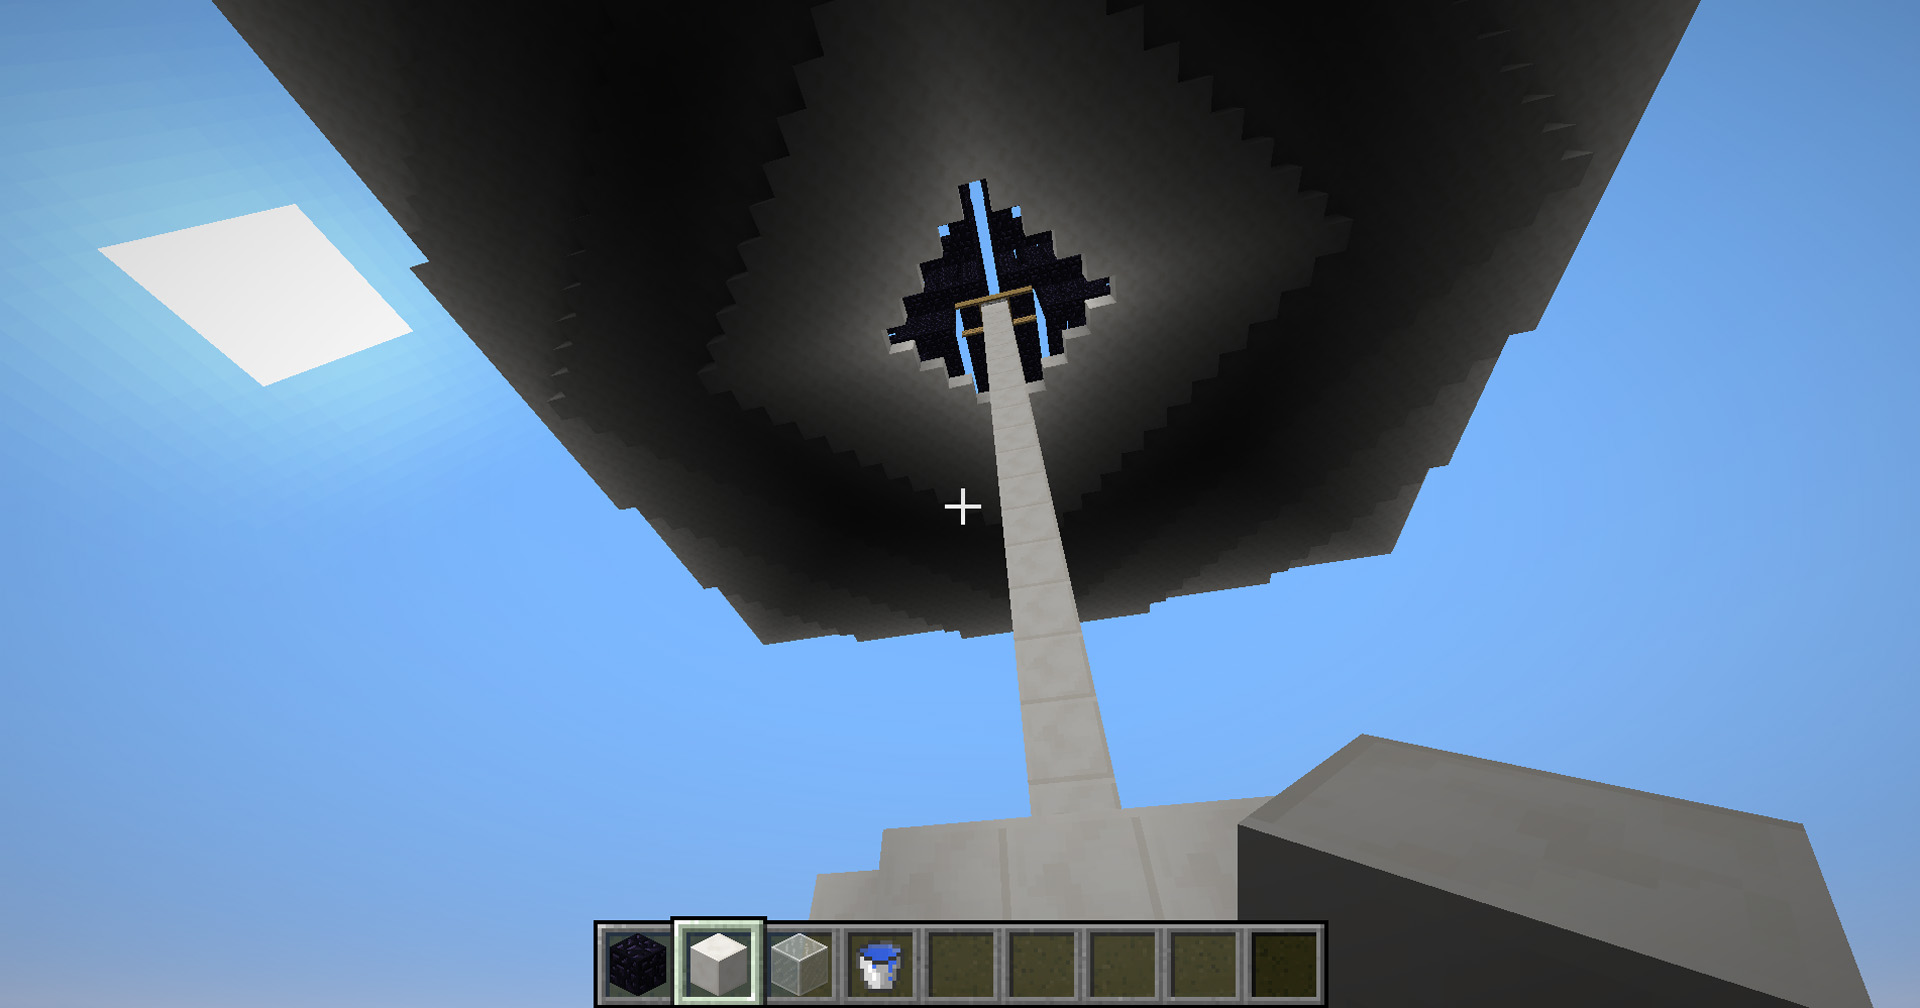
Portals – Part 12
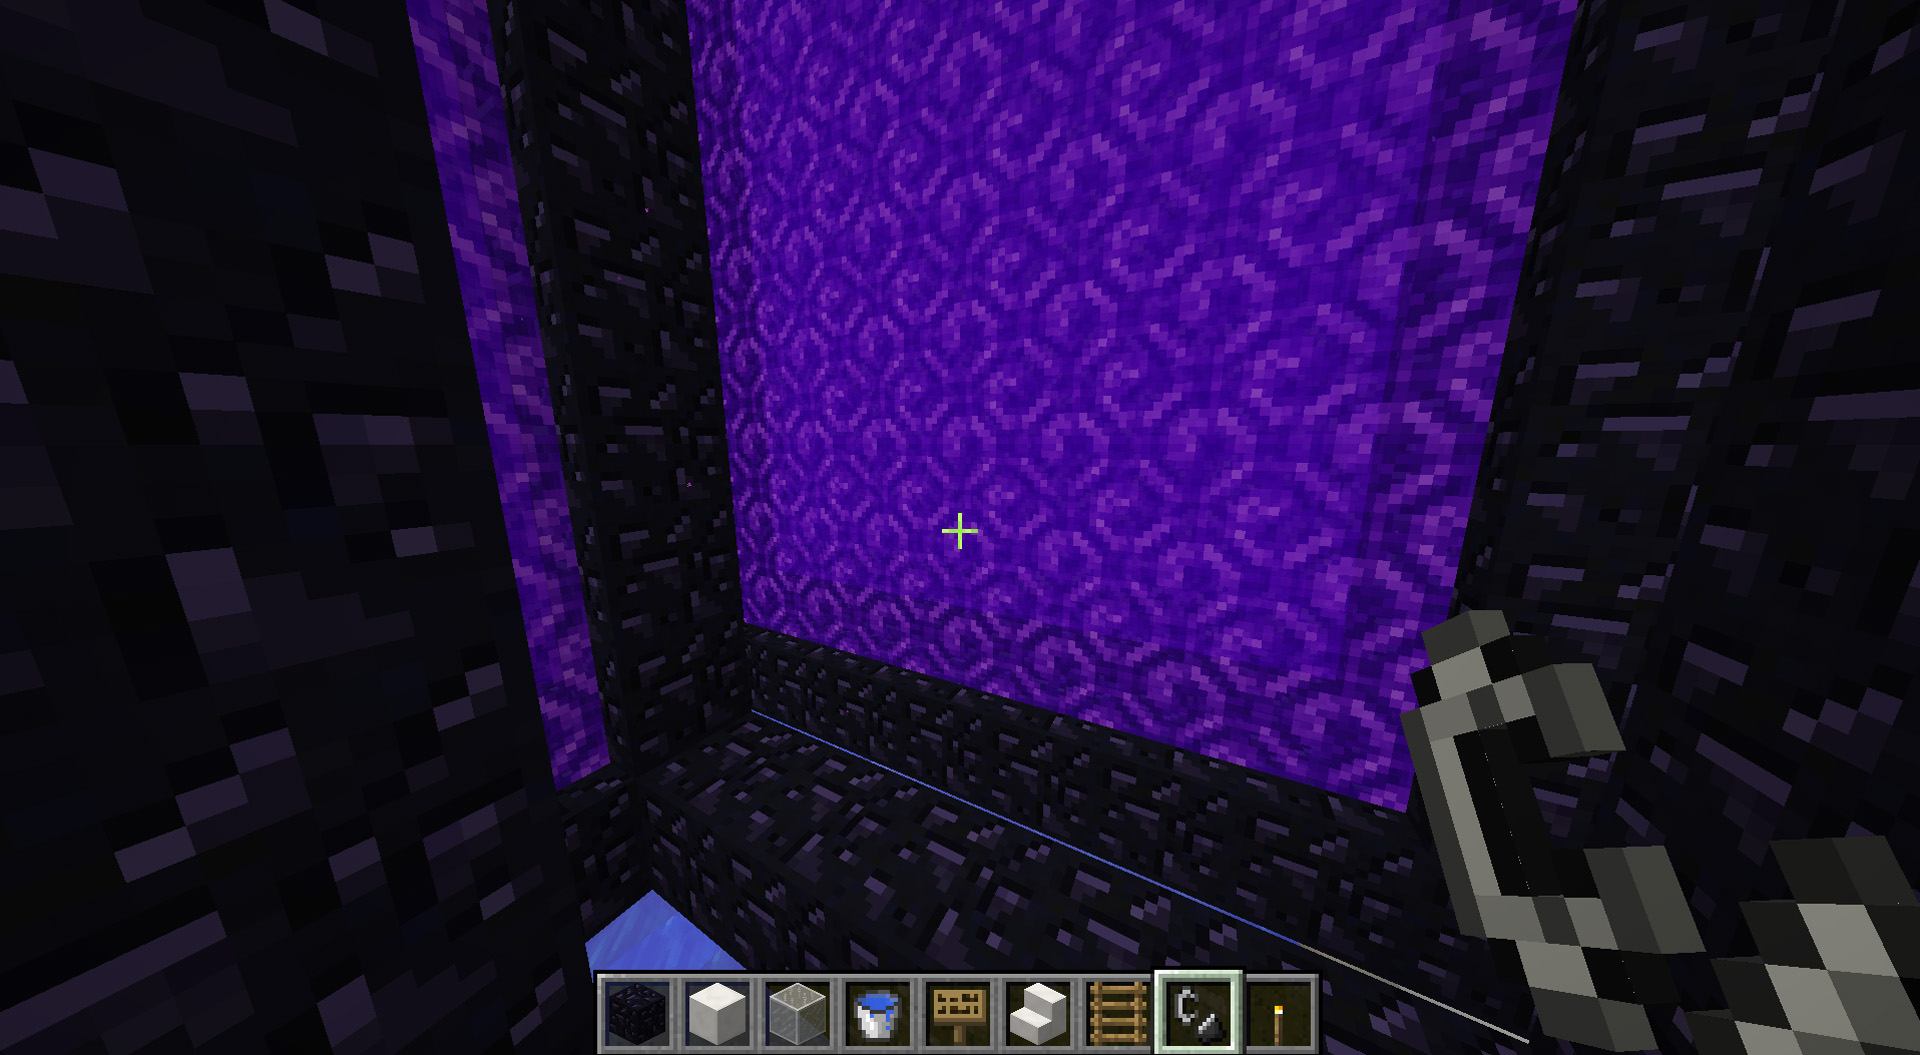
The final step of the whole build – light the portals!
Top View, with lit portals
One thing I would recommend doing here is having a way to make Instant Health potions. If you followed the design for the Tube exactly, it should only take level 1 potions to kill them. To get maximum output, throw the potion and switch to a Looting sword before the potion lands. This will double or even triple your output! Also, have an incinerator handy. You’ll get a lot of Rotten Flesh and Golden Swords.


Discussion about this post